


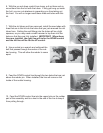
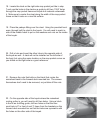

11. Now feed the UP control line through the same two holes above
the rudder pin to the inside of the rudder housing. Wrap the line so
that it goes over top and around the drum. Insert the end of the line
into the lower hole indicated in step 10 and tie a knot at the end of
the line.
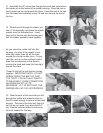
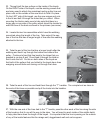
12. Slide the bolt through the rudder por-
tion of the assembly and place the plastic
washer over the threaded end. Insert
then end of the bolt into the housing and
bolt the rudder assembly back together.
As you insert the rudder half into the
housing, you have to be careful to not
allow the rudder lines fall off the track
around the circular rudder drum. To pre-
vent this, pull up on the up/down control
lines that are exposed on the deck to
remove the slack and keep the lines tight
around the drum.
Thread in the bolt to hold the two halves
together. IMPORTANT NOTE: DO NOT
SCREW DOWN THE BOLT SO THAT
IT IS TIGHT. YOU ACTUALLY WANT IT
TO BE A FAIRLY LOOSE CONNECTION
ALLOWING AN 1/8”-1/4” OF
MOVEMENT. IF IT IS TOO TIGHT, THE
RUDDER WILL NOT GO UP PROPERLY.
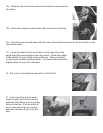
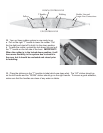
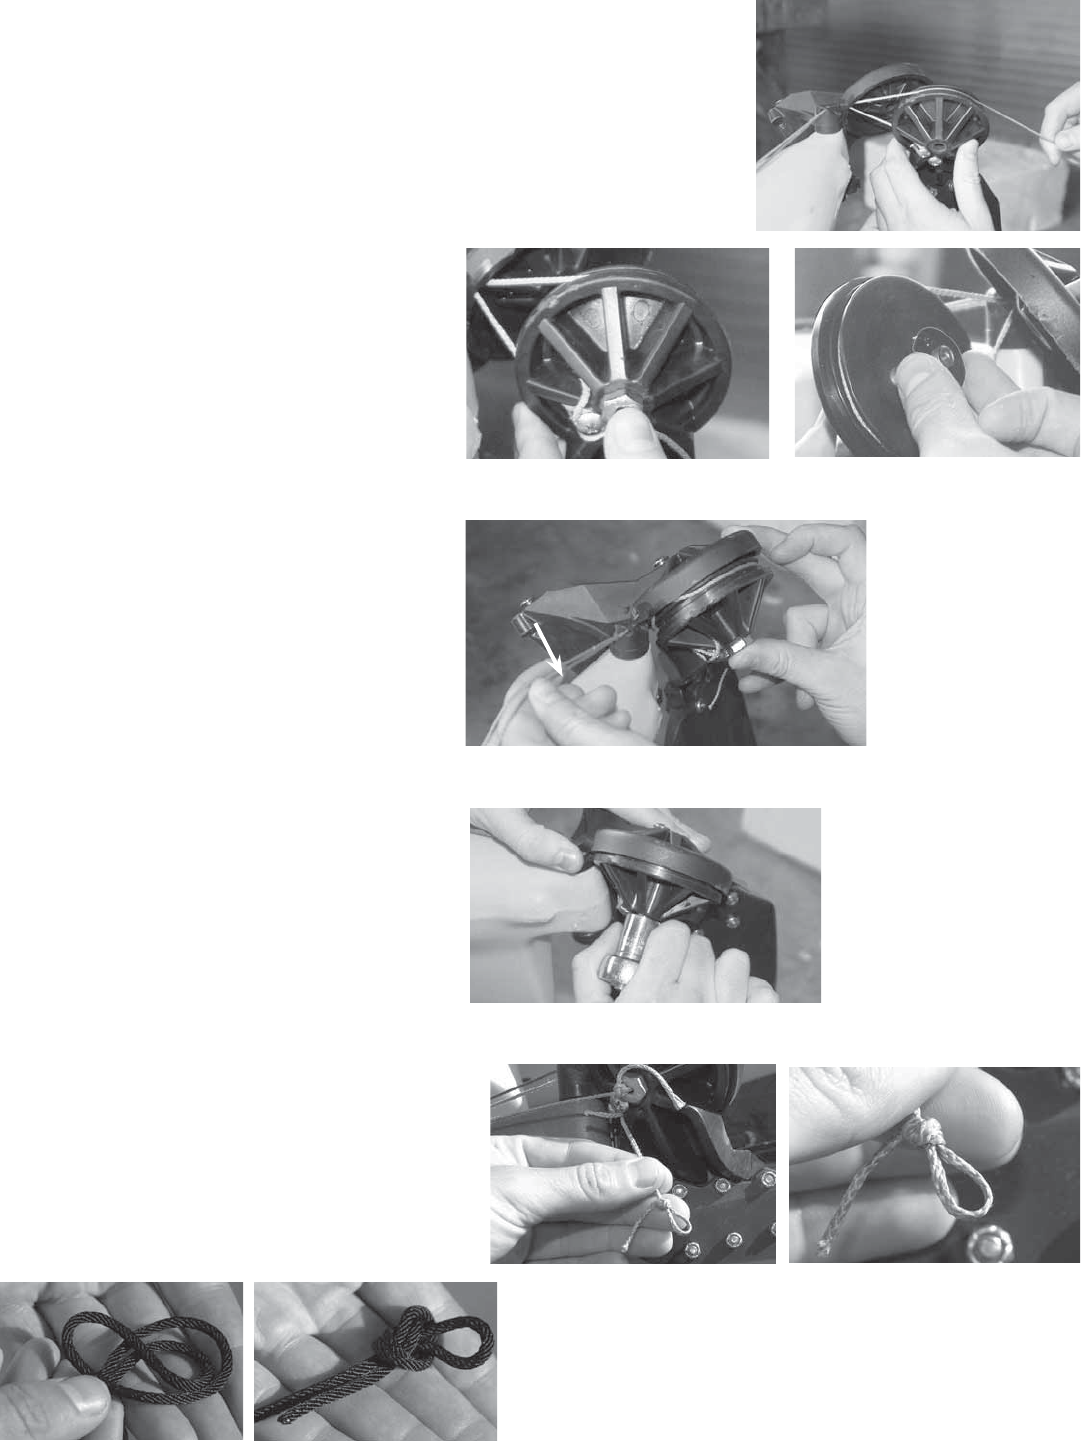
13. Take the ends of the lines that you fed
through the rudder and make the loop so
that it is small enough to pass a screw head
through. The size of the loop isn’t that criti-
cal, but do not make it any more that 3/4”
big. See the pictures below on how to tie
the knot needed for this loop