


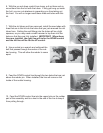

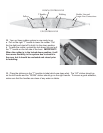
16. Drill a hole in the dotted location with a 5/16” drill bit
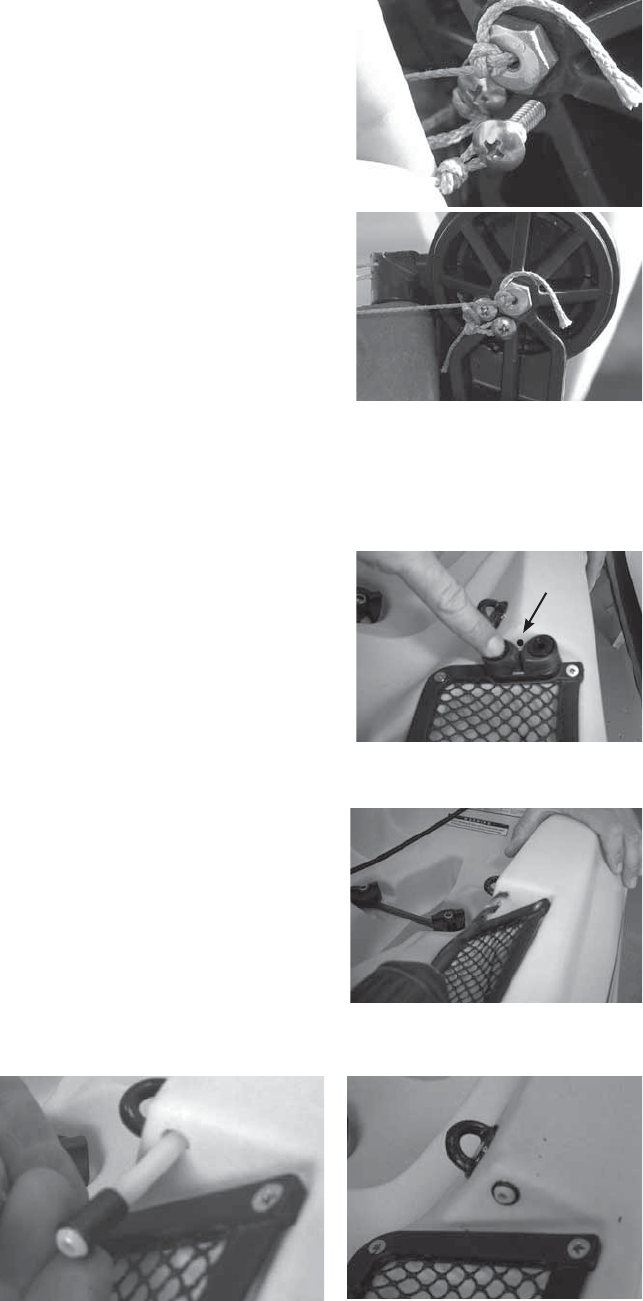
17. Insert one of the two the small
length of rigid tube into the hole and
press the black fitting at the end of the
tube into the hole. It will be a tight fit,
so you may need to give it a couple
taps with a hammer to get it into the
hole.
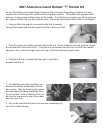
15. Locate the cleat in the kit and place it on the right side of the
kayak along the forward edge of the map pocket. Center the middle
of the cleat to the point of the corner of the rails. Draw a small dot
on the kayak to locate a drilling location. The hole location should be
slightly below the top of the cleat jaws.
Drill
Location
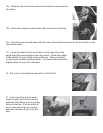
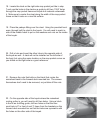
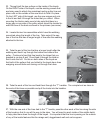
14c. Once the loops are held down with the screw, leave these lines alone for a bit and finish up the
instructions below.
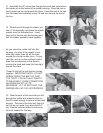
14a. Place the loop around the screw and thread the screw back into
the rudder.
14b. Follow the sample procedure with other screw and control line.