


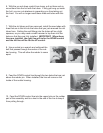
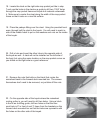


18. Locate the cleat on the right side map pocket just like in step
7 and use the holes in the cleat as a guide to drill two 11/64” holes
through the map pocket frame and kayak hull material underneath
it. Make sure to center the cleat along the width of the map pocket
frame so that it rests on a nice flat surface.
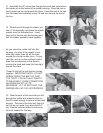
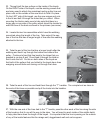
19. Place the padeye fitting over the cleat. Using the provided hard-
ware, through bolt the cleat to the kayak. You will need to reach in-
side of the middle hatch to put on the washers and nuts on the inside
of the kayak.
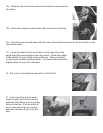
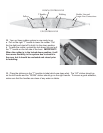
20. Drill a hole and insert the other tube in the opposite side of
the kayak as well. A cleat will not be installed on the left side of
the boat, but using the same location on the map pocket corner as
you drilled on the right side is a good reference.
21. Remove the nuts that bolts on the block that routes the
mainsheet back to the forward deck mounted bar. The screws
themselves don’t need to be removed, so just take off the nuts.
22. On the opposite side of the kayak where the mainsheet
routing pulley is, you will need to drill two holes. Using a block
in the kit as a drilling guide, drill two holes so that the rear-
most hole is 5” in front of and 3” down from the brackets on the
forward deck mounted bar so that the holes are symmetric with
the holes on the other side of the kayak.