


Note: On some hulls, it may be necessary to angle the transducer so that the back end is ¼”
lower than the front.
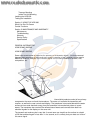
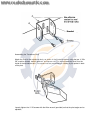
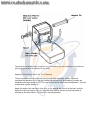
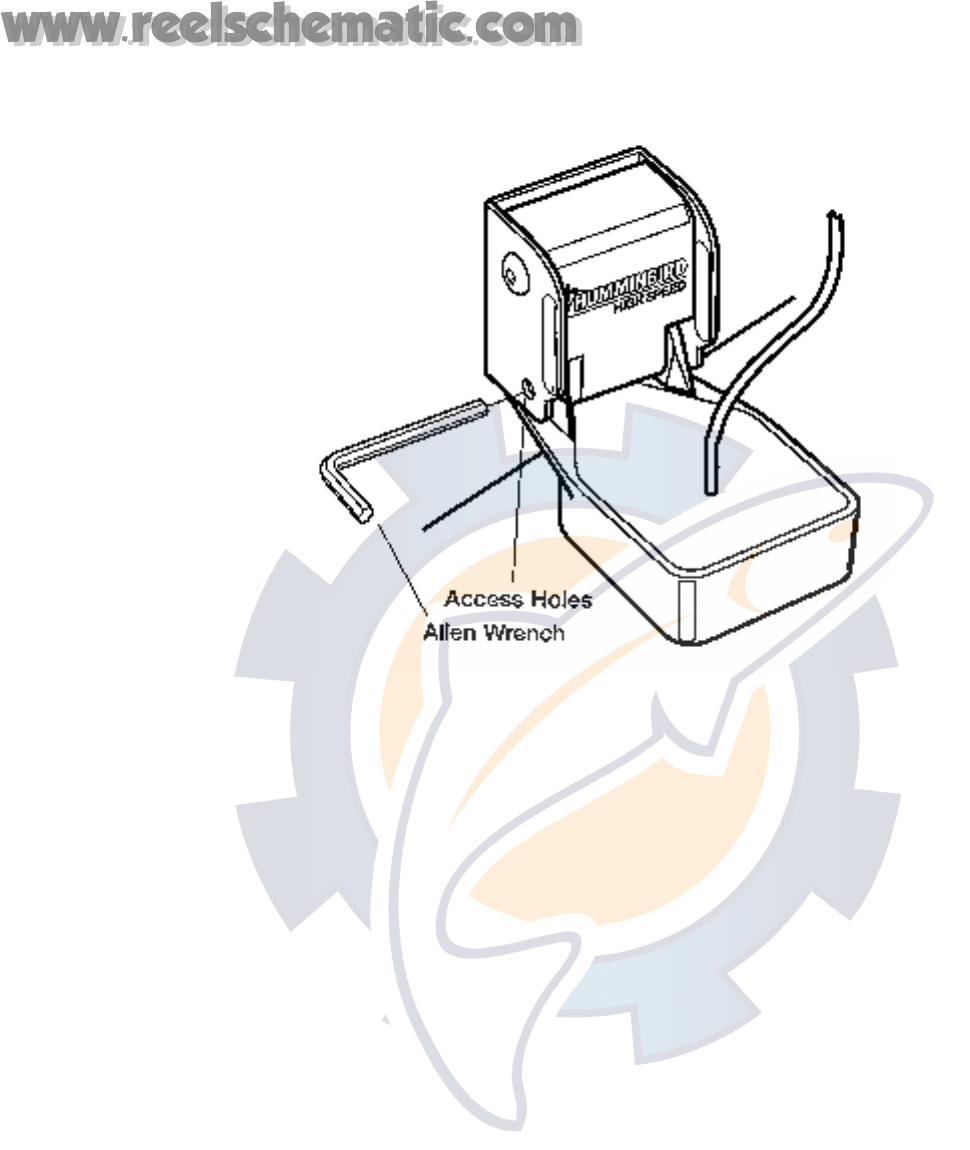
Next, adjust the height of the assembly so the face of the transducer is 1/8” to ¼” beneath the
bottom of the transom, and fully tighten the three mounting screws. In order to gain access to the
mounting screws, the transducer assembly must be pivoted up in the bracket as shown. Be
careful not to alter the running angle as some force is necessary to pivot the assembly. If access
to the top mounting hole is not possible due to the selected height of the transducer, fully tighten
the two lower screws, then simply remove the headed pivot pin and the transducer assembly, and
tighten the top screw, then reassemble.
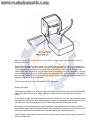
Finally, ensure that all mounting screws are fully tightened.
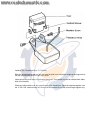
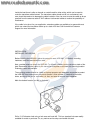
Routing the Cable
The transducer cable has a low profile connector that must be routed to the point where the HDR
600 unit will be mounted. Every boat is different and there may be several ways to route the
cable.
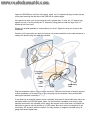
If you choose to pass the cable through the transom of the boat, a 1/3” hole must be drilled above
the water line. Fill this hole with silicone sealant, and use the supplied escutcheon plate to dress
the entry hole. This will require two #8 x 5/8” screws provided and drilled holes of 9/64.
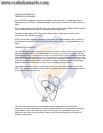
Remember that the transducer can pivot 90 degrees in the bracket should an object be struck,
and sufficient cable slack should be allowed for this movement. It is best to route the cable to the
side of the transducer so the cable will not be damaged by the rotating transducer.
Cable clamps are provided to secure the cable to the transom using the same type of screws as
the escutcheon plate.