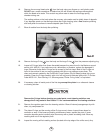
16. Remove the one-way bleed valve from the body using your fingers or a soft plastic probe.
DO NOT use a metal screwdriver or blade since this will scratch the sealing surface against
which the bleed valve seals. This scratch may allow water to enter the first stage spring
chamber during use.
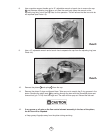
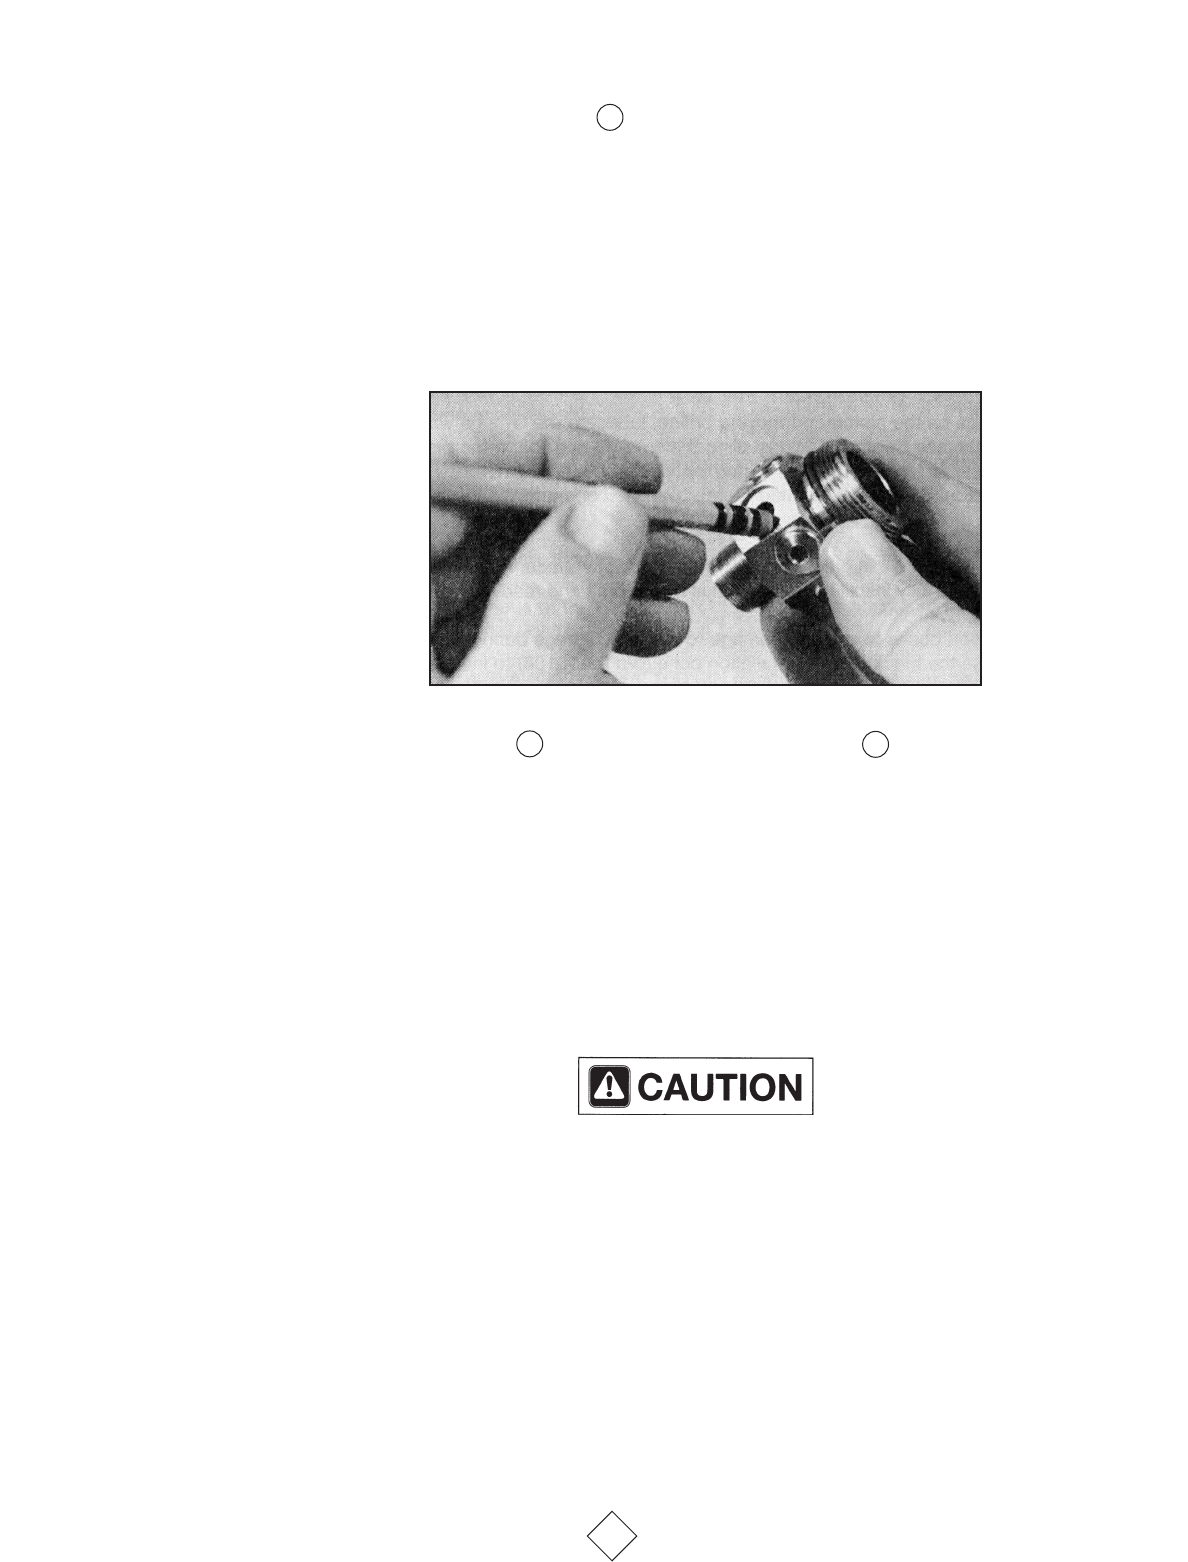
The sealing surface on the body where the one-way valve seals must be totally clean of deposits.
If any deposits remain on the sealing surface after initial cleaning, take a
fine abrasive polishing
stick and polish the surface to remove deposits (see Photo #7).
17. Blow all residue from the body after polishing.
18. Remove the large O-ring from the body and the large O-ring from the pressure adjusting ring.
19. Inspect all O-rings (other than those discarded because they were found in the Maximus annual
service kit # 4000-4). If you notice any cuts, deformities, or abrasion, replace the damaged 0-
rings. Otherwise, these static O-rings can be reused in the first stage. Most of the O-rings not
found in the service kit are non-moving gaskets with little or no pressure across them. The
clean environment created by the Positive Air Purge System (Dry Air Bleed) makes this re-use
possible. Clean the O-rings carefully with a lint free rag, and re-lubricate lightly with LTI Christo-
Lube
®
MCG #111, Dow-Corning 111
®
Silicone grease, Parker O-ring Lube
®
, or equivalent.
20. If necessary, clean all metal parts of the first stage
except the piston in an ultrasonic cleaner
or cleaning solution.
Remove the O-rings before cleaning any metal parts; most cleaning solutions can
damage the O-ring material. See Section 7.3 for recommendations on cleaning solutions.
21. Remove the regulator parts from the cleaning solution. Blow all internal passageways dry with
clean, dry compressed air.
22. The piston O-rings and the moving orifice O-rings move in bores. Inspect these bores for
corrosion or wear. If the bores are leaking air because of wear, replace the parts. If some
corrosion deposits persist, carefully wipe them away with a plastic scrubbing cloth. Blow any
resulting dust out of the regulator parts.
23. Inspect the moving orifice's sealing surface (located at the top edge of the orifice cone). Any
9
Photo #7
13
18
20


