Appendix C: RAID and Software Installation
C-3
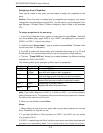
Deleting Arrays
Warning: Back up the data on an array before you delete it to prevent the loss of
data. Deleted arrays cannot be restored.
To delete an existing array:
1. Turn on your computer and press Ctrl+A when prompted to access the ARC
utility.
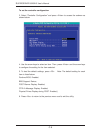
2. From the ARC main menu, select Array Confi guration Utility
(ACU).
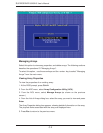
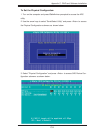
3. From the ACU menu, select Manage Arrays.
4. Select the array you wish to delete and press Delete.
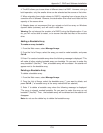
5. In the Array Properties dialog box, select Delete and press Enter. The following
prompt is displayed:
Warning!! Deleting the array will render array unusable. Do you want to delete the
array?(Yes/No):
RAID 1 only—the following prompt is also displayed:
Deleting the partition will result in data loss! Do you also want to delete the parti-
tion? (Yes/No):
6. Press Yes to delete the array or partition or No to return to the previous menu.
7. Press Esc to return to the previous menu.
Creating Arrays
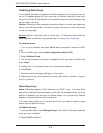
Before creating arrays, make sure the disks for the array are connected and installed
in your system. Note that disks with no usable space, or disks that are un-initialized
are shown in gray and cannot be used. See
Initializing Disk Drives.
To create an array:
1. Turn on your computer and press Ctrl+A when prompted to access the ARC
utility.
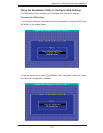
2. From the ARC menu, select Array Confi guration Utility Main Menu (ACU) (as
shown on the fi rst screen on the previus page).
3. From the ACU menu, select Create Array.
4. Select the disks for the new array and press Insert.
Note: To deselect any disk, highlight the disk and press Delete.
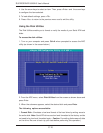
5. Press Enter when both disks for the new array are selected. The Array Proper-
ties menu displays.


