64 MatrixPRO • 8x8 DVI Router • User’s Guide
5. GUI Installation and Operation
Using the Video Switching Tab
The following additional controls are provided:
~ At the bottom of the Inputs Section, click TAKE to complete a route.
~ Click Cancel to cancel a pending route.
2) Outputs Section
The Outputs Section provides numbered buttons with black digits for all “active”
output crosspoints. All other output buttons are grayed out. Please note:
~ If you have configured mnemonics on the Labeling Tab, the selected
names will appear on the appropriate output buttons.
~ Unselected output buttons are gray. Selected output buttons are yellow.
~ If you select an output button and certain input buttons are grayed out, it
may indicate that a “group” has been configured, which restricts the
number of available inputs.
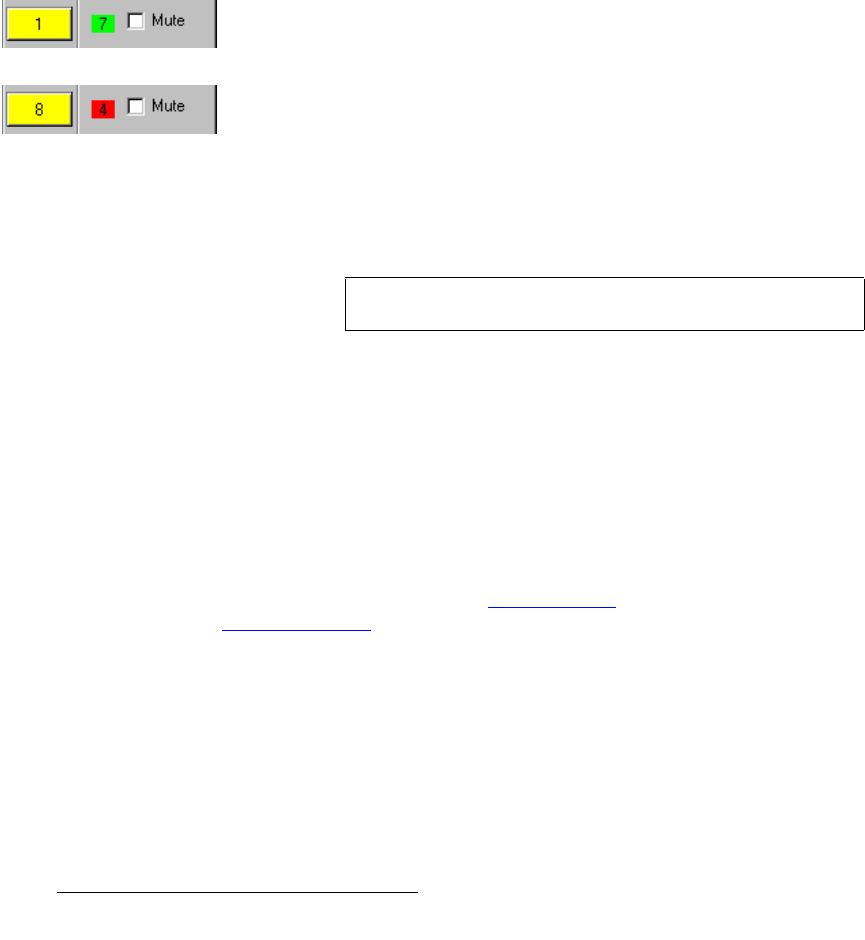
~ In the Video column, “color” indicates status:
A number within a bright green square indicates an active route.
S The number 7 in a bright green square adjacent to output button 1
indicates that input 7 is routed to output 1.
A number within a bright red square indicates a pending route.
S The number 4 in a bright red square adjacent to output button 8
indicates that the “input 4 to output 8” route is pending — and TAKE
must be pressed.
~ In the Video column, “--” indicates that the adjacent output is clear, or
“blanked.”
~ In the RGB Mute column, a checked box indicates that the adjacent
output channel is muted.
The following additional controls are provided:
~ At the bottom of the Inputs Section, click Read from MatrixPRO to
update the GUI with the current state of the physical MatrixPRO chassis.
This control is identical to the function listed in the Serial Port Menu.
~ Click Clear All Routing to clear all input and output routes, and “blank”
all outputs. Status will read “--” for all outputs. A “take” is not required.
3) Presets Section
The Presets Section provides buttons that enable you to save and recall the
router’s current state (all input and output routes) to/from one of eight
“configuration” files. Refer to the “Saving Presets” section on page 68 and the
“Recalling Presets
” section on page 69 for instructions.
Note
A TAKE is not required to perform an RGB Mute route.
