31
■ Recorder Selection
Notes:
• In advance, you need to set HDD-unit maps. (Refer to
p. 67 Associating Recorder Numbers with Unit
Numbers.)
• In the factory default, Recorder 1 to 16 is associated
with Unit 1 to 16.
1. Enter a recorder number by pressing numeric buttons.
The entered number will appear on the LCD.
2. Press the RECORDER/UNIT button. The system will
become ready for control, and the monitor number,
camera number, and system unit number will appear on
the LCD.
Notes:
• Three seconds after, model number will appear in
place of unit number.
• If you have entered a wrong recorder number,
“Invalid” will appear on the LCD. Then, the LCD will
return to the status before the recording selection.
To control the system, you need to select a desired unit
(system unit, recorder, monitor, or camera) at the begin-
ning.
■ System Unit Selection
Notes:
• In advance, you need to set the unit number for each
system unit. (Refer to the operating instructions of sys-
tem units.)
•1 to 99 are available for the unit number.
1. Enter a unit number by pressing the numeric buttons.
The entered number will appear on the LCD.
2. Press the RECORDER/UNIT button while holding down
the SHIFT button. The system will become ready for
control. Then, the monitor number, camera number,
and system unit number will appear on the LCD.
Notes:
• Three seconds after, model number will appear in
place of unit number. To display the unit number
again, hold down the RECORDER/UNIT.
• If you have entered a wrong unit number, “Invalid”
will appear on the LCD. Then, the LCD will return to
the status before the system unit selection.
UNIT SELECTION
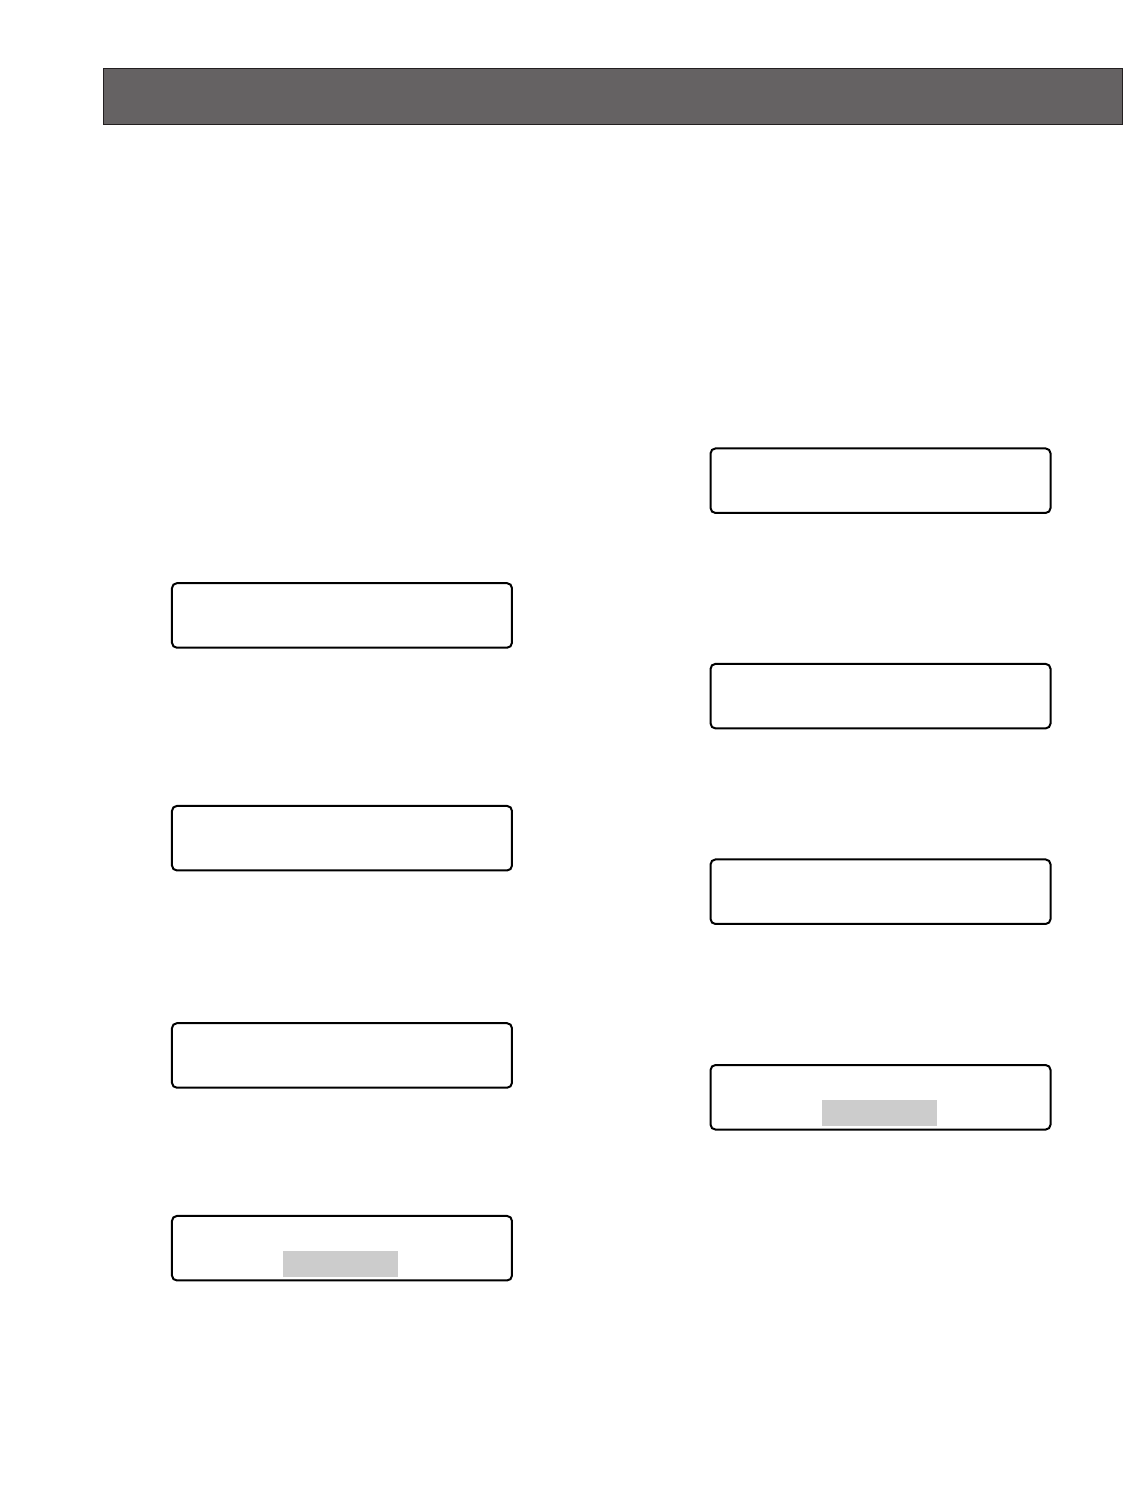
Mon01 Cam016 ___16
F1 F2 F3 F4
Mon02 Cam128 ____2
F1 F2 F3 F4
Mon02 Cam016 HD316
F1 F2 F3 F4
Invalid
Invalid
Mon02 Cam016 Unit16
F1 F2 F3 F4
Mon02 Cam016 Unit16
F1 F2 F3 F4
Mon02 Cam016 HD316
F1 F2 F3 F4


