


Piston / Cylinder Cleaning Instructions
Cleaning the Low Range Piston/Cylinder Assembly 6
6-3
5. Prepare additional wipers as necessary for drying the piston and cylinder once they
have been washed with soap and water.
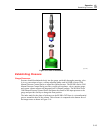
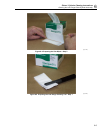
6. Scrub the bore of the cylinder using a soft bottle brush, Cashmere Bouquet soap and
warm tap water.
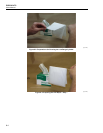
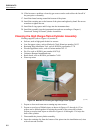
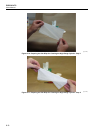
7. Rinse thoroughly and dry immediately using the pre-folded wipers wrapped around
the cleaning tool.
8. Set the cylinder aside and cover with a clean dry wiper.
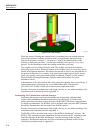
9. Insert the rubber stopper into the bottom of the piston.
10. Using a soft paper wiper, Cashmere Bouquet soap and warm tap water, scrub the
outside of the piston.
11. Rinse thoroughly and dry immediately. The rubber stopper can be removed after
drying, but be careful not to touch the piston body.
12. Set the piston aside and cover with a clean dry wiper. Allow the piston and cylinder
to set for about 15 minutes before reassembly.
13. Clean the upper thrust bearing and washer using solvent soaked wipers and set aside.
14. Inspect the O-ring for any sign of damage, replace as necessary.
15. Apply a slight amount of lubricant to the O-ring and wipe off any excess.
16. Place the cylinder upright (the O-ring groove at the bottom) on the work area.
17. Carefully insert the piston into the top of the cylinder and allow it the sink freely into
the cylinder. Do not force the piston into the cylinder or it may be damaged. If lint
becomes a problem a clean dry gas source can be used to blow the lint off of the parts
prior to assembly.
18. Install the upper thrust bearing around the stem of the piston top.
19. Install the thrust washer on top of the thrust bearing.
20. Install the assembly into the instrument base and test according to Chapter 6,
Functional Testing of Piston/Cylinder Assemblies section.
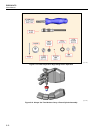
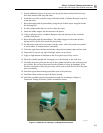
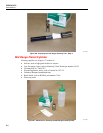
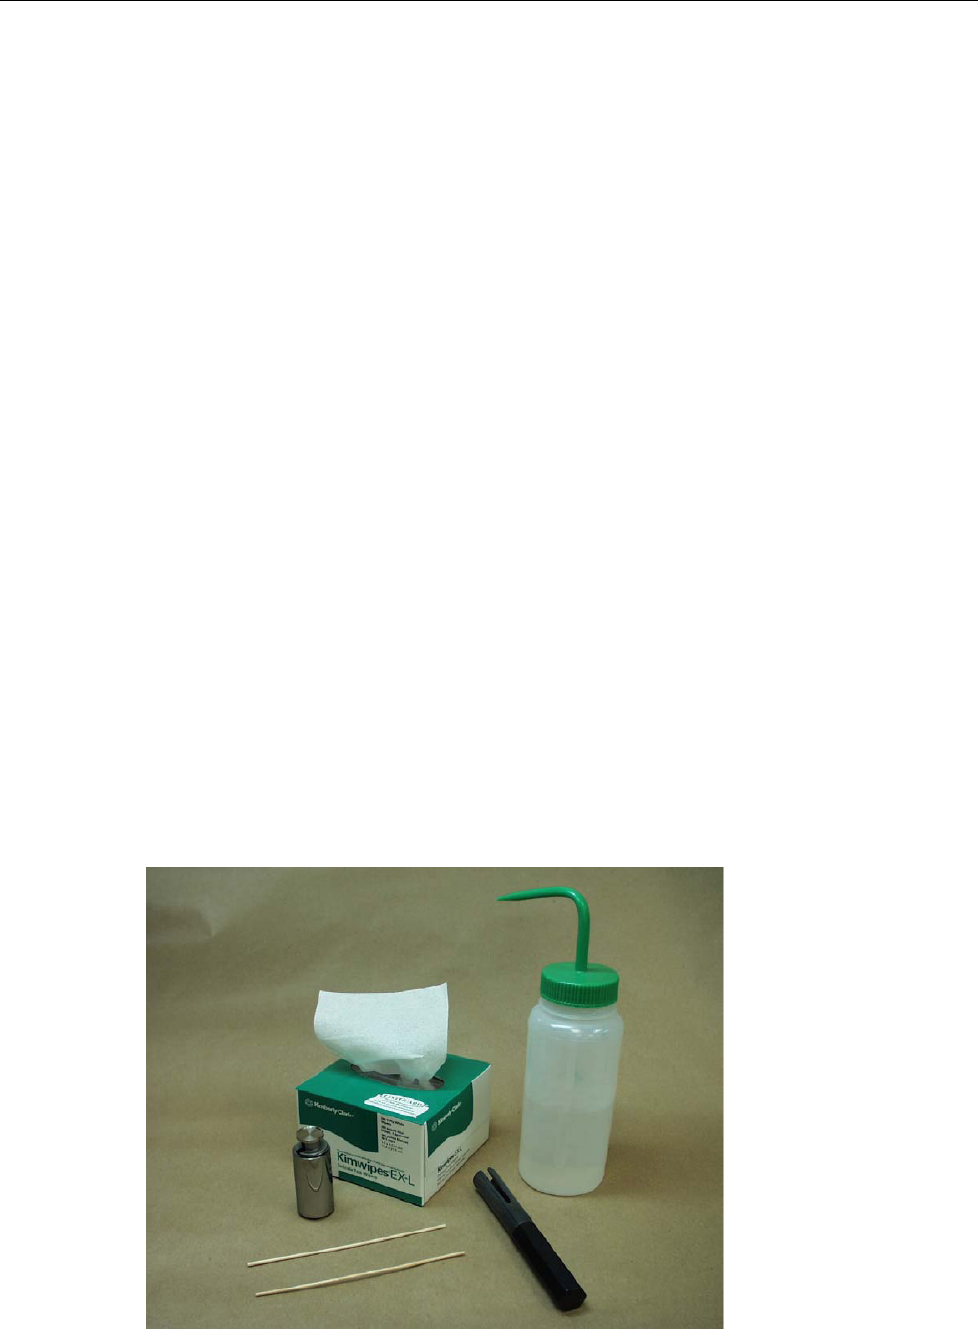
gmq24.bmp
Figure 6-1. Materials for Cleaning Low Range Piston/Cylinder