1. OPERATION
8
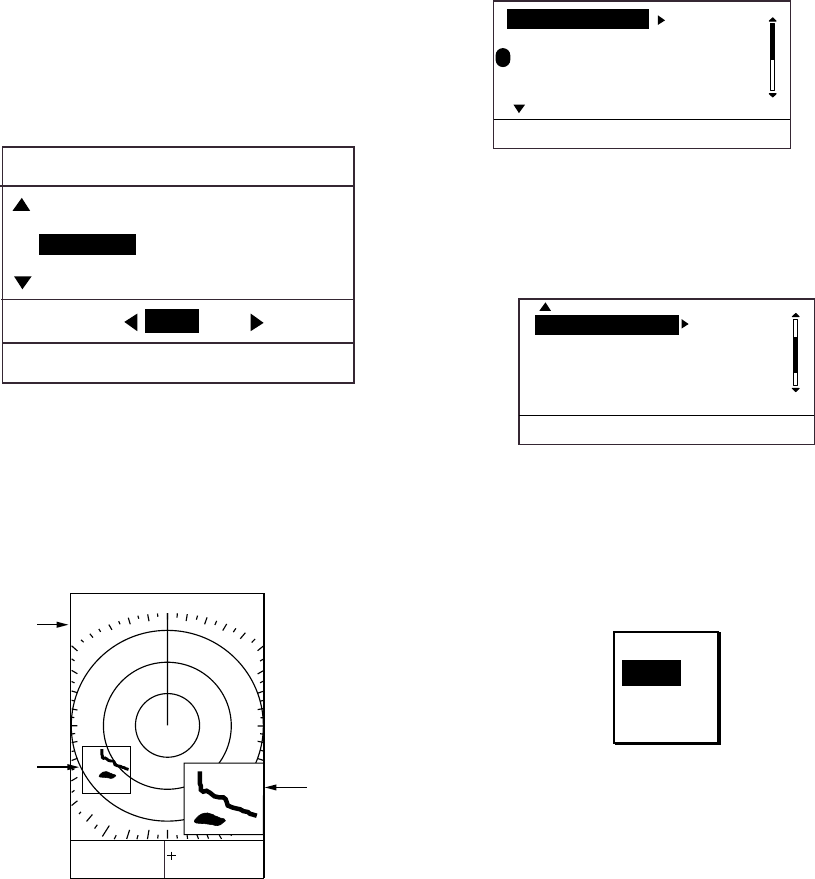
1.13 Zoom
The zoom feature allows you to double the
size of a selected area.
If zoom is activated when nav data is
displayed, the nav data is automatically
erased.
1. Use the cursor pad to place the cursor
where you want to zoom.
2. Press the [MODE] key to show the display
mode menu.
DISPLAY MODE
[MENU/ESC] : Exit.
SHIFT (MANUAL)*
NORMAL
ZOOM
NAV DISP OFF ON
Display mode menu
3. Press ▼ to choose ZOOM.
4. Press the [MENU/ESC] key to close the
menu. The area selected with the cursor
appears in the zoom window and “ZOOM”
appears at the top left corner.
6
nm
2
ZOOM
Zoom
Window
RNG 4.430nm
BRG 231.3°
TTG: 00H50M
+
Cursor
EBL
- - -
.-
°
VRM - - - -nm
ZOOM
Zoom display
To cancel the zoom display, open the Display
Mode menu, choose NORMAL and then
press the [MENU/ESC] key. To choose new
zoom location, restore to the NORMAL mode
and then repeat the zoom procedure.
1.14 User Menu Overview
The User menu, consisting of three pages of
menus, contains 10 items which the user may
set according to conditions or preference.
1. Press the [MENU/ESC] key to open the
User menu.
P
(1/2)
TX/ST-BY ST-BY
INT REJCTION : LOW
ECHO STRETCH : LOW
FTC : OFF
NOISE REJECTION: LOW
[MENU/ESC] : Exit.
*
* = "P" shows current function of PROG key
User menu, page 1
2. Use ▲ or ▼ to scroll the menu to display
desired item in reverse video.
WATCHMAN TIME OFF
HDG LINE OFF
ECHO TRAIL : OFF
TRAIL BRILLIANCE : LOW
SYSTEM MENU...
(2/2)
[MENU/ESC] : Exit.
User menu, page 2
3. Press ► to show the options window for
the item selected. For example, the
illustration below shows the interference
rejector options window.
OFF
LOW
MEDIUM
HIGH
Interference rejector options
4. Press ▲ or ▼ to choose option desired.
5. Press ◄ to continue menu operation, or
press the [MENU/ESC] key to register
your selection and close the User menu.
