3 – QLA2342/2342L
FCode
3-18 FC2354601-00 A
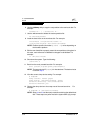
6. Use the ufsdump utility to copy the root partition to the new book disk. For
example:
ufsdump 0f - / | ufsrestore rf -
7. Use the rm command to delete the restoresymtable file:
rm restoresymtable
8. Install the boot block on the new boot disk. For example:
installboot /usr/platform/’uname -i’
/lib/fs/ufs/bootblk /dev/rdsk/c3t130d0s0
NOTE: Platform-specific information (’uname -i’) varies depending on
the hardware platform.
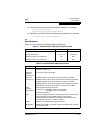
9. Edit the new vfstab file to properly mount the new partitions during boot. In
this case, each reference to c0t0d0s0 is changed to c3t130d0s0. For
example:
vi /mnt/etc/vfstab
10. Shut down the system. Type the following:
/sbin/init 0
11. Boot from the newly created boot disk. For example:
boot /pci@1f,0/pci@1/QLGC,qla@4/sd@82,0
NOTE: The target device ID (sd@82) is in hexadecimal. The decimal value
is used in step 3.
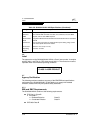
12. View the current dump device setting. For example:
# dumpadm
Dump content: kernel pages
Dump device: /dev/dsk/c0t0d0s1 (swap)
Savecore directory: /var/crash/saturn
Savecore enabled: yes
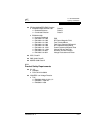
13. Change the dump device to the swap area of the new boot drive. For
example:
# dumpadm -d /dev/dsk/c3t130d0s1
NOTE: Steps 14 and 15 set the newly created boot disk as the default boot
disk. These steps are performed at the system OBP (ok) prompt.


