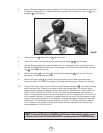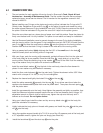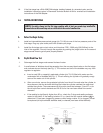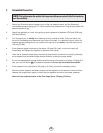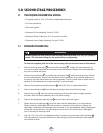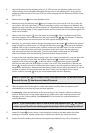
The sealing surface on the body where the one-way valve seals must be totally clean of
deposits. If any deposits remain on the sealing surface after initial cleaning, take a
fine abrasive
polishing stick or a pencil with a new eraser and polish the surface to remove deposits (see
Photo #3).
15. Blow all residue from the body after polishing.
16. Remove the large O-ring from the cap. This O-ring can usually be reused.
17. If necessary, clean all metal parts of the first stage
except the flow control element assembly
in an ultrasonic cleaner or cleaning solution. Remove the O-rings before cleaning any metal
parts; most cleaning solutions can damage the O-ring material. See Section 6.3 for
recommendations on cleaning solutions. If major visible corrosion or deposits exist on parts,
use a bristle brush, wooden, or plastic stick to rub the deposits off. Allowing acidic cleaning
solutions to do all of the work if deposits are severe, will result in damage to internal chrome
plating which will make parts even more susceptible to future corrosion.
18. Remove the regulator parts from the cleaning solution. Blow all internal passageways dry with
clean, dry compressed air.
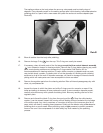
19. Inspect the bores in which the piston and orifice O-rings move for corrosion or wear. If the
bores are leaking air because of wear, replace the parts. If some corrosion deposits persist,
carefully wipe them away with a plastic scrubbing cloth. Blow any resulting dust out of the
regulator parts.
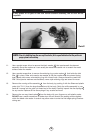
20. Remove and discard the black O-ring from the moving orifice . Save the white backup
washer; it can be reused. Inspect the moving orifice’s sealing surface (located at the top edge
of the orifice cone). Any nicks, scratches, or corrosion at the top of the cone can allow air to
pass, which will result in creeping hose pressures. Polish out the defects using a
fine abrasive
polishing stick or pencil eraser. When polishing, apply a light pressure to prevent excessive
wear on the cone. Use compressed air to blow away any dust created by the polishing
process.
9
Photo #3
26
18
4


