


4. Turn on the air. Use the in-line adjusting tool to turn the adjusting orifice counter-clockwise
until you hear a slight hissing. Then turn the adjusting orifice clockwise just enough to stop the
hissing. HINT: A slight clockwise turn past the point where the hissing just stops will reduce
wear and tear on regulators used heavily in rental or training situations.
5. Depress the lever assembly in the second stage five or six times to get the internal parts
seated in their proper positions. Listen for any hissing. Adjust if necessary.
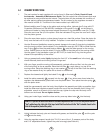
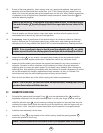
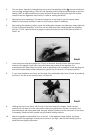
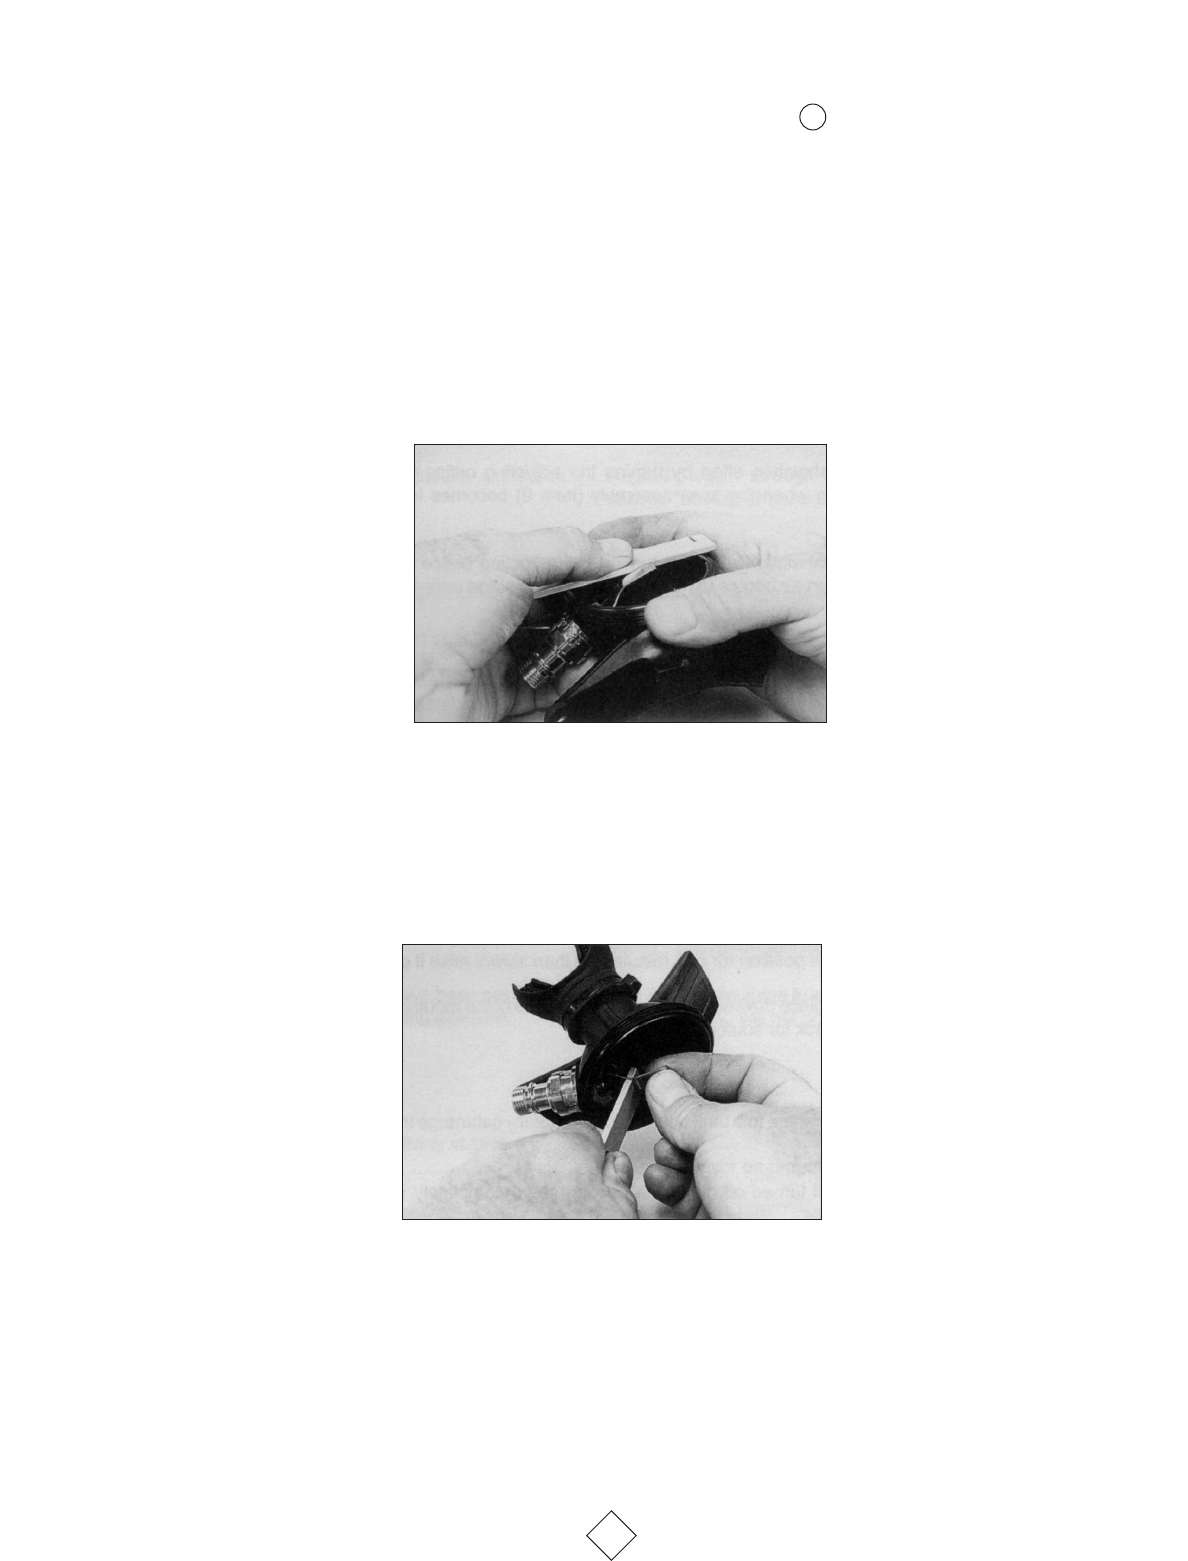
6. After setting the adjusting orifice, check the relationship between the diaphragm wear plate and
the tip of the lever assembly. To do this, use the Sherwood lever height gauge and adjusting
tool (p/n TL123). Use the tool as a gauge by laying it across the top of the case as shown in
Photo #4.
7. Look across the case and gauge tool. The tip of the lever should be even with the bottom
surface of the gauge. If you are re-using the same major parts of the regulator, this
measurement will most likely be correct, and no adjustment will be needed. In fact bending the
lever should be avoided unless necessary to get the tip of the lever in the proper position.
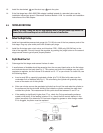
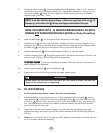
8. If you have installed a new lever, and the lever tip is noticeably high, bend it lower by installing
the lever in the slot of the tool as shown in Photo #5.
9. Holding the tool in one hand, with the tip of the lever toward the fingers, bend the lever
carefully. Do not hold on to the case when making this adjustment, as this can result in the
lever bending at the wrong area (near the lever support instead of at the mid-point of the lever).
If necessary, bend the lever upward using the same holding method.
10. After the regulator is assembled, turn on the air. If the regulator hisses slightly, but stops
hissing when the diaphragm is removed, the lever is too high. Use the lever bending tool to
bend the lever slightly downward.
16
Photo #5
Photo #4
24