


15
4. Solder or crimp the heavy-duty terminals to the positive and
negative wires. Use terminals that mate properly with the battery
terminals or existing battery cable clamps.
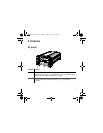
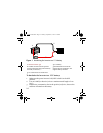
5. Remove the nuts from the DC terminals on the inverter.
6. Place the red ring connector on the red (positive +) DC terminal on
the inverter. With star washer in place, screw the red nut on until it
is snug. Do not over-tighten.
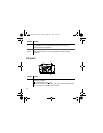
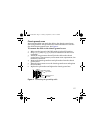
7. Fasten the positive terminal (red wire) to the positive battery post.
8. Fasten the negative terminal (black wire) to the negative battery
post.
9. Place the black ring connector on the black (negative –) DC terminal
on the inverter. With star washer in place, screw the black nut on
until it is snug. Do not over-tighten.
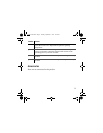
10. Switch the inverter’s ON/OFF switch to the “ON” position. The
green power light comes on, and AC power is available at the outlet.
INVERTER DAMAGE
• Reversing the positive and negative battery cables will damage the
inverter and will void your warranty.
• Before connecting the inverter to the battery, double check the
connections: The red wire must be connected to the red terminal on the
inverter and the positive (+) terminal on the battery; the black wire
must be connected to the black terminal on the inverter and the
negative (–) terminal on the battery.
Failure to follow these instructions can damage the unit and/or
damage other equipment.
XPower450.book Page 15 Tuesday, September 7, 2010 12:39 PM