Setup
Basic Hardware Installation
10
P1059693-001 Rev. A ZKDU User’s Guide 6/4/2013
Basic Hardware Installation
The ZKDU has three (3) basic requirements for connecting and using a Zebra Label
Printer with the ZKDU for the first time:
• ZKDU Compatible Zebra Label Printer - See the Zebra Website for a list.
The ZKDU requires a fully functional Zebra label printer running EPL (EPL2),
ZPL (ZPL II), or dual mode EZPL (EPL and ZPL) print operations.
• The Zebra label printer must have the Serial Port communications set to:
9600 baud, 8 bit word length, NO parity, 1 stop bit, and Hardware (DTR/DSR)
data flow control.
• Compatible media for your Zebra label printer and your print job (the label forms
you will print). See the printer’s user and programmer manuals or guides for details
about programming, Window’s printer driver, and other tools available.
Setting the Printer Up
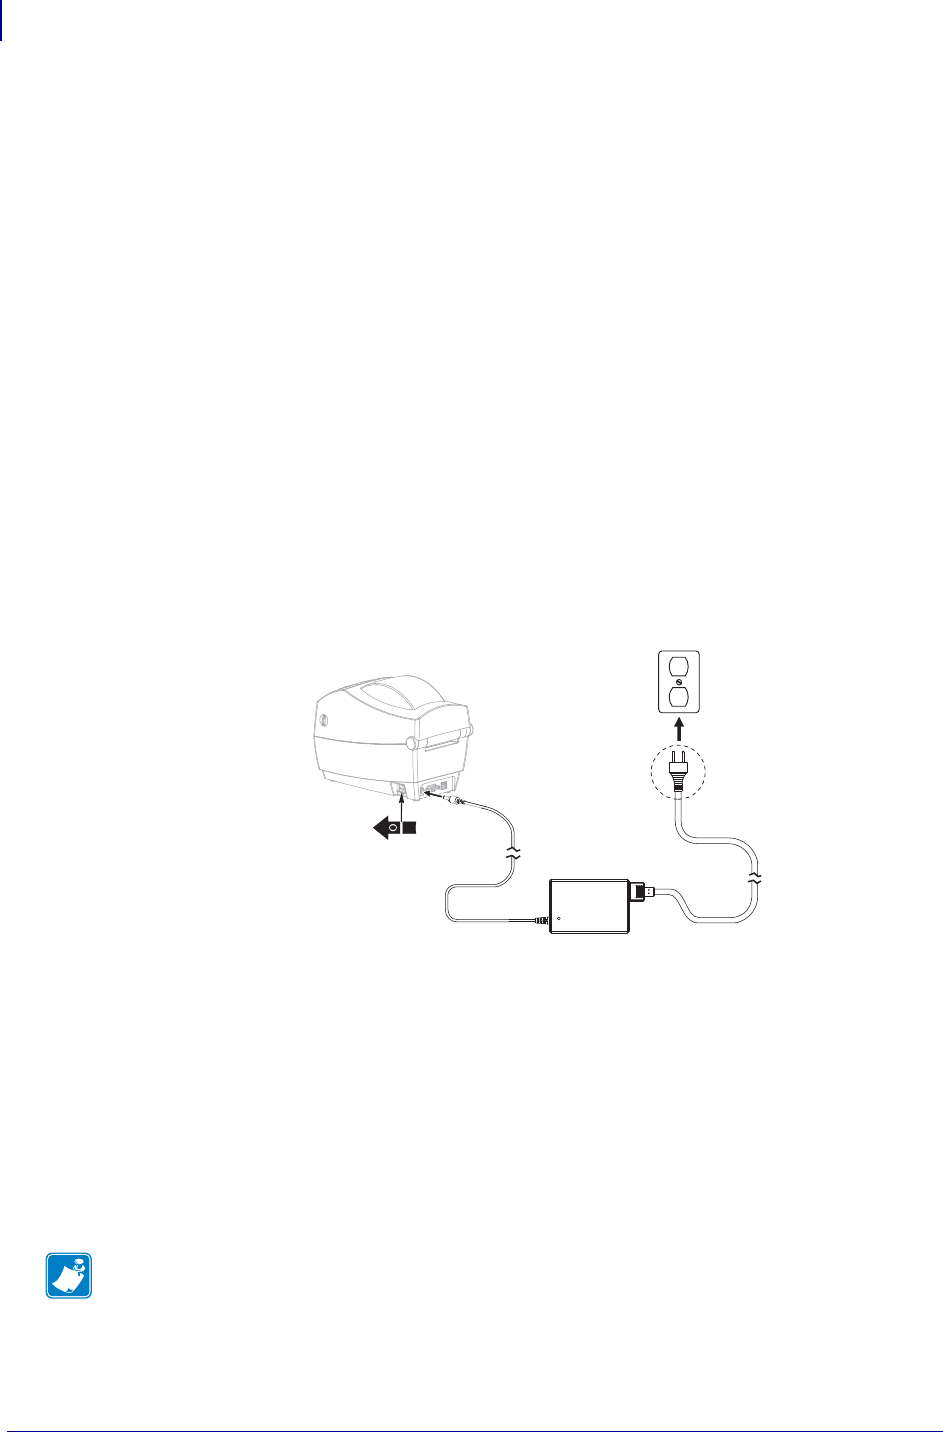
1. Connect the printer to power. With the printer power off, attach the printer to power. A
Zebra TLP2824 Plus desktop label printer is shown for reference only. Your particular
Zebra printer may have an internal power supply. See your users guide for more
details.
2. Connect your chosen Zebra label printer up to a PC with the Zebra Windows printer
driver installed for your printer. Establish communication to the printer via one of the
printer’s other non-serial port interface connections, i.e. USB, parallel, Ethernet, etc.
The serial port will be used for ZKDU operations.
3. Load your selected media in the printer. Use the Windows printer driver to set the
media parameters and do a test print. The printer should be set for the media type and
size in use, i.e. set it for continuous roll or label/tag/ticket with gap, notch or black
mark/line. The media type and size (length and width) should be set and stored in the
printer via appropriate programming commands or the Windows printer driver.
Note • Thermal transfer media requires ribbon to print, direct thermal media does not.
