


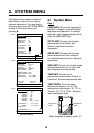
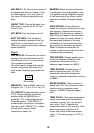
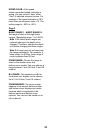
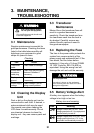
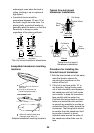
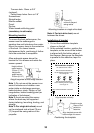
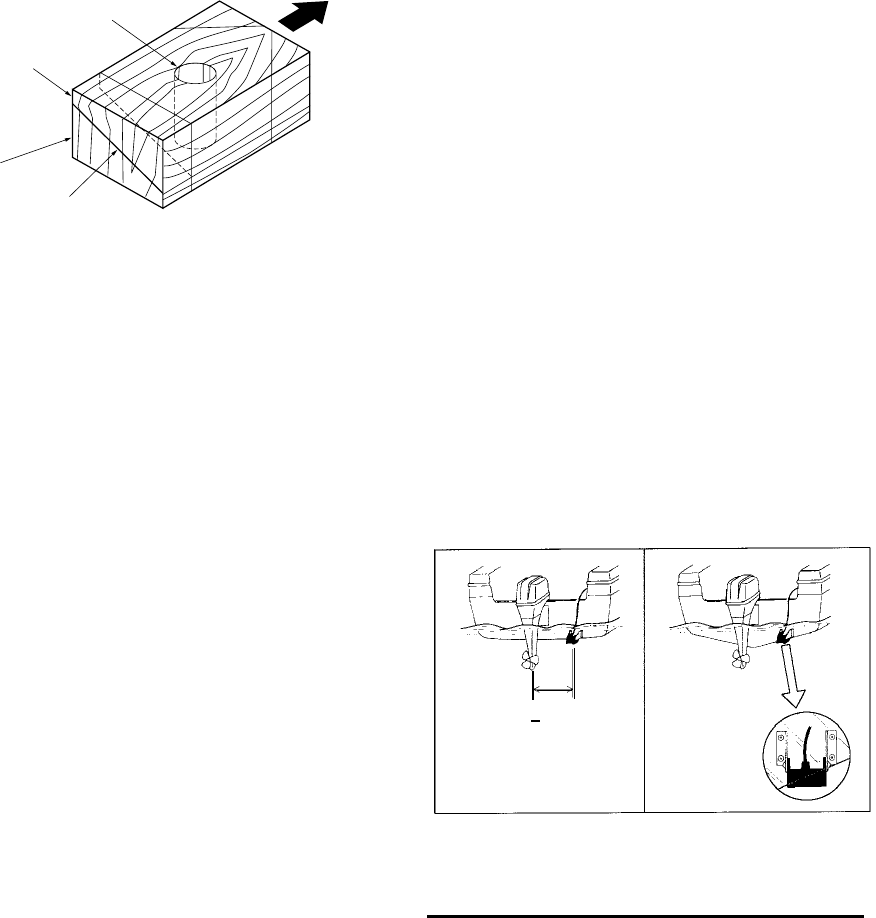
26
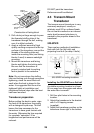
BOW
Hole for
stuffing tube
Upper Half
Lower Half
Saw along slope
of hull.
Construction of fairing block
3. Drill a hole just large enough to pass
the threaded stuffing tube of the
transducer through the hull, making
sure it is drilled vertically.
4. Apply a sufficient amount of high
quality caulking compound to the top
surface of the transducer, around the
threads of the stuffing tube and
inside the mounting hole (and fairing
blocks if used) to ensure watertight
mounting.
5. Mount the transducer and fairing
blocks and tighten the locking nuts.
Be sure that the transducer is
properly oriented and its working
face is parallel to the waterline.
Note: Do not over-stress the stuffing
tube and locking nuts through excessive
tightening, since the wood block will
swell when the boat is placed in the
water. It is suggested that the nut be
tightened lightly at installation and
retightened several days after the boat
has been launched.
Transducer preparation
Before putting the boat in water, wipe
the face of the transducer thoroughly
with a detergent liquid soap. This will
lessen the time necessary for the
transducer to have good contact with
the water. Otherwise the time required
for complete “saturation” ill be
lengthened and performance will be
reduced.
DO NOT paint the transducer.
Performance will be affected.
4.3 Transom Mount
Transducer
The transom mount transducer is very
commonly employed, usually on
relatively small I/O or outboard boats.
Do not use this method on an inboard
motor boat because turbulence is
created by the propeller ahead of the
transducer.
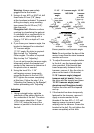
520-5PWD
There are two methods of installation:
flush with hull (for flat hulls) and
projecting from hull (for deep V-hulls).
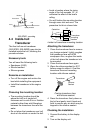
Flat Hull
D
D>50 cm
Deep-V
Hull
520-5PWD mounting locations
Installing the 520-5PWD on a flat hull
A suitable mounting location is at least
50 cm away from the engine and where
the water flow is smooth.
1. Drill four pilot holes in the mounting
location.
2. Attach the transducer to the bracket
with 5 x 20 tapping screws
(supplied).
3. Adjust the transducer position so the
transducer faces right to the bottom.