


8
Installation
Installing the Display
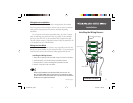
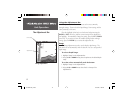
Display Installation (Flush Mount)
The Fishfi nder 240 Blue can be mounted fl ush against a dash or
electronics rack that is no more than 1/4” thick.
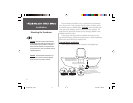
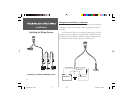
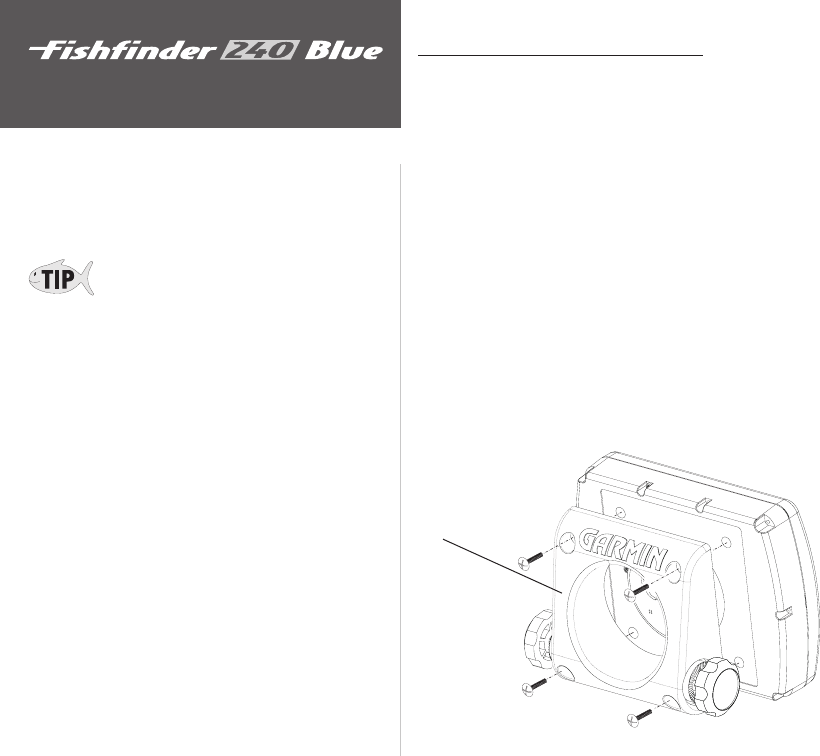
Flush Mounting the Display:
1. Remove the Mounting Bracket from the back of the unit by removing
its four screws.
2 Using the Mounting Bracket as a template, mark the location of the four
mounting holes and the center relief hole.
3. Drill the mounting holes using a 6mm or 15/64” drill.
4. Using a 1-7/8” hole saw, cut the center relief.
5. Secure the unit to the mounting surface using four M5 screws.
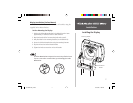
If you are fl ush mounting the unit on a sheet metal surface, use the
mounting bracket on the back to help reinforce the metal. You may also
purchase the optional Flush Mounting Kit and follow the fl ush mounting
instructions included with the kit.
Mounting Bracket
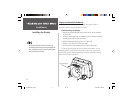
Be careful not to install screws that are too long!
The mounting holes in the unit are approximately 1/4”
deep. Installing screws that are too long will damage
the unit and void the warranty.
190-00200-00_B.indd 02/19/02, 11:29 AM8