


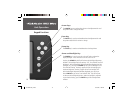
9
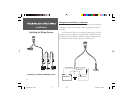
Installation
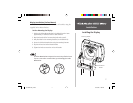
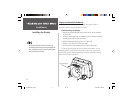
Testing the Installation
Testing the Installation
While it is possible to perform some checks with the boat trailered, the
boat should be in the water to properly test the installation.
Press the POWER button and the Fishfinder 240 Blue should power
on. If the unit fails to power on, verify that the wiring adapter is seated
properly in the back of the unit, the Red and Black wires are connected to
the correct polarity, and the 2-Amp fuse is installed and not blown. If the
unit is connected to a power supply that exceeds 18 VDC, a ‘Battery Voltage
High’ warning will be displayed and the unit will turn off.
As the unit powers on, it should immediately start showing the bottom.
Verify that the unit is not in the simulator mode. If the unit is in the
simulator mode, make sure that the transducer is connected to the wiring
harness.
To test the transducer and speed sensor installation, gradually increase
the boat’s speed while checking the unit operation. If the unit displays
intermittently or fails to display, verify that the transducer and speed sensor
are aligned parallel with the bottom. If necessary, adjust their heights until
the unit operates correctly. It may be necessary to make several adjustments
to ensure proper operation throughout the speed range. If the signals do
not improve, it may be necessary to move the transducer or speed sensor
to a different location.
When adjusting the depth of the transducer, make the adjustments in small
increments, like 1/8”. Placing the transducer or speed sensor too deep can
adversely affect the boat’s performance and increase the risk that they may
strike underwater objects.
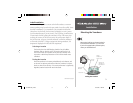
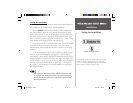
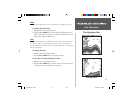
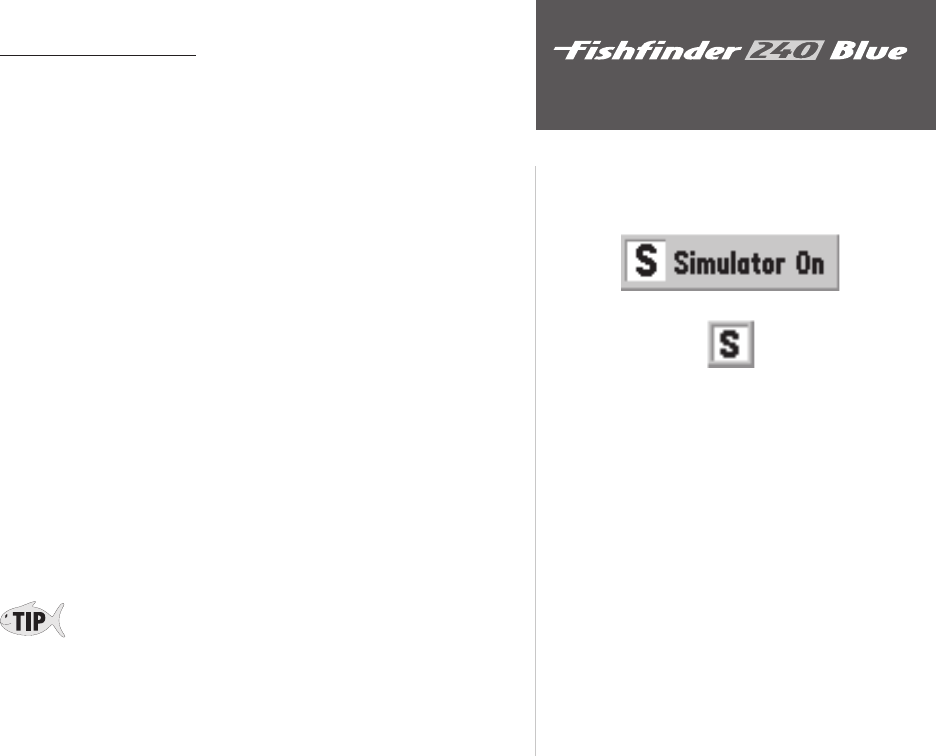
If the Fishfi nder 240 Blue is in Simulator Mode, the message
“Simulator On” will be displayed along the bottom of the
screen. The message will be replaced by the “S” icon indicat-
ing that the unit is running in simulator mode.
Simulator Message and Icon
190-00200-00_B.indd 02/19/02, 11:29 AM9