


11
Copyright ©2001 Liberty Group
Service & Repair Manual
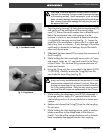
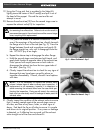
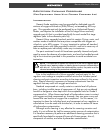
Fig. 6 – Cover Ring Removal
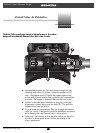
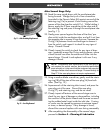
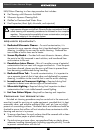
Fig. 7 – Genesis Pop p et Drive Tool
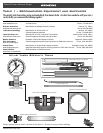
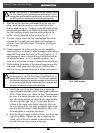
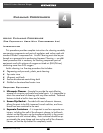
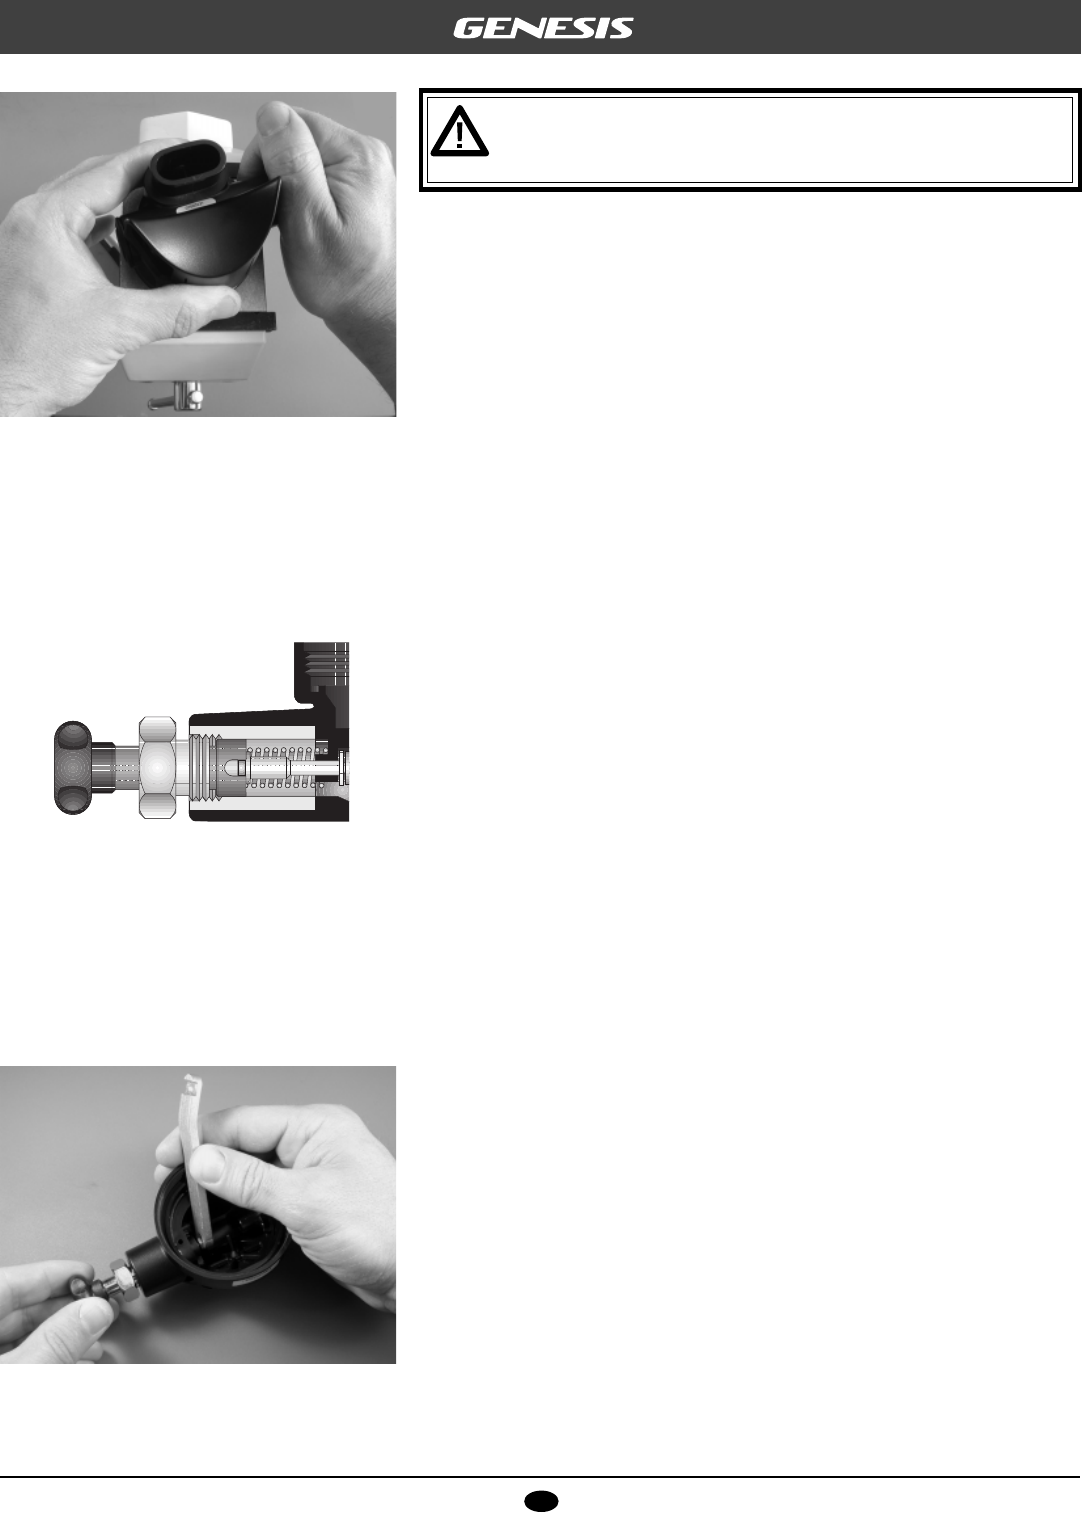
Fig. 8 – Disassembly of Pop p et
CAUTION: Do not over-tighten the vise. Doing so may
permanently distort or fracture the cover ring and the case,
requiring their replacement.
c. When the cover ring is held secure, firmly grasp the
second stage with both hands and rotate the second
stage counter-clockwise in a level direction above the
clamp (see Fig. 6).
d. After loosening the cover ring, open the vise to loosen it
further by hand to remove it.
12. Lift the diaphragm cover directly out of the case to expose
the diaphragm(3), and closely inspect the cover to ensure it
is perfectly round and free of any distortion or other dam-
age. If any damage is found, discard the cover and
replace with new.
13. Grasp the diaphragm by the raised edges of the center
plate, and lift it out of the case with a slight twist. Inspect
the diaphragm to ensure it is supple and free of any pin-
holes, tears, corrosion, or other damage. If any damage is
found, discard it and replace with new.
14. Mate the Poppet Drive Tool (provided in the Genesis Pop-
pet Tool Kit, PN 20-640-100) into the inlet tube of the
second stage, and turn the knob slightly in either direction
to engage the driver with the poppet(9). (See Fig. 7.)
Then, turn the hex nut clockwise by hand until lightly snug
to fasten the tool onto the second stage.
15. Press the knob of the tool inward to compress the poppet
spring until the arms of the lever(21) are visible, and pull
the lever out of the second stage. Relax the tool. Examine
the lever arm and compare with new to ensure that it is not
bent or distorted in any way. Discard if damage is found.
16. Apply the Poppet Nut Wrench (provided in the Poppet Tool
Kit) to hold the locknut(19) secure. Engage the Poppet
Drive Tool to turn the poppet counter-clockwise until the
locknut falls off the end of the poppet shaft. (See Fig. 8.)
17. Turn the case over to drop out the spacer(20) and
washer(22). Discard the washer and locknut, and do not
reuse. Inspect the spacer to check for any signs of wear.
If found, discard and replace the spacer with new, or set it
aside to be reused if it is in satisfactory condition.
18. Unscrew the nut of the Poppet Drive Tool from the second
stage inlet, and remove the tool to allow the poppet and
poppet spring(10) to fall out. Inspect the spring with a
magnifier to check for any signs of corrosion. Discard it if
corrosion is found, and do not reuse.