


13
Copyright ©2001 Liberty Group
Service & Repair Manual
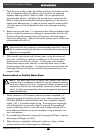
Atlas Second Stage Only:
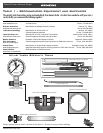
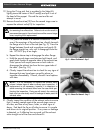
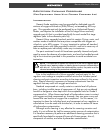
22. Stand the case upside down with the mouthpiece tube
facing forward. Wedge the tip of a 2mm screwdriver
(provided in the Genesis Select Kit) against one end of the
retaining ring(11a) to prevent it from rotating around the
groove of the dive/pre-dive switch(11c). While holding it
secure, apply the 3.5mm screwdriver to the other end of
the retaining ring and press it through the mouthpiece tube
(see Fig. 11).
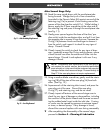
23. Gently press upward against the base of the dive/ pre-
dive switch inside the mouthpiece tube, and pull it out from
the opposite side to remove it from the case. Squeeze the
O-ring(11b) between thumb and forefinger to remove it
from the switch, and inspect it to check for any signs of
decay. Discard if found.
24. Closely inspect the switch to check for any signs of dam-
age – especially around the O-ring sealing groove, where
a small scratch can allow the entrance of water into the
second stage. Discard it and replace it with new if any
damage is found.
NOTE: Disassembly and replacement of the case plug is
not required for annual service, but should be performed
semi-annually or in the event that the customer has reported
leakage of water into the second stage. Proceed directly to
Step 27 if the case plug does not require replacement.
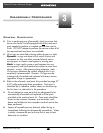
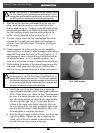
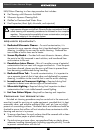
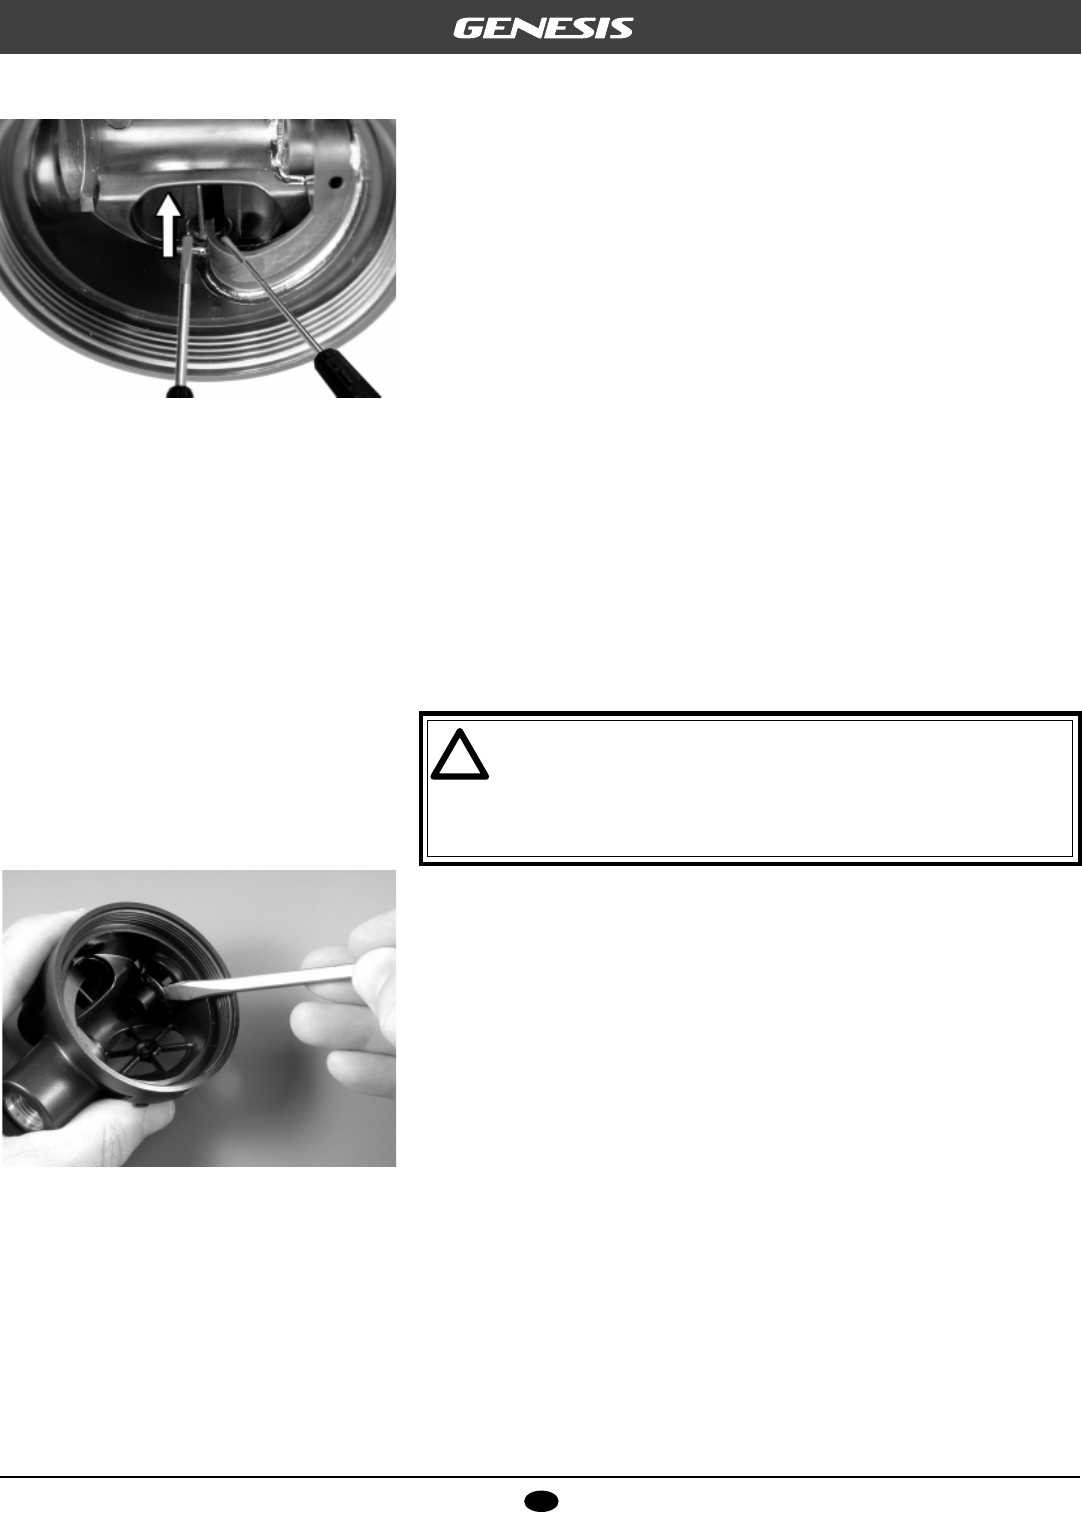
25. Using a medium blade screwdriver, gently work the retain-
ing ring(18) off the stem of the case plug(16) from both
sides. (See Fig. 12.)
26. Squeeze each of the retaining tabs inward, and press the
case plug out of the case. Discard the case plug,
O-ring(17), and retaining ring, and do not reuse.
27. Closely inspect all features of the second stage case to
check for any signs of damage or abnormalities, including
the condition of the plastic threads and the area surround-
ing the molded metal insert inside the inlet tube. Crazing
or cracks may be caused by exposure to extreme impact
or stress, or aerosol sprays. If any damage is found,
discard the case and replace with new during reassembly.
▼
After completing the disassembly of the second stage,
proceed to Section 4 – Cleaning & Lubrication
Fig. 11 – Atlas Retaining Ring Removal
Fig. 12 – Case Plug Removal