


9
Copyright ©2001 Liberty Group
Service & Repair Manual
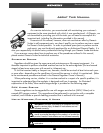
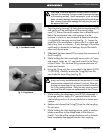
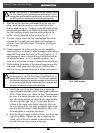
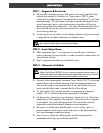
Fig. 1 –␣ Serial Number Location
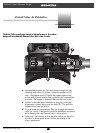
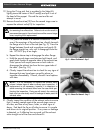
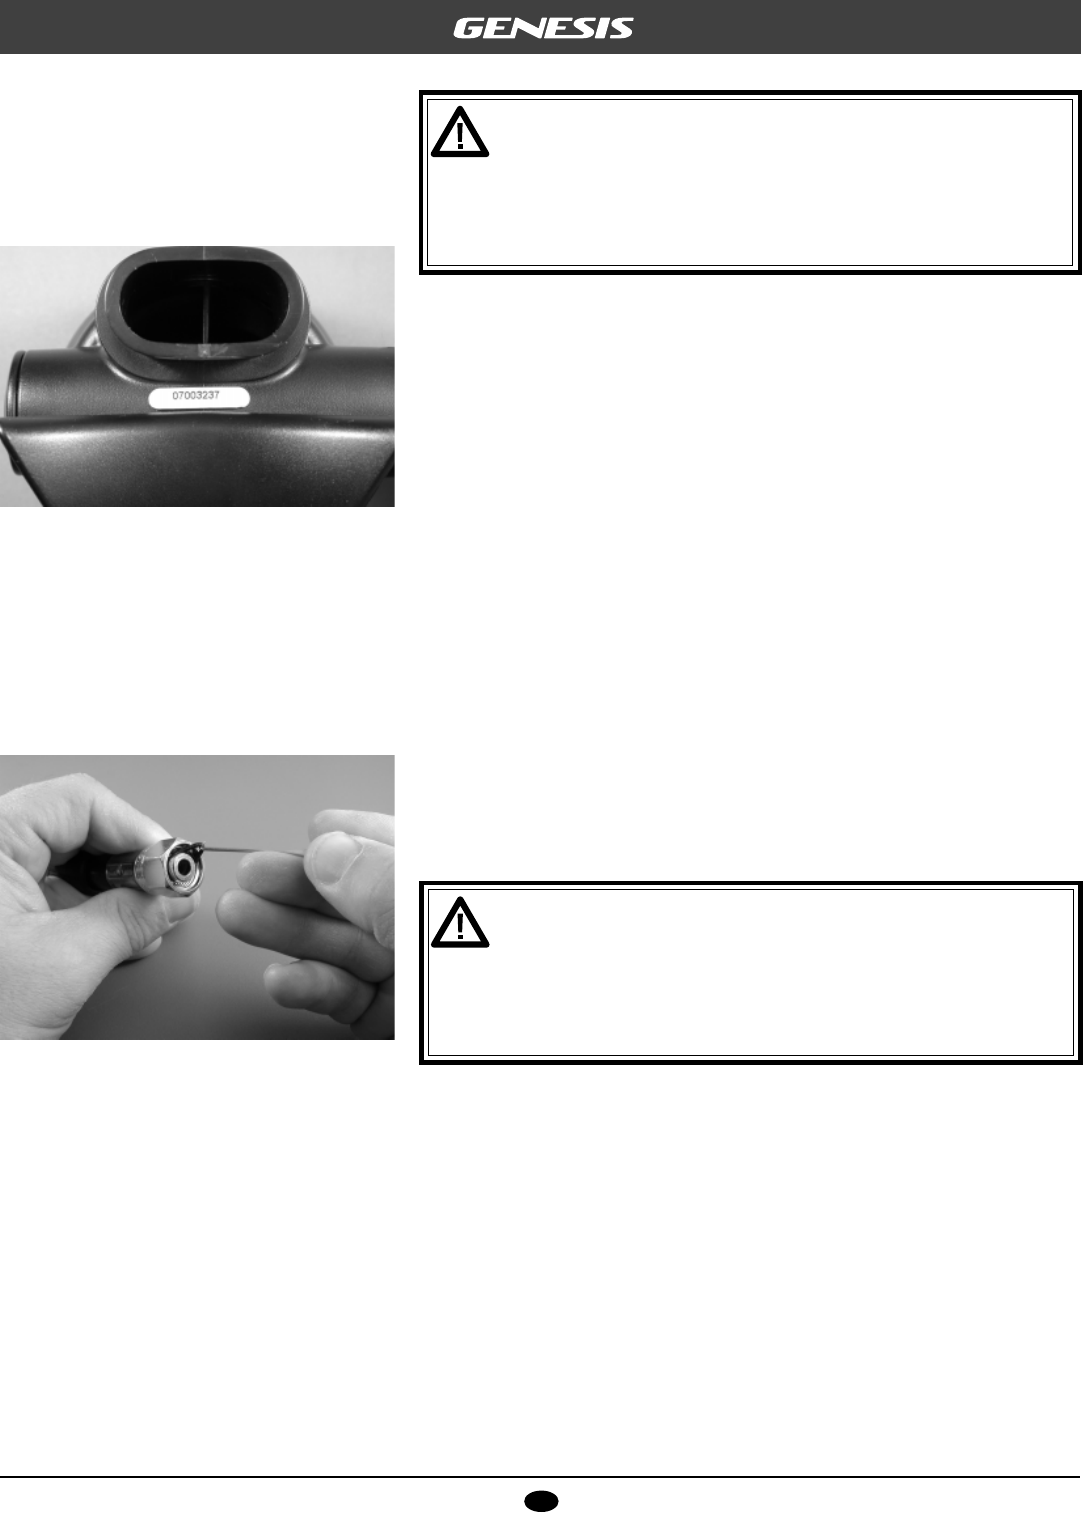
Fig. 2 –␣ O-ring RemovaL
CAUTION: Whenever possible, use only plastic or brass O-
ring tools for removing O-rings in order to prevent damage
to the sealing surface. Steel instruments, such as dental
picks, can easily damage the sealing surface of a softer brass
part, causing irreparable leakage and requiring the part to
be replaced with new.
1. Snip the plastic tie-strap(14) that holds the mouthpiece(12),
and gently pull the mouthpiece off the second stage
case(11). Record the serial number that is affixed directly
below the mouthpiece tube, and compare it to the
customer’s invoice or service record to determine whether
it is eligible for warranty service (see Fig. 1). Inspect the
condition of the mouthpiece to ensure that it is supple and
free of any tears or corrosion. If any damage is found that
could result in discomfort or leakage, discard the mouth-
piece and do not reuse.
2. Slide back the hose sleeve(27) to expose the connection of
the LP hose(25).
3. While holding the inlet coupling(6) secure with a w" open-
end wrench, apply an n" open-end wrench to the fitting
of the LP hose. Turn the hose fitting counter-clockwise to
loosen and remove.
4. Using the O-ring pick that is provided in the Select Kit (PN
11-090-500), carefully remove the O-ring(26) from the
post inside the hose fitting (see Fig. 2).
CAUTION: The O-ring pick is made of steel and is very
sharp, and is only recommended for the removal of O-rings
that cannot be removed with a brass O-ring tool. When per-
forming the above step, be very careful to avoid scratching
the O-ring sealing surface. Doing so may cause a perma-
nent leak that will require the replacement of the LP hose.
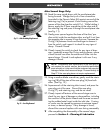
5. While holding the diaphragm cover(2) fully depressed in
the purge position, apply a w" open-end wrench to the
inlet coupling and turn it counter-clockwise to loosen and
remove.
6. Remove and discard the O-ring(7) from the inlet coupling.
Do not reuse.
7. While holding the inlet coupling secure, apply a medium
blade screwdriver to the slotted head of the valve ori-
fice(5). Turn the orifice counter-clockwise until its threads
have completely disengaged from the inlet coupling.