Set Up
4 312964C
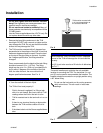
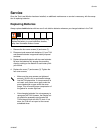
7. Install two, 9-volt alkaline batteries (1). Be sure that
the batteries fully engage the mounting clips by
pushing on the bottom of each battery with your
thumb.
8. Replace insulating foam (4).
9. Replace cover (7) and secure it with the four screws
(3).
It will take about 30 seconds for the monitor to dis-
play information after pressing the Display button
on the initial power-up. This time will decrease
thereafter to a few seconds
Make sure the gasket (2) is not damaged and is in
the correct location.
Make sure the cover screws are tightened securely
(18-22 in-lb) to avoid water leakage into the TLM
electronics. If a torque wrench is not used, verify
there are no gaps under the screw heads and no
gaps under the cover flange. This will ensure
proper compression of the gasket for a water-tight
seal.
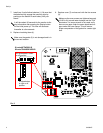
F
IG. 2
12
3
4
S2
on
1
2
3
4
S1
on
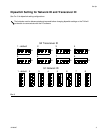
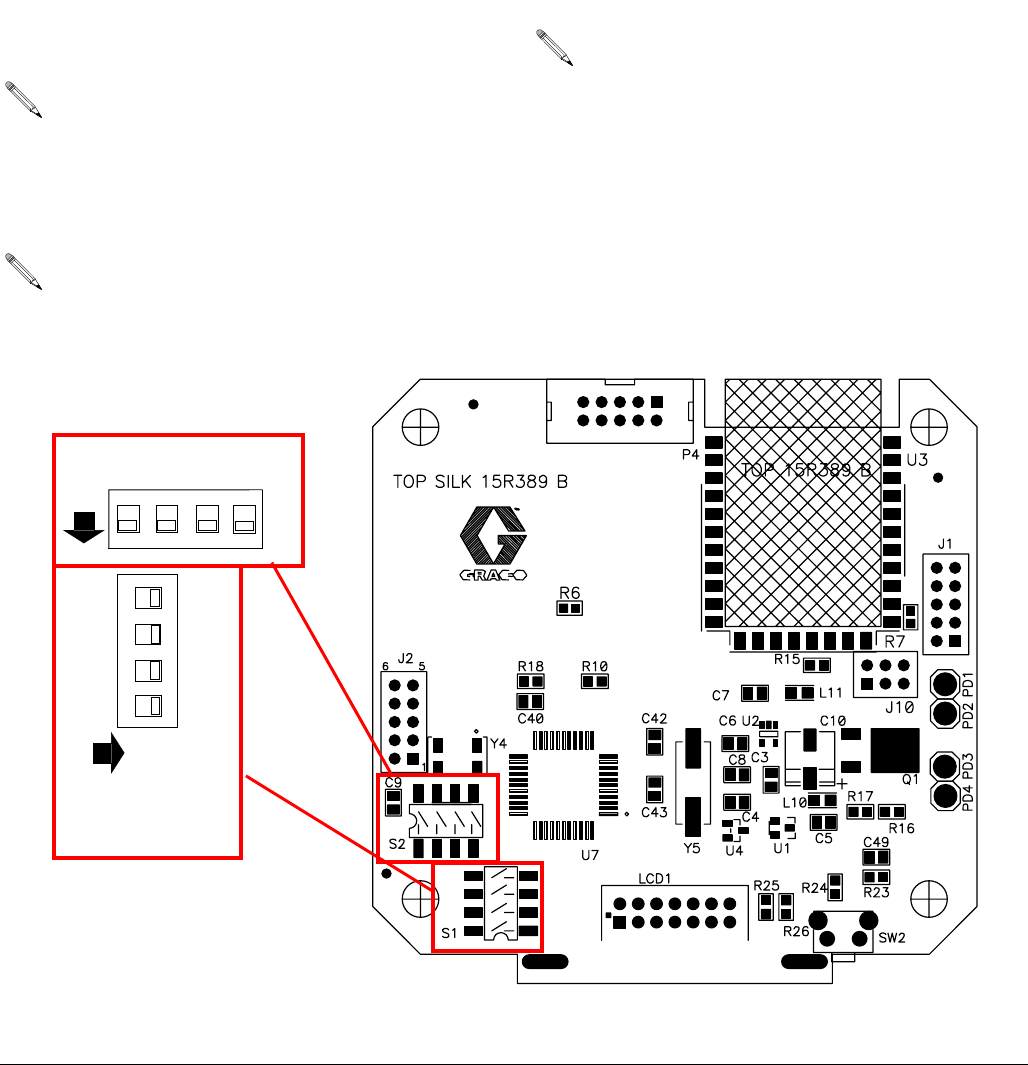
All dipswitches in down
or off position.
All dipswitches
to right or off
position.
ti12007a
S1 sets NETWORK ID
S2 sets TRANSCEIVER ID


