mn100 Dual Digital Display
6
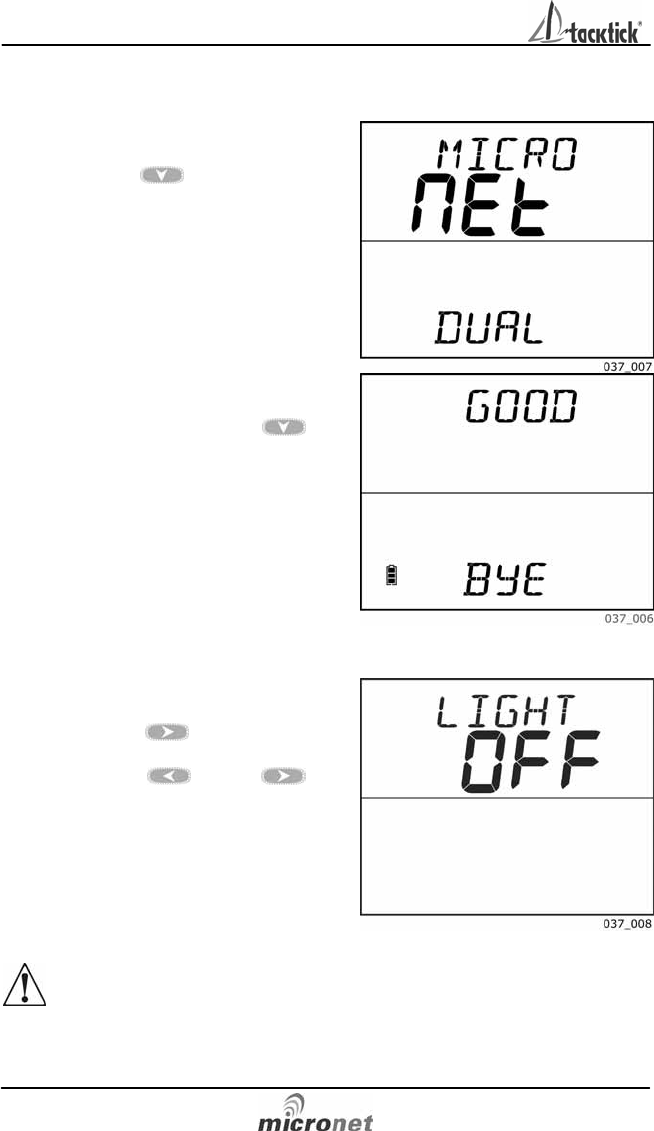
2.2 Switching the System On and Off
To switch on your Micronet
system select any instrument
and press the
button for 2
seconds.
To switch off your Micronet
system select any instrument
and press and hold the
button for 2 seconds.
2.3 Backlighting
At any stage of the instrument’s
operation press and hold for 2
seconds the
button to
access the lighting control.
Pressing the
and
buttons will scroll through
setting OFF, 1, 2 and 3 whilst
changing the Backlighting.
Depending on the instrument
setup (see page 20 -s5),
Backlighting on the whole
system or just the single
instrument will be altered.
Backlighting is automatically switched off in daylight as part of
the instrument’s power saving feature and will not operate in daylight.
Installation
31
5.3 Bracket Mounting (Preferred Method)
This method allows for the easy removal of an instrument as and
when required, for either security reasons or to prevent damage or
discomfort whilst not in use.
1. Using the three supplied M4 bolts attach the back plate to
the rear of the instrument (Fig.1).
2. Drill three 2mm holes marked “BRACKET” on the Template
and using the supplied self tapping screws attach the clip
bracket to the mounting surface (Fig.2).
3. Place the instrument flat against the bracket slightly higher
than the final position and slide gently down into position.
There will be a small click as the bracket secures the
instrument into position (Fig.3).
4. To release the instrument press lightly on the bracket tab
and slide the instrument upwards (Fig.4).


