


GPS chartplotters Page 29
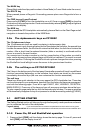
1. Press [MENU] and move the ShuttlePoint knob to select SETUP and press [ENTER].
2. Move the ShuttlePoint knob to select
GENERAL SETUP and press [ENTER].
3. Now select
SHIP ICON and press [ENTER] or move the ShuttlePoint knob to the right
to show the popup window with ship icons.
4. Move the ShuttlePoint knob to select the desired icon and press [ENTER] or move the
ShuttlePoint knob to the right to select a new icon.
5. Press [CLEAR] or move the ShuttlePoint knob to the left to exit the menu and show the
Chart Page.
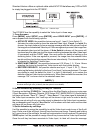
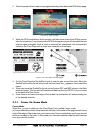
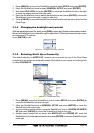
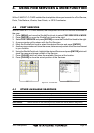
3.1.4 Changing the backlight and contrast
With the chartplotter turned On, briefly press [PWR] to show the light and contrast popup window.
Move the ShuttlePoint knob to the left or right to adjust the LCD backlight intensity or up or down
to change the LCD contrast.
Press [ENTER] to set.
Figure 3.1.4 - Backlight and Contrast adjustment
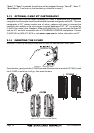
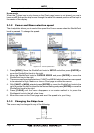
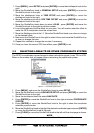
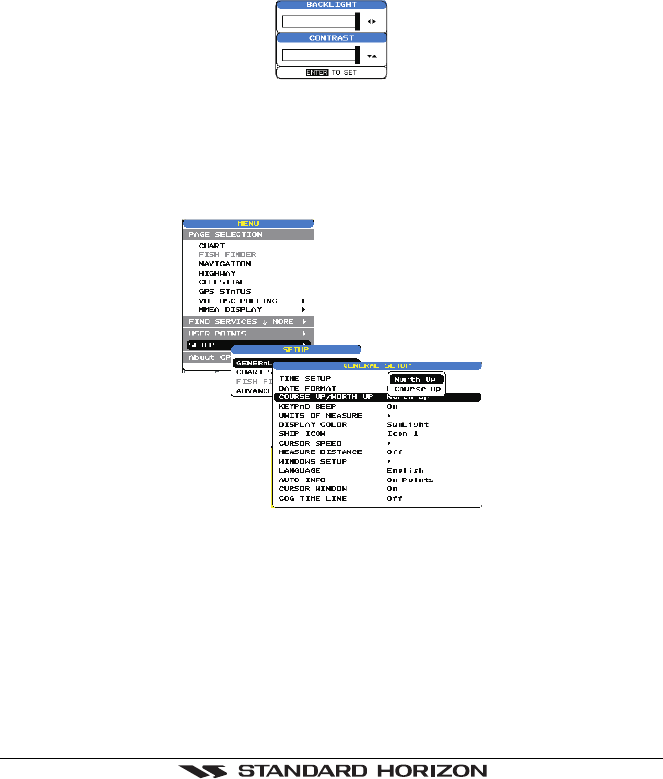
3.1.5 Selecting North Up or Course Up
The default selection is NORTH UP, however you may want the top of the Chart Page
oriented so it will always show the area ahead of the direction your vessel is traveling which
is called
COURSE UP.
Figure 3.1.5 - General Setup menu
1. Press [MENU], move the ShuttlePoint knob to select SETUP and press [ENTER] or
move the ShuttlePoint knob to the right.
2. Move the ShuttlePoint knob to
GENERAL SETUP and press [ENTER] or move the
ShuttlePoint knob to the right.
3. A popup window will be shown, move the ShuttlePoint knob to
COURSE UP/NORTH
UP and press [ENTER] or move the ShuttlePoint knob to the right.
4. Another popup window will be shown with
NORTH UP and COURSE UP, move the
ShuttlePoint knob to the desired selection and press [ENTER] or move the ShuttlePoint knob
to the right.