


CMX High Performance Material & Coating Thickness Gauge
7
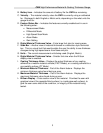
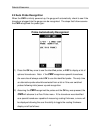
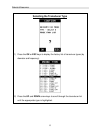
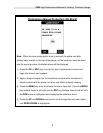
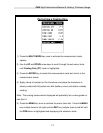
3) Press the ENTER key to select the transducer type and display overwrite
existing probe screen.
4) Press the OK key to overwrite the existing probe type with the newly
selected probe type. The zero probe screen will be displayed. Proceed to
the zero probe section that follows.
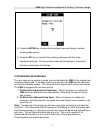
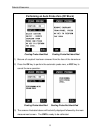
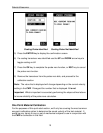
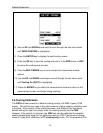
2.4 Probe Zero & Calibration
The next steps are to perform a probe zero and calibrate the CMX to the material and
transducer being used. If the sound velocity is unknown, the CMX can be calibrated
to a known thickness sample. This demo will briefly explain both of these techniques.
The CMX is equipped with two zero options:
1) Off Block Zero (Automatic Probe Zero) – When this feature is enabled the
CMX will do an electronic zero automatically, eliminating the need for a zero
disk or block.
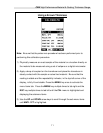
2) On Block Zero (Manual Probe Zero) – When this feature is enabled the
transducer must be placed on the probe zero disk (battery cover located on the
top of the unit.
Note: Transducers of the same type will have very slight mechanical and electrical
variations. If it’s discovered that the linearity is off following an initial auto probe zero
and extreme accuracy is required, a manual zero should be performed followed by an
auto zero. This will adjust and eliminate any error. This is only required if it’s
discovered the transducer is non-linear following an initial auto probe zero.
The procedures are outlined as follows: