91
To Save a Trail
1. Press MENU|MENU|↓ to MY TRAILS|ENT.
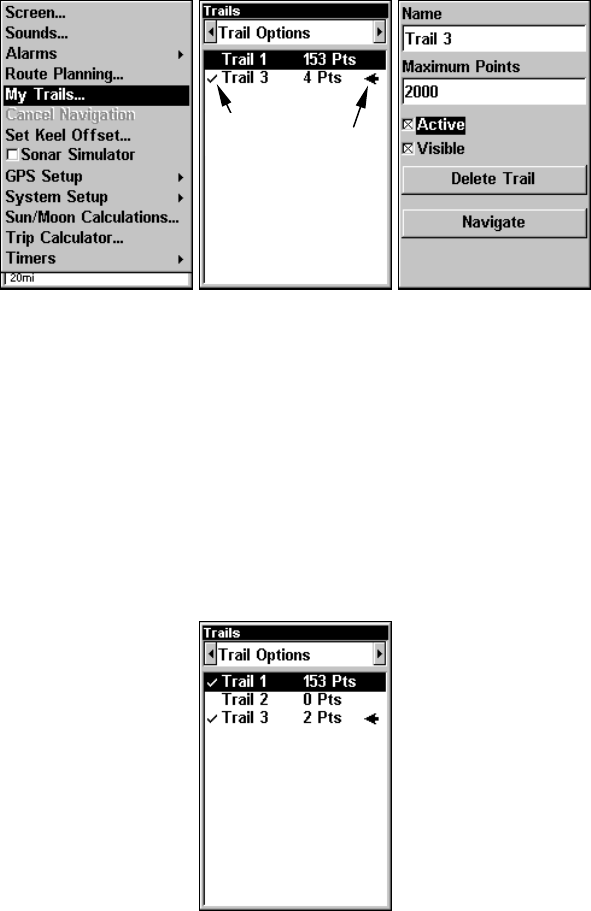
Sequence for saving a trail and beginning a new one. At left, My Trails
command. Center, the Trails Menu. The arrow to the right of Trail 3
indicates the trail is "active," and the check to the left indicates the
trail is visible on the plotter display. The right figure shows the Edit
Trail menu, with the Active command selected.
2. Press ↓ to the Active Trail Name|ENT.
3. Press ↓ to
ACTIVE|ENT. This unchecks the Active option.
4. To return to the previous page, press
EXIT|EXIT|EXIT|EXIT. As you
left the Edit Trail menu, you will notice that a new trail was started
with a new sequential number. In the example figure below, the new
trail is number 3, showing 2 points. Note that Trail 1 is inactive, but it
is still visible on the plotter.
New trail, named "Trail 3," is created when Trail 2 is made inactive.
Any new travel will be recorded in this trail, which is active and visi-
ble. Trails do not need to be visible in order to be active.
Active
symbol
Visible
symbol


