


1. OPERATION
13
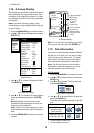
8. Use T to choose Span (or Radius for Arrival)
and press the ENTER key.
9. Use
S or T to set the range of depth, tem-
perature, speed or distance as appropriate.
To shorten the alarm range marker use
T,
and to lengthen use
S.
10.For the bottom alarm, temperature alarm,
speed alarm or arrival alarm, press the
ENTER key to finish, and then go to step 13.
For a fish alarm, press the ENTER key and
go to step 11.
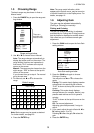
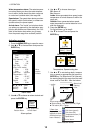
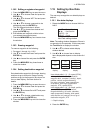
11.Use
T to choose Fish Level and press the
ENTER key.
Fish Level setting box
12.Use S or T to choose the echo strength
level which will trigger a fish alarm and press
the ENTER key.
Weak: Light-blue or stronger echoes
Medium: Yellow or stronger echoes
Strong: Red and reddish brown echoes
13.Press the MENU/ESC key twice to close the
window.
Note1: To disable an alarm, choose Off at step
4 in the above procedure.
Note2: The audio and visual alarms are
released against the last-violated alarm when
multiple alarms are active.
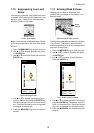
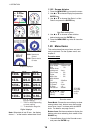
1.17 FUNC Key
The FUNC key provides for instant display of a
user-defined options window chosen with
FUNC Key on the Key menu. Nine items are
available: Pic. Advance (default), Shift, Interfer-
ence, Clutter, Color Erase, White Line, White
Marker, WPT List and Bottom Area. For details
about registration, see section 2.2. Use the
FUNC key as follows.
1. Press the FUNC key to open the setting
window registered; for example, Pic.
Advance setting window.
2. Use FUNC key,
S or T to adjust the setting
and press the ENTER key.
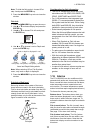
1.18 Waypoints
Waypoints may be used to:
• Record the position of an important echo as
waypoint. 20 points may be registered.
• Output a waypoint position to a plotter to
mark position on its screen.
• Find range, bearing and time-to-go to a
location (waypoint).
Note: Requires latitude and longitude position
from a navigator.
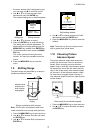
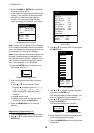
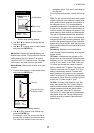
1.18.1 Registering a waypoint
Registering a waypoint on the screen
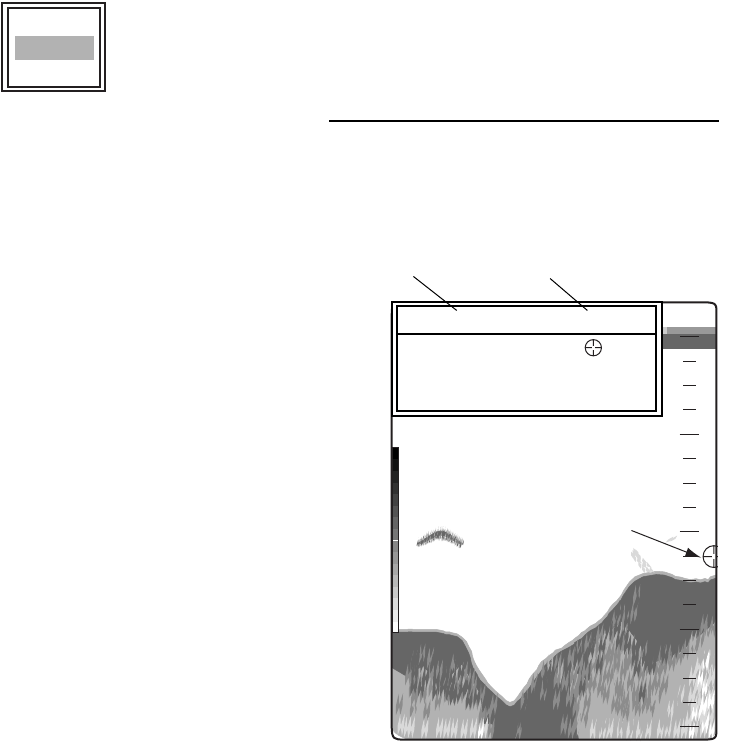
1. Press the MARK key.
The cursor appears along with waypoint
entry instructions. To enter a waypoint to the
current own ship's position, go to step 3.
Cursor
Note: If there is no position data the message
"No position data!" appears. Check the navi-
gator.
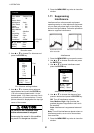
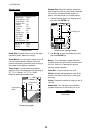
2. Press the TrackPad to set the cursor where
desired.
Picture advancement is stopped until step 3
is completed, and the instruction window is
integrated into the nav display.
Weak
Medium
Strong
Cursor
49.6
m
20
40
60
80
0
45.0m 50.0°F
S
/
T
/
W
/
X
: Move cursor
[ENTER] / [MARK] : Set
[MENU] : Cancel
Depth and temperature of cursor position