


4. INSTALLATION
28
4.3 Transom Mount
Transducer
The transom mount transducer is very com-
monly employed, usually on relatively small I/
O or outboard boats. Do not use this method
on an inboard motor boat because turbulence
is created by the propeller ahead of the trans-
ducer.
DO NOT overtighten screws. They may be
damaged.
525-5PWD
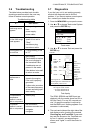
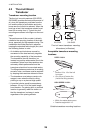
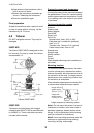
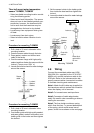
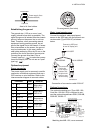
Choose the installation method depending on
the rise angle of the hull.
525-5PWD mounting locations
Installing the 525-5PWD
A suitable mounting location is at least 50 cm
away from the engine and where the water
flow is smooth.
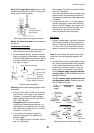
1. Drill four pilot holes for self-tapping screw
(5x20) in the mounting location.
2. Attach the transducer to the mounting loca-
tion with self-tapping screws.
3. Adjust the transducer position so the trans-
ducer faces right to the bottom.
If necessary, to improve water flow and
minimize air bubbles staying on the trans-
ducer face, incline the transducer about 5
°
at the rear. This may require a certain
amount of experimentation for fine tuning
at high cruising speeds.
4. Fill the gap between the wedge front of the
transducer and transom with epoxy mate-
rial to eliminate any air spaces.
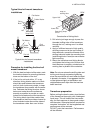
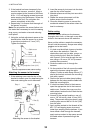
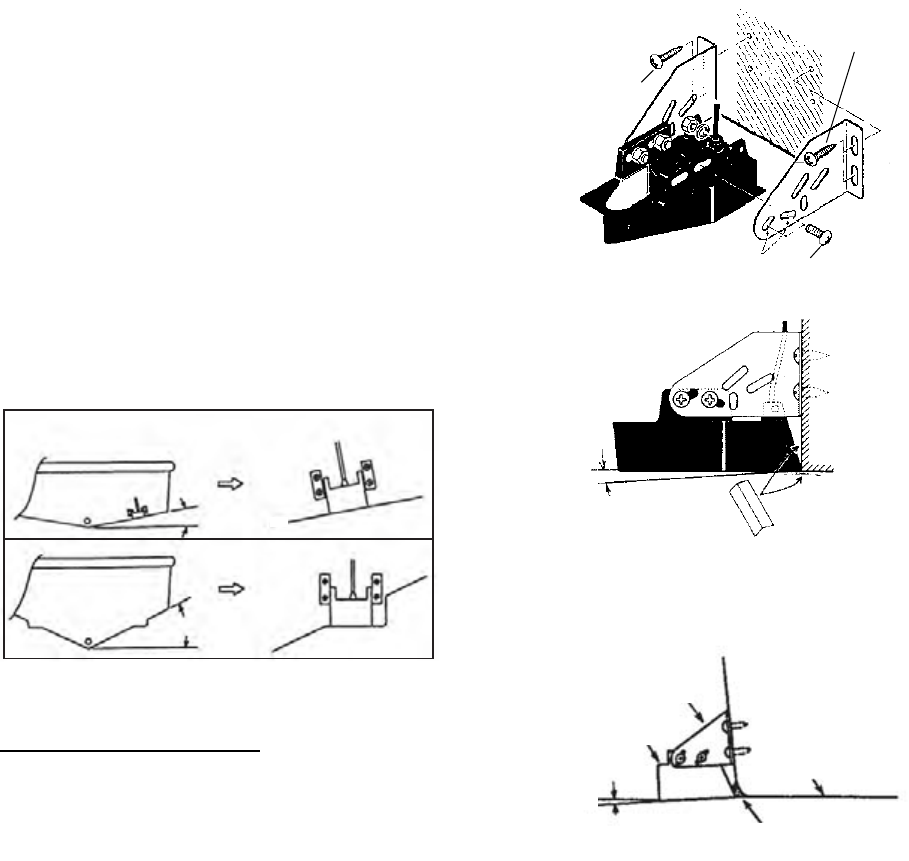
Transom mount transducer, mounting flush
with hull
525-5PWD, mounting
4.4 Inside-hull Transducer
The thru-hull mount transducer (520-5PSD,
520-5MSD) may also be installed inside the
hull, following the procedure below.
Necessary tools
You will need the following tools:
• Sandpaper (#100)
• Silicone sealant
• Silicone grease
Transom
Transom
Stripe
over 10°
Parallel with hul
l
Mount at the stripe
.
less than 10°
5x20
5x20
No.1
M5x14
Tape
5°
Hull
Epoxy material
Bracket
T
ransducer
2
to 5°