II. Frame and Mesh TrampolineNote
Note Placing the bows in a slightly toed-in position
will make sliding the trampoline easier.
The one-piece mesh trampoline installs with
the lacing grommets on the side closest to the 8. Slide the front crossbeam onto the trampo-
rear crossbar. The side with grommets nearest line bolt rope suspended between the hulls.
the crossbar, is the rear portion of the trampo- 9. Slide each front eyestrap on either side of
line. the front crossbar so one is at each end.
All directions referring to "right," "left," 10. Spread the bows apart slightly and insert
"front" and "back" are based on looking from one side of the crossbar over its receiver.
the stems toward the bows. Then slip on the other side. Use the rubber
mallet to snug each side onto its receiver.
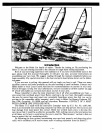
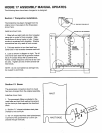
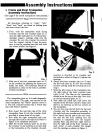
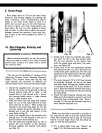
1. First, with the trampoline track facing 11. Attach the crossbar bolts as described in
forward, slip the rear crossbar (part no. 1) steps 10 and 11 of section I.
onto the right hull (part no. 2). The factory-
installed support castings slide into the
crossbar. Be sure the crossbar fits entirely Note
over the support casting. It may be neces-
sary to tap the crossbar onto the hull with Once the boat has been sailed a few times it
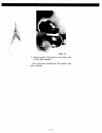
the rubber mallet. See Figure 1. takes on "normal set." In other words, the
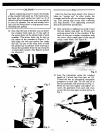
2. Slide one of the four eyestraps (part no. 3) crossbar and hulls will set and need retighten-
on the crossbar by slipping the square nut ing. This setting also occurs after trailering
inside the track. The eyestrap should be any long distance. This tightening procedure
positioned as close to the hull as possible should be performed periodically.
without touching it.
3. Slide the mesh trampoline (part no. 4), with 12. Secure the trampoline comers as in step 13,
the grommets aft, into and across the rear section I.
crossbar (part no. 1).
4. Slide the second eyestrap (part no. 3) into This completes assembly of mesh trampo-
position so there is one at each comer of lines.
the trampoline. Tighten the eyestraps.
5. Slip the left side of the rear crossbar onto
the left hull. You may need to use the
rubber mallet to tap the assembly snug.
CAUTION
Before completing step 5, check the threads
of the crossbar bolts by hand screwing them
into each anchor bar by hand. If the bolt will
not thread easily, use a tap and die to clear the
threads. Use an anti-seizing lubricant such as
Never-Seez@ to help prevent crossthreading and
galling.
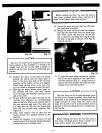
6. Drop in each of the rear crossbar bolts into
each side of the crossbar. DO NOT attach
the anchor bars (part nos. 7 and 8).
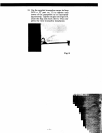
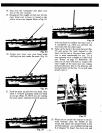
7. Slide both sides of the trampoline up both
siderail grooves simultaneously.
-8-


