


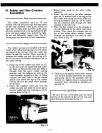
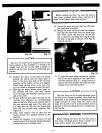


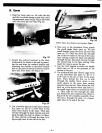
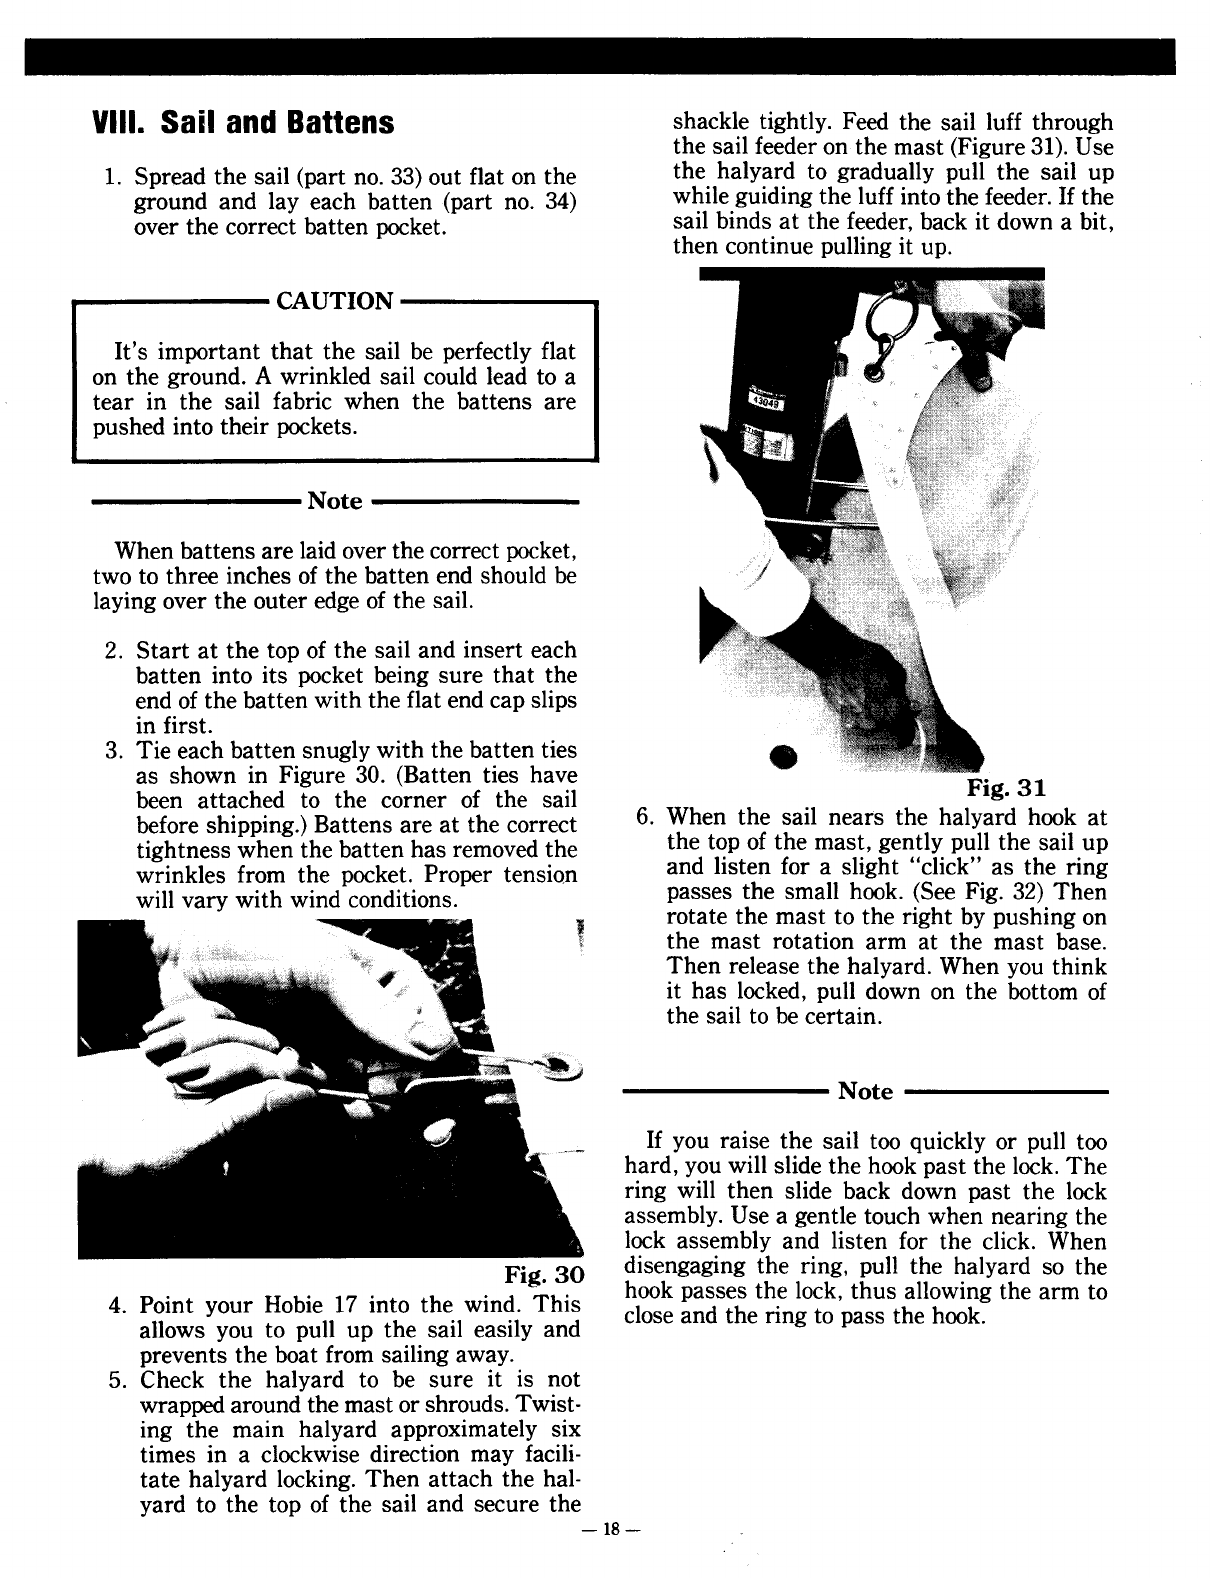
VIII. Sail and Battens shackle tightly. Feed the sail luff through
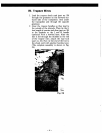
the sail feeder on the mast (Figure 31). Use
1. Spread the sail (part no. 33) out flat on the the halyard to gradually pull the sail up
ground and lay each batten (part no. 34) while guiding the luff into the feeder. If the
over the correct batten pocket. sail binds at the feeder, back it down a bit,
then continue pulling it up.
CAUTION
It's important that the sail be perfectly flat
on the ground. A wrinkled sail could lead to a
tear in the sail fabric when the battens are
pushed into their pockets.
Note
When battens are laid over the correct pocket,
two to three inches of the batten end should be
laying over the outer edge of the sail.
2. Start at the top of the sail and insert each
batten into its pocket being sure that the
end of the batten with the flat end cap slips
in first.
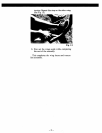
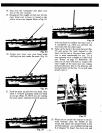
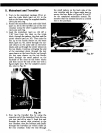
3. Tie each batten snugly with the batten ties .
as shown in Figure 30. (Batten ties have .
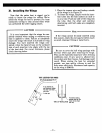
been attached to the corner of the sail FIg. 31
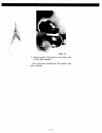
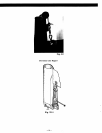
before shipping.) Battens are at the correct 6. When the sail nears the halyard hook at
tightness when the batten has removed the the top of the mast, gently pull the sail up
wrinkles from the pocket. Proper tension and listen for a slight "click" as the ring
will vary with wind conditions. passes the small hook. (See Fig. 32) Then
'I rotate the mast to the right by pushing on
, the mast rotation arm at the mast base.
Then release the halyard. When you think
it has locked, pull down on the bottom of
the sail to be certain.
Note
If you raise the sail too quickly or pull too
hard, you will slide the hook past the lock. The
ring will then slide back down past the lock
assembly. Use a gentle touch when nearing the
lock assembly and listen for the click. When
Fig. 30 disengaging the ring, pull the halyard so the
4. Point your Hobie 17 into the wind. This hook passes th~ lock, thus allowing the arm to
allows you to pull up the sail easily and close and the rIng to pass the hook.
prevents the boat from sailing away.
5. Check the halyard to be sure it is not
wrapped around the mast or shrouds. Twist-
ing the main halyard approximately six
times in a clockwise direction may facili-
tate halyard locking. Then attach the hal-
yard to the top of the sail and secure the
-18-