


28
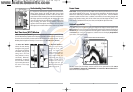
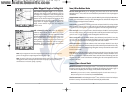
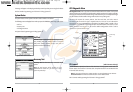
Save, Edit or Delete a Route
Save the current route: While you are navigating, the current route can be saved. From the
Navigation X-Press
TM
menu, select Save Current Route and press the RIGHT Cursor key. Navigation
will continue.
Display the Routes submenu: From any view, press the MENU key twice to display the Main Menu
System, then use the RIGHT Cursor key to select the Navigation tab. Select Routes and press the
RIGHT Cursor key to display the Routes submenu.
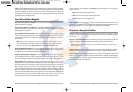
Create a route: From the Routes submenu, select Create and press the RIGHT Cursor key. A Route
Edit screen will be displayed with an empty route. You can name the route, add waypoints to the
route from the list of all waypoints, and order the waypoints in the route using the Cursor keys.
Edit a saved route: From the Routes submenu, select Edit and press the RIGHT Cursor key. A Route
Edit screen will be displayed. Select the route you wish to edit and press the RIGHT Cursor key. Re-
name the route or change, delete or re-order the waypoints used in the route.
Delete a saved route: From the Routes submenu, select Delete and press the RIGHT Cursor key.
Select the route you wish to delete and press the RIGHT Cursor key. You will be asked to confirm
your choice by pressing the RIGHT Cursor key again before the route is deleted.
Travel a saved route: From the Routes submenu, select Travel and press the RIGHT Cursor key. A
list of saved routes will appear. Select the route you wish to travel and press the RIGHT Cursor key
to make this route the current route and begin navigation. You may also travel the route in either
forward or reverse order.
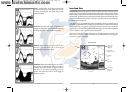
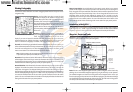
Route Info: From the Routes submenu, select Info and press the RIGHT Cursor key. A list of saved
routes will appear. Select the route for which you want information, and press the RIGHT Cursor
key. The list of waypoints in the route will be shown, with the distance and bearing from each
waypoint to the next, as well as the distance and bearing from the current position to the first
waypoint in the route.
Save or Clear a Current Track
Save the current track: From the Navigation X-Press
TM
menu, select Save Current Track and press
the RIGHT Cursor key. The track will remain on the display, but will change from black to gray. To
remove the track completely from the display, see Edit, Delete or Hide Saved Tracks.
NOTE: When you save a track, a name is automatically assigned. The track name consists of a
date/time stamp, but can be re-named later (see Edit a Saved Track).
Clear the current track: From the Navigation X-Press
TM
menu, select Clear Current Track and press
the RIGHT Cursor key. The track will be removed from the display and discarded.
27
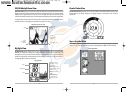
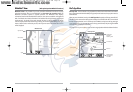
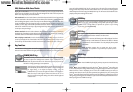
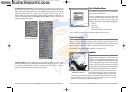
Add a Waypoint Target or Trolling Grid
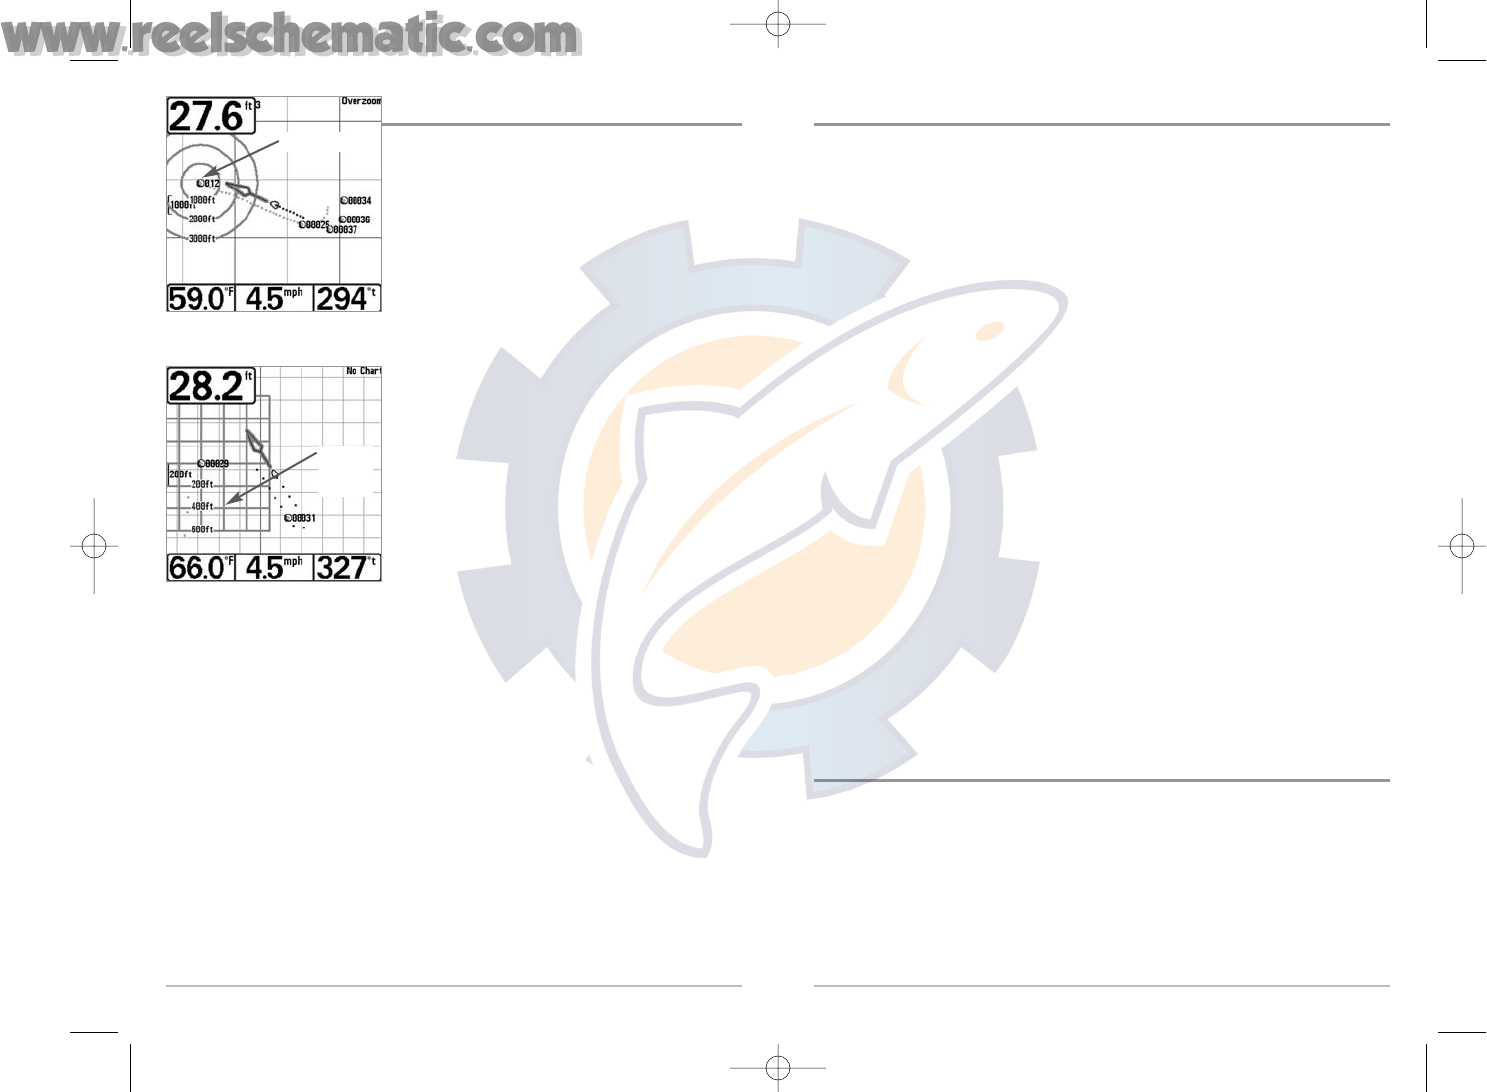
Add or Remove a Waypoint Target: From the Waypoints
submenu, select Target and press the RIGHT Cursor key
to display a list of waypoints. Select the waypoint you
want to target. A target consisting of concentric circles
centered on the selected waypoint will appear on all of
the navigation views; the target shows various distance
ranges from the targeted waypoint. To remove the
target, choose Remove Target from the Navigation
X-Press™ menu.
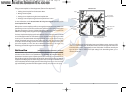
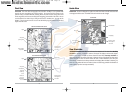
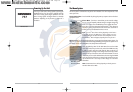
Add or Remove a Trolling Grid: From the Waypoints
submenu, select Grid and press the RIGHT Cursor key to
display a list of waypoints. Select the waypoint to which
you want to add the grid. The trolling grid will appear on all
of the navigation views, and can be used as a guide when
trolling around a waypoint. The grid can be rotated to any
desired heading using Grid Rotation from the Navigation
Main menu. To remove the trolling grid, choose Remove
Grid from the Navigation X-Press™ menu.
NOTE: Only one waypoint can have either a target or a grid at one time. If you apply a target or a
grid to a new waypoint, the original waypoint will lose its target or grid.
NOTE: The spacing of the rings on the waypoint target and the spacing of the grid lines on the
trolling grid is the same as the length of the scale bar on the left edge of the display. Zooming in or
out will decrease or increase the spacing, respectively.
Chart View with Grid
Waypoint
Trolling
Grid
Chart View with Target
Waypoint Target
531427-1_C - 767_Man_Eng.qxd 10/25/2005 10:29 AM Page 36