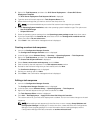
Retrieving log files or capturing configuration files
1. Select Retrieve the task sequence log file from the client after this action runs.
2. Select Enable extended / debug logging by this action to get extensive information in the log files.
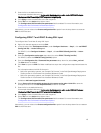
3. Select Retain network folder settings from a prior step, if available to copy any available network
folder settings from the previous step or to configure the network folder settings proceed to step 4.
4. Enter a valid network/local path to save the file.
5. Enter the domain and account name to access the path.
6. Enter and confirm the password.
7. If you have specified a network path in step 4, then select Map a drive letter to the network share
above
and then select a drive letter from the drop-down menu.
8. Click Apply and then click OK.
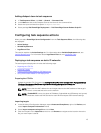
Configuring the task sequence steps to apply operating
system image and driver package
The scope of this document includes information only on the DLCI feature to apply operating system
image and add Dell drivers.
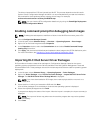
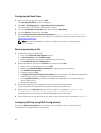
Applying the operating system image
NOTE: Before you begin this task, make sure that you have the required operating system image file
(
.wim file) within the Operating System Images tree in the Configuration Manager.
To apply the operating system image:
1. In the left side of the Task Sequence Editor, under Deploy Operating System, click Apply Operating
System Image.
2. Select one of the following options:
• Apply operating system from a captured image
• Apply operating system from an original installation source
3. Browse and select the operating system location and click OK.
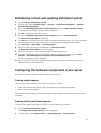
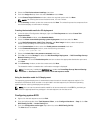
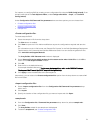
Adding Dell driver packages
1. In the left side of the Task Sequence Editor, under Deploy Operating System, click Apply Driver
Package.
2. Click Browse.
The Select a Driver Package window is displayed.
3. Click DLCI Driver Packages<OM Version>.
A list of driver packages available in the Dell Lifecycle Controller Integration is displayed.
4. Select a package for a Dell PowerEdge server, such as Dell PEM630-Microsoft Windows 2012 R2-
OM8.1.0.
5. Click Apply.
30