


3. ADJUSTMENTS AND CHECKS
3-3
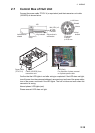
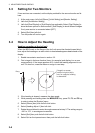
4. In the control box, set the TEST/NORMAL switch to “TEST”. Press the DOWN
switch to confirm that the transducer lowers. Also, while the transducer is being
lowered, check that the MD LED lights when the MD L. SW kicks. Note that the
MD L. SW does not stop the transducer when the TEST/NORMAL switch is in the
TEST position.
5. Press and release the [DOWN] switch during lowering. Confirm that the transduc-
er stops lowering.
6. Press the [DOWN] switch again to re-start lowering. Confirm that the transducer
stops at the moment the lower limit switch kicks.
7. Confirm that the [UP] switch operates in a similar manner.
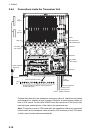
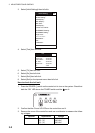
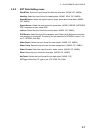
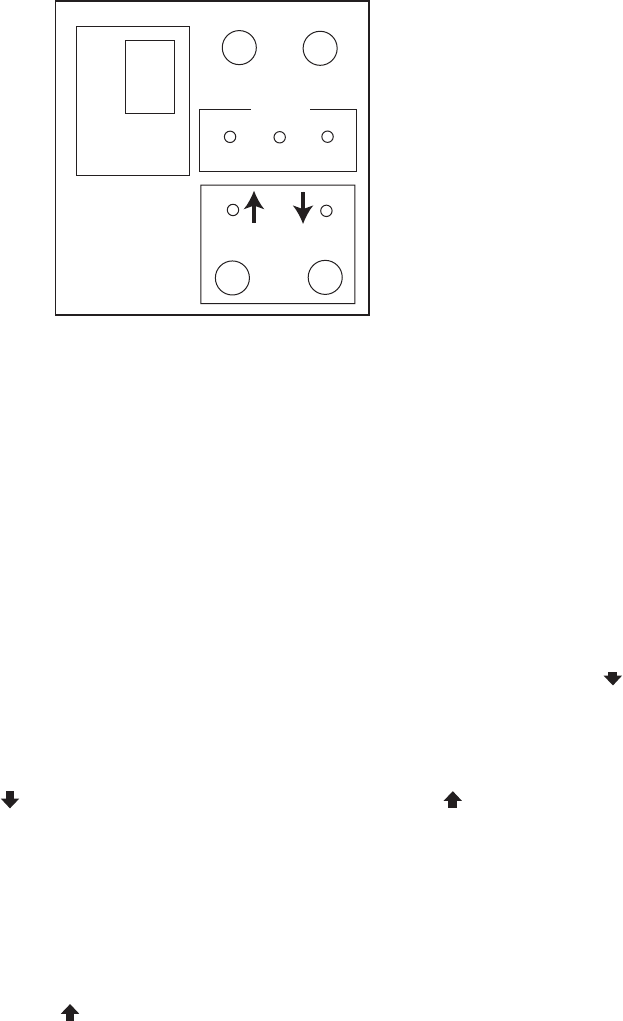
8. Check that LEDs on the panel of the control box light as follows:
1) The UP, MD and DN LEDs light when corresponding limit switch is kicked.
2) The UP and DN LEDs light while UP and DOWN switches are pressed and ex-
tinguish when the switches are released.
9. Set the TEST/NORMAL switch to “NORMAL”.
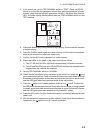
10. Check that the transducer is fully retracted. At the control unit, press the (mid-
protrusion position) switch. Confirm that the LED above the switch blinks while the
transducer is being lowered, a short beep sounds when the mid limit switch kicks,
and the LED lights when the transducer stops at the mid position.
11. Press the switch (fully lowered position) and then the switch. Confirm that
the LED above the respective switch blinks while the transducer is being lowered
or raised, and a short beep sounds when the lower or upper limit switch is kicked,
and the LED lights when the transducer is fully lowered or raised.
12. Press the OFF switch. Confirm that the transducer is completely retracted and the
power is off.
13. With the transducer lowered (mid or fully lowered), confirm that the transducer is
raised when the switch or the OFF switch is pressed.
OFF
TEST
NORMAL
5V
L.SW
UP MD DN
UP DOWN