20
21
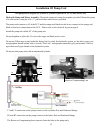
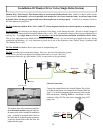
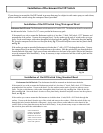
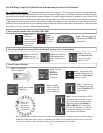
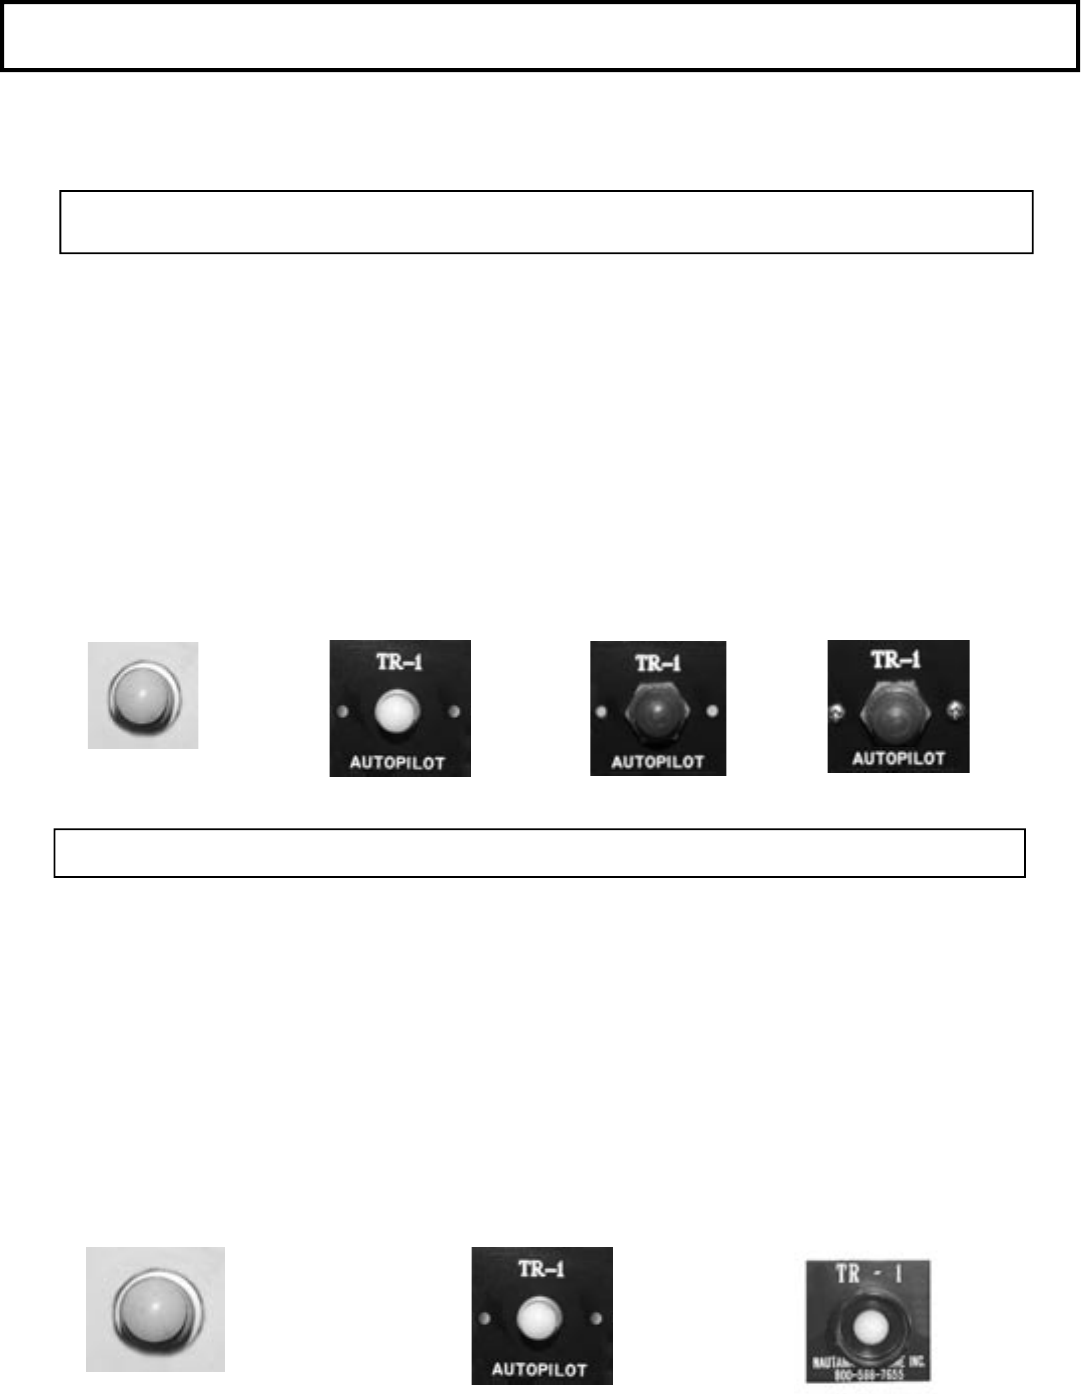
If the material you wish to mount the Deckmount switch in is less than ” thick: Drill a hole 15/32” diameter, and
perpendicular to the surface. Unscrew the waterproof bezel. Use the washers on the neck of switch to take up excess
space. Put the switch button, with washer, through the hole from back side, see Fig. 25. Slide on the face plate, see Fig.
26. Screw the waterproof bezel down over face plate rmly, Fig. 27, then drill and place screws into face plate to nish,
see Fig. 28.
If the surface you want to mount the Deckmount on is thicker than ”, drill a 19/32” hole through the surface. Unscrew
the waterproof bezel from the top of the switch and remove the washers. Slide the switch all the way through the hole
from the backside of the panel. Apply some silicone sealer/adhesive to the barrel of the switch. Slide on face plate then
screw the waterproof bezel down rmly. It may be necessary to tape or otherwise hold the switch in place until the
sealer/adhesive sets.
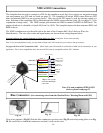
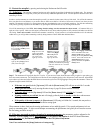
Deckmount On/Off Switch: The Deckmount switch connects to #1 on the ECU. The deckmount should be mounted on
the dash near the helm. Use the #4 x 3/8” screws provided in the accessory pack.
Fig. 25
Fig. 26
Fig. 27
Fig. 28
Installation of On/Off Switch Using Waterproof Bezel
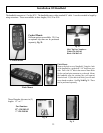
Installation of On/Off Switch Using Standard Bezel
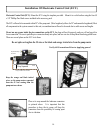
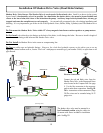
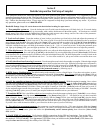
If the material you wish to mount the Deckmount switch in is less than ” thick: Drill a hole 15/32 Diameter
perpendicular to the surface. Unscrew the bezel. Use the washers on the neck of switch to take up excess
space. Put the switch button, with washer, through the hole from back side, see Fig. 9-a. Slide on the face
plate, see Fig. 9-b. Screw the bezel down over face plate rmly, then drill and place screws into face plate to
nish, see Fig. 9-c
If the surface you want to mount the Deckmount on is thicker than inch, Drill a 19/32 hole through the
surface. Unscrew the bezel from the top of the switch and remove the washers. Slide the switch all the way
through the hole from the backside of the panel. Apply some silicone sealer/adhesive to the barrel of the
switch. Slide on face plate then screw the bezel down rmly. It may be necessary to tape or otherwise hold
the switch in place until the sealer/adhesive sets.
Deckmount On/Off Switch: The deckmount should be mounted on the dash near the helm.
Fig. 9-a
Fig. 9-b
Fig. 9- c
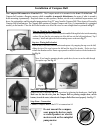
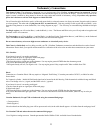
Note: Deckmount
LED is very bright in
the dark. Mount the
DM switch in an area
where it will not shine
directly into the vision
of the boat operator.
If you choose to mount the On/Off Switch in an area that may be subject to salt water spray or wash down,
please install the switch using the waterproof bezel provided.
Installation of Deckmount On/Off Switch


