


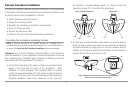
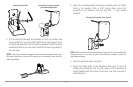
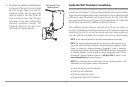

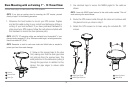

8. Re-position the transducer assembly against
the transom of the boat, then hand-install
all three screws. Make sure that the
transducer location and the pivot angle
have not changed, then fully tighten all
three mounting screws. Snap the pivot
back down. If you have performed the
preceding procedures correctly, the
transducer should be level and at the
right height for optimal operation.
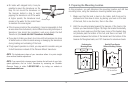
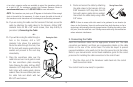
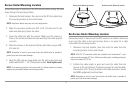
Inside the Hull Transducer Installation
If you choose to mount your transducer inside the hull of your boat, perform the
procedures in this section. In-hull mounting generally produces good results in
single thickness fiberglass-hulled boats. Humminbird® cannot guarantee depth
performance when transmitting and receiving through the hull of the boat,
since some signal loss occurs. The amount of loss depends on hull construction
and thickness, as well as the installation position and process.
This installation requires slow-cure two-part epoxy. Do not use silicone or
any other soft adhesive to install the transducer, as this material reduces the
sensitivity of the unit. Do not use five-minute epoxy, as it has a tendency to
cure before all the air bubbles can be purged, thus reducing signal strength.
NOTE: In-hull mounting requires an installed and operational control head.
NOTE: The integral temperature probe will not work with in-hull mounting, so you
may either want to consider purchasing a Temperature/Speed accessory, a Temp
Sensor, or obtaining a different transducer. Humminbird® offers a transducer
exchange program to swap the NEW and UNASSEMBLED transducer, accompanied
by mounting hardware, for one without an integral temperature probe. Call the
Humminbird® Customer Resource Center at 1-800-633-1468 for details, or visit
www.humminbird.com for more information.
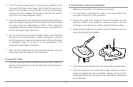
NOTE: Your transducer may not look exactly like the transducer shown in the
illustrations, but it will mount in exactly the same way.
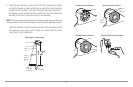
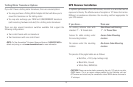
• Locate transducer mounting location
• Perform a trial installation
• Route the transducer cable
• Permanently mount the transducer.
Fully Tighten All Three
Mounting Screws
21