


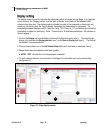
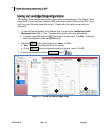
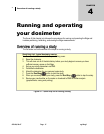

Overview of running a study
Calibrating
053-644, Rev E Page 34 eg4 & eg3
34
3M Quest Technologies recommends to calibrate your dosimeter before you run your study(ies)
and after your study(ies) to ensure highly accurate measurement results. The steps below
address how to calibrate for either a pre or post calibration.
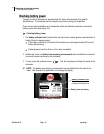
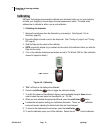
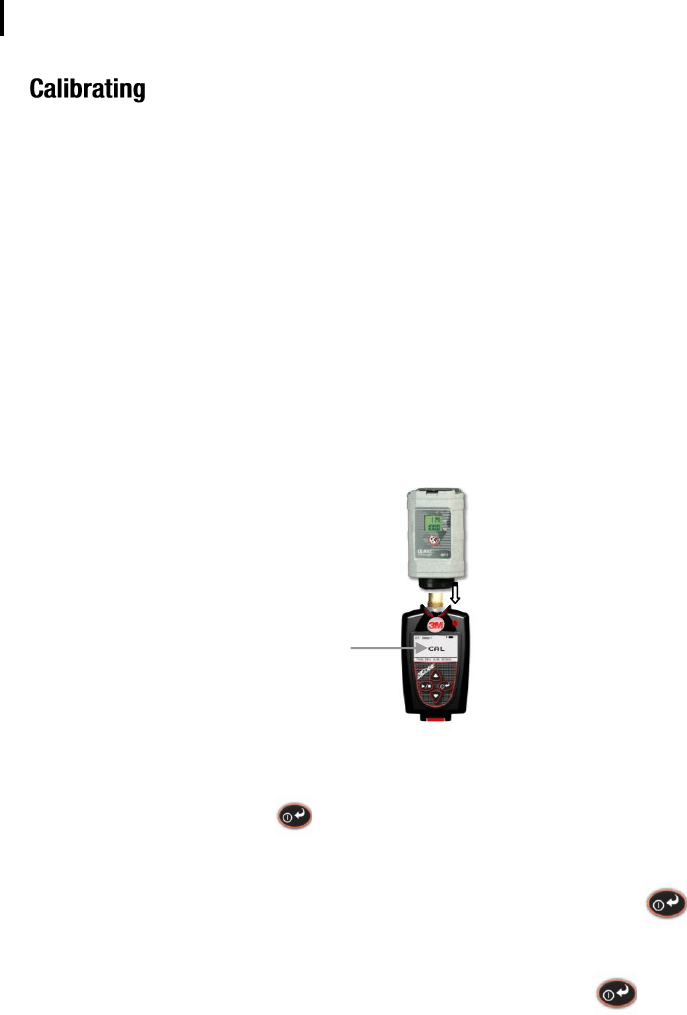
Calibrating the dosimeter
1. Remove the windscreen from the dosimeter by unscrewing it. (See Figure 6-1 for an
illustration, page 50.)
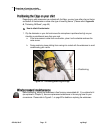
2. Ensure the Edge is turned on and in the stop mode. (See “Turning on” page 8, and “Turning
Off” page 9).
3. Slide the Edge into the mouth of the calibrator.
NOTE: ensure the adapter ring is inserted into the mouth of the calibrator before you slide the
Edge into the cavity.
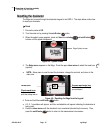
4. Turn on the calibrator and ensure parameters are set to 114 dB and 1000 Hz. (See calibration
manual for operation details.)
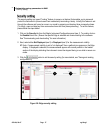
Figure 4-4: Calibrating
5. “CAL” will flash on the display when detected.
6. Press the on/off enter button to trigger the calibration display.
7. To match the values on the calibration display, press repeatedly the up or down arrow in
order to select the exact output on the calibrator (i.e., 114 dB).
8. When you have selected the appropriate dB level, press the on/off enter button.
A shaded bar will appear loading your calibration information. Then a summary calibration
screen will appear indicating the db level with date and time displayed.
9. To return to the measurement view screen, press the on/off enter .
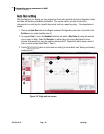
10. To end the calibration steps, turn off the calibrator. Detach the dosimeter from the calibrator.
“CAL” flashes