SoundPatrol feature (non-IS models only)
Connecting the printer and settings
Sound Examiner SE-400 Series
25
SoundPatrol feature (non-IS models only)
In some applications, the SoundPatrol feature is used for noise enforcement
assessment with the capability to print to a cabled hand-held portable printer.
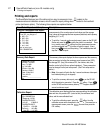
If purchased, the feature operates by pressing the print icon from one of the
measurement or calibration screens.
Connecting the printer and settings
The portable thermal printer and the SP-Fuji cable, 057-342, is used to communicate between the SE-400
Series and the portable thermal printer. Before using the printer for the first time, set the dip
switches (located
on side next to RS232C port) using the settings listed below:
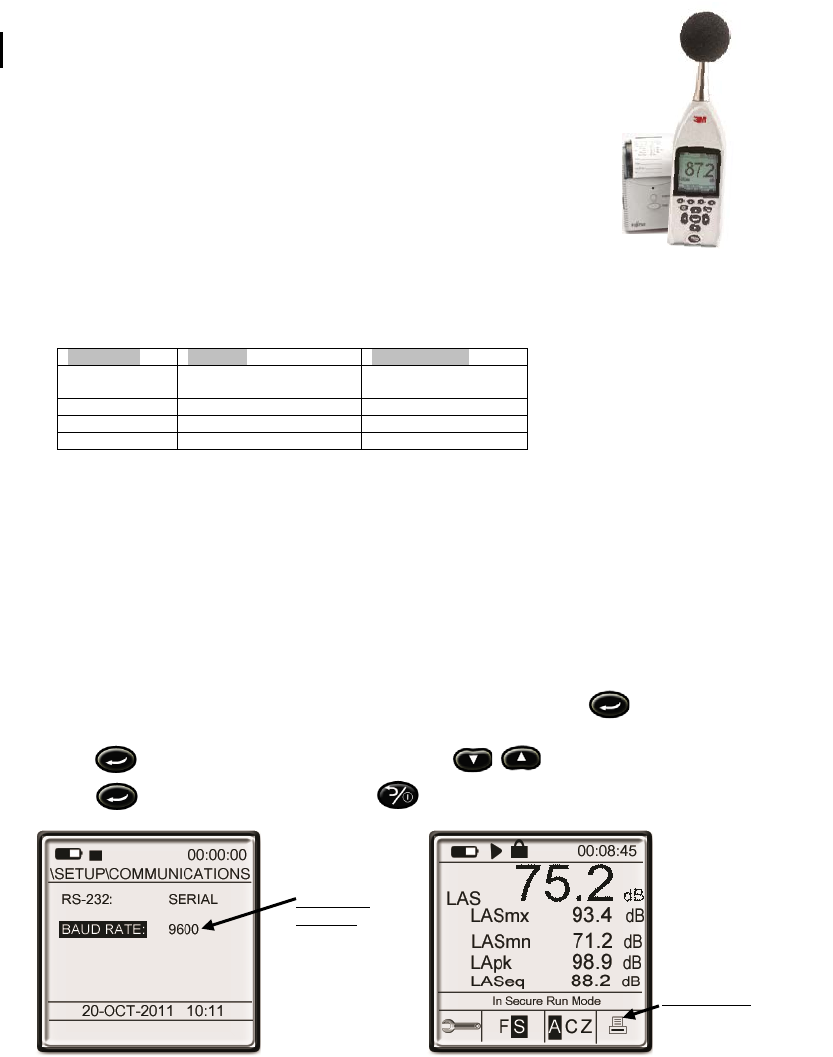
The Baud Rate settings may be changed to: 4800, 9600, 19200, 115200 via the setup screen.
Please follow below to connect the printer and view/change the baud rate setting.
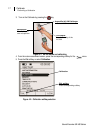
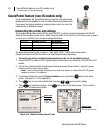
Connecting the printer and adjusting/viewing the baud rate for the SoundPatrol feature
1. Connect the SP Fuji cable, 057-341, by inserting it into the serial port on the bottom of the SE-400 non-IS
models.
2. Turn on the portable printer by depressing and holding the power button for about 1 second. A green
LED blinks when the printer is ready.
• Note: refer to the portable thermal printer manual to power on (with either AC/DC power
adapter or insert Li-ion battery.)
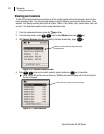
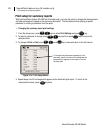
3. To set/view the baud rate, open the Communications screen by pressing key from the setup
screen. (Skip steps 3 – 5 if not applicable.)
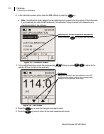
4. Press key to move to the editable field and press / keys to select a setting.
5. Press key to save the changes. Press key to return to the setup screen. Press a second
time to view the measurement screen.
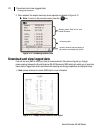
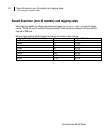
Figure 4-15: Baud rate setup and print icon
Dip Switch
Function
Switch Setting
1
Interface Selection
Off (wireless)
On (wired interface)
2
Communication mode
On
3
Reserve
Off/On
4
Start selection
Off/On
Printer icon
Press to print
SoundPatrol reports
Baud rate
settings
4800, 9600,
19200, 115200


