16
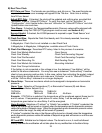
4.3.1.2 Java Runtime Environment 1.5 (5.0) Setup instructions
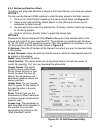
1. Go to your computer's Control Panel. Open the Java Plug-in
2. Click on "Settings" & "View Applets" in the "General" tab.
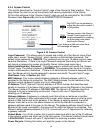
3. Select the "Settings" button on the General Tab
Un-check the "Enable Caching" box. Then close dialog box to show the General Tab
again
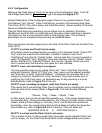
4. Select the "Network Settings" button on the General Tab.
Proceed to the Browser tab. Follow the Browser Proxy Selection instructions
below.You should either select the "Use Browser Settings" option or the "Direct
Connection" option depending on the network connections between your
computer and the iServer product. (Generally, select "Direct Connection" if
accessing iServers on your local network and select "Use Browser Settings"
option for access from your internal network to the internet.)
5. Refresh or restart the webpage.
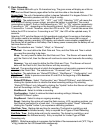
4.3.1.3 Browser Proxy Selection
Accessing iServer units within your internal network
• Usually when the computer and iServer are on an internal network, you will not use Proxy
server access.
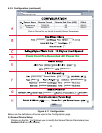
• You should un-check the "Use Browser Settings" option on the "Proxy" tab.
Accessing iServer units using the internet
• Often the web browser will use Proxy server access to the internet. In such cases, the
default Java runtime settings on the "Proxy" tab should suffice. The default setting is the
"Use Browser Settings" option.
• If the default proxy setting doesn't work, then you may have a situation where the proxy
settings of the web browser are incorrect.
Diagnostics:
If the web page of the iServer appears, then the HTTP Proxy is working fine.
If the data isn't updated on the iServer upon selecting the Read Sensor web page, there may be
a problem with access through a winsock proxy server. In such cases your network
administrator will need to provide the winsock proxy server and port #s. (If the administrator
requires knowledge of the port # required on the iServer, the value is 2003).
These values should be entered into the Socks line on the "Proxy" tab (of the Java Plugin
control panel) or into the "connections" tab on the View,Internet Options dialog and make sure
that the Proxy tab shows that the "Use Browser Settings" option is not selected (i.e. when you
specify proxy connections in the Java Plugin control panel.
Accessing iServer units over Peer-to-Peer network
A simple peer-to-peer network is setup by disconnecting from the main network (as users will
often do when trying to do initial setup of the iServer) and then connecting the iServer to another
computer using a ethernet hub, an ethernet switch, or a Cross-over cable connection.
Often when using a peer-to-peer network, the Java plugin and the web browser (such as
Internet Explorer) have internet connections configured to connect through proxy servers. In
such case, you will need to simply assign the final IP address on this peer to peer network and
then view the iServer charts after connecting the iServer into the regular network. Otherwise you
can disable the Java plug-in's "Use Browser Settings" temporarily and then reconfigure the Java
plug-in settings for regular network access after testing the iServer chart access on your peer-
to-peer network.
The "Use Browser Settings" should not be selected. And the HTTP and Socks proxy entries
should be blank. Also, setup the internet browser so that proxy servers are disabled.
Java and the Java Coffee Cup Logo are trademarks or registered trademarks of Sun Microsystems, Inc. in the U.S. and other countries."


