33
Models H71 & H84 Operating Procedures
Step 3
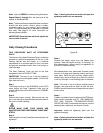
From the freezer door, remove the following:
S gaskets(s)
S front bearing(s)
S pivot pin
S draw handle(s)
S design cap(s)
S draw valve(s)
Remove all o-rings.
Note: To remove o-rings, u se a single service towel to
grasp the o-ring. Apply pressure in an upward direction
until the o-ring pops out of its groove. With the other
hand, push the top of the o-ring forward, and it will roll
out of the groove and can be easily removed. If there
is more than one o-ring to be removed, always remove
the rear o-ring first. This will allow the o-ring to slide
over the forward rings without falling into the open
grooves.
Step 4
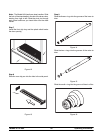
From the inner and outer air tubes, remove the
o-ring(s) and air orifice(s). Remove the o-ring(s) from
the air orifice(s).
Step 5
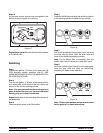
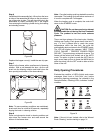
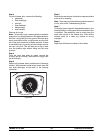
Return to the freezer with a small amount of cleaning
solution. With the black bristle brush, brush clean the
rear shell bearing(s) at the back of the freezing
cylinder(s).
Figure 33
Step 6
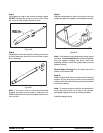
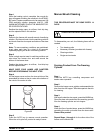
Remove the rear drip pan from the front panel and take
to the sink for cleaning.
Note: If the drip pan is filled with an excessive amount
of mix, refer to the Troubleshooting Guide.
Step 7
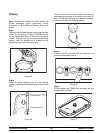
Thoroughly b rush clean all disassembled parts in the
cleaning solution, making sure all lubricant and mix film
is removed. Take particular care to brush clean the
draw valve core(s) in the freezer door. Place all the
cleaned parts on a clean dry surface to air-dry
overnight.
Step 8
Wipe clean all exterior surfaces of the freezer.


