


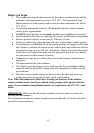


14
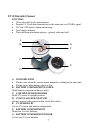
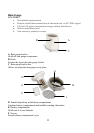
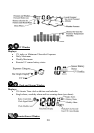
E. WIND CUPS SHAFT
Holds wind cups on the anemometer arm
F. BATTERY COMPARTMENT
Holds 2 AA-size batteries
G. WALL MOUNT SCREW OPENINGS
Allows securing the anemometer in place
H. BATTERY COVER
Allows securing 2 AA size batteries on the anemometer base
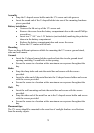
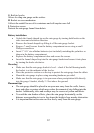
Assembly
• Place the wind cups over the wind cups shaft of the anemometer arm
• Insert the wrench tool provided into the wind cups opening and tighten the small
screw inside.
• Test if the wind cups sit secure on the wind cups shaft
Battery installation
• Remove four (4) screws from the battery compartment with a small Phillips
screwdriver.
• Open the battery compartment and install 2 “AA” size alkaline batteries (not
included) matching the polarities shown.
• Replace the battery compartment door and secure the screws.
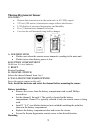
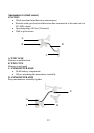
Aligning
• Point the wind direction vane to the north (use a compass or map if necessary).
• Press “SET” opening located inside battery compartment with a paper clip or
similar tool. The “SET” opening controls toggling the wind direction between
the factory preset or user set.
• Select the factory set mode. It will be also a default setting in the future.
• Set current wind direction as NORTH.
Note: Repeat this procedure every time when changing the batteries.
Mounting
Mount the anemometer onto a vertical surface, using the fittings provided.
Placement tips:
• The anemometer should be mounted in an open area with a free air flow; away
from the nearby trees, buildings or other structures.
• Aim for a maximum exposure of the anemometer to the most common wind
directions in the area.
• It is suggested mounting anemometer at 33 feet (10meters) above the ground in
unobstructed area.