11
F.10 v.3 OPERATING MANUAL
© 2002 Design, 2014 Doc. No. 12-5380-r01 (7/15/14)
SET TIME (& DATE)
Sequence >> Lead-in >> Date Format >> Hour Format >> Time of Day >> Date >> Alternate Time >> Default Time >> Show Dual.
Set Points remain as set until changed.
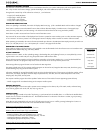
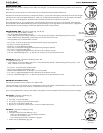
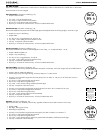
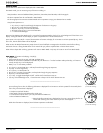
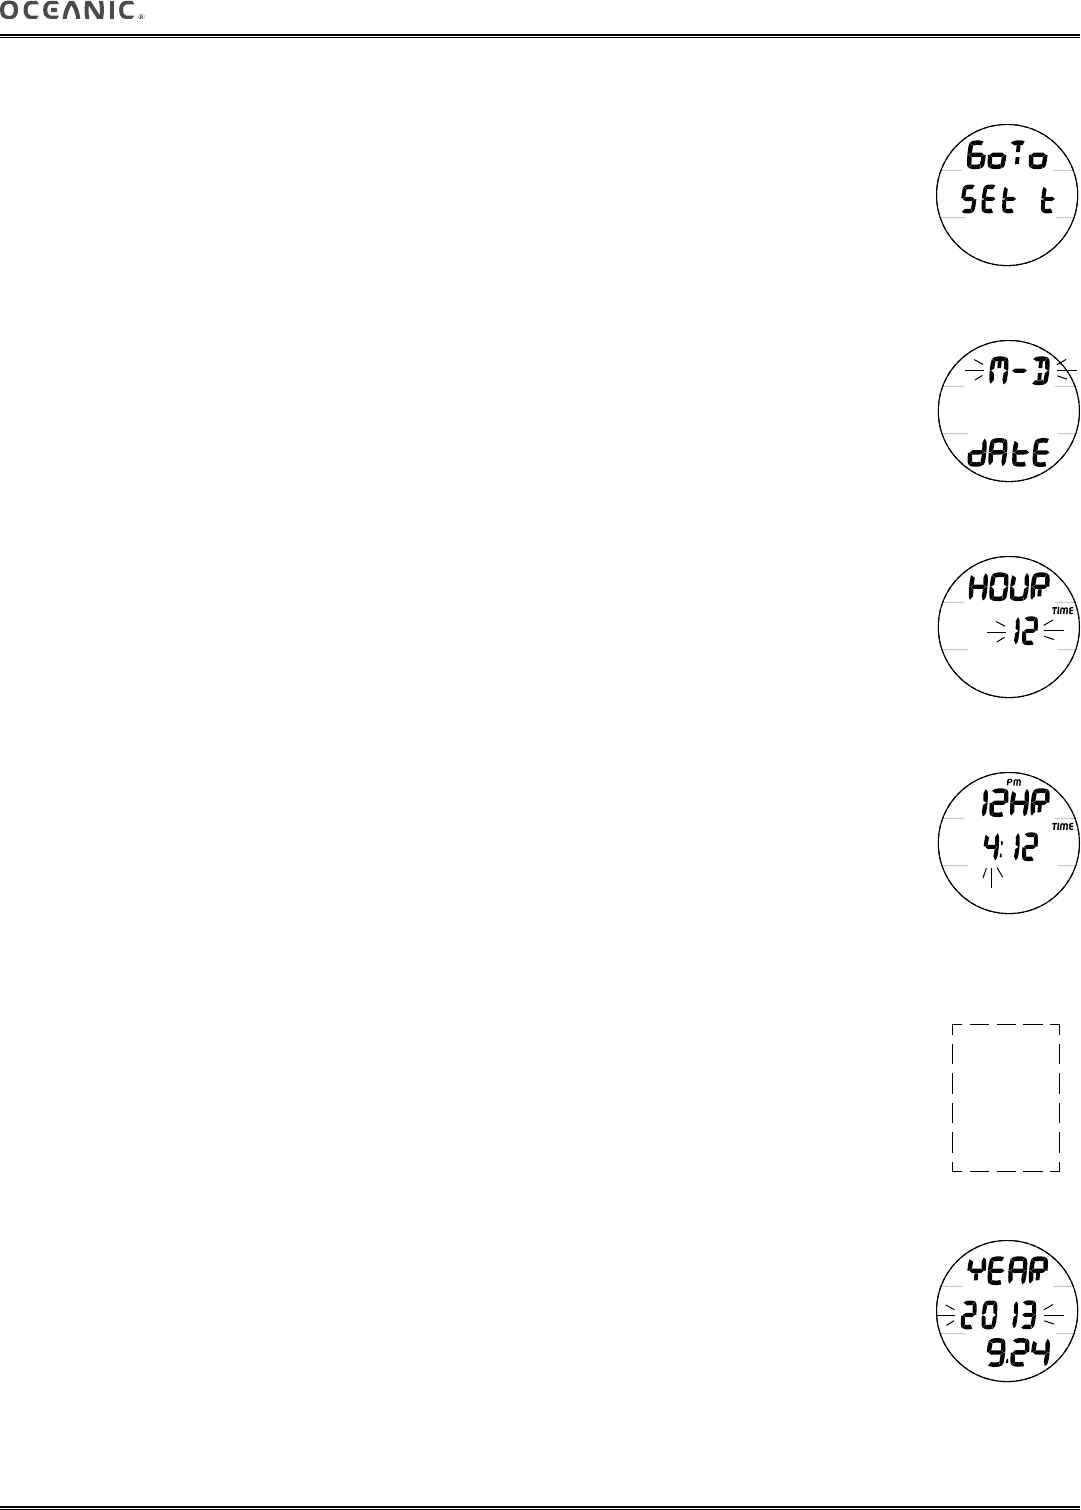
Set Time Lead-in, information includes (Fig. 12):
> Graphics GoTo and SEt t.
• S (< 2 sec) - to access Set Date Format.
• A (< 2 sec) - to step forward to Chrono Lead-in.
• M (< 2 sec) - to step back to Daily Alarm Lead-in.
• M (2 sec), or 2 minutes of no button action, will revert to Watch Default Time.
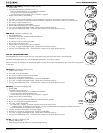
Set Date Format, information includes (Fig. 13):
Date Format establishes the position that the Month (M) digits are displayed relative to the Day (D) digits, on the left or right.
> Graphic M - D (or D - M) flashing.
> Graphic dAtE.
• A or M (< 2 sec) - to toggle between M - D and D - M.
• S (< 2 sec) - to save setting and access Set Hour Format.
• S (2 sec) - to step back to Set Time Lead-in.
• M (2 sec), or 2 minutes of no button action, will revert to Watch Default Time.
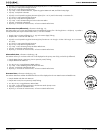
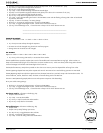
Set Hour Format, information includes (Fig. 14):
Hour Format establishes the number of hours displayed for Time of Day, 1 to 12 (AM and PM) or 1 to 24.
> Graphic HOUR with TIME icon.
> Graphic 12 (or 24) flashing.
• A or M (< 2 sec) - to toggle between 12 and 24.
• S (< 2 sec) - to save setting and access Set Time of Day.
• S (2 sec) - to step back to Set Date Format.
• M (2 sec), or 2 minutes of no button action, will revert to Watch Default Time.
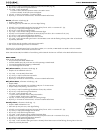
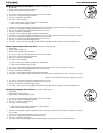
Set Time of Day, information includes (Fig. 15):
This setting changes Time of Day selected as the Default Time (Main or Alternate), which also changes other by the differential set.
> Graphic 12HR (or 24HR) with TIME icon.
> Time of Day (hr:min), Hour digits flashing, with AM (or PM) icon if 12 Hour format.
• A (hold) - to scroll upward through Hour Set Points (8/sec) from 12: AM to 11: PM, or 0: to 23: if 24 Hour Format, in
increments of 1: (hr).
• A (< 2 sec) - to step upward through Hour Set Points.
• M (< 2 sec) - to step back through Set Points.
• S (< 2 sec) - to save the Hour setting and flash the Minute digits.
• S (2 sec) - to step back to Set Hour Format.
• A (hold) - to scroll upward through Minute Set Points (8/sec) from :00 to :59 in increments of :01 (min).
• A (< 2 sec) - to step upward through Minute Set Points.
• M (< 2 sec) - to step back through Set Points.
• S (< 2 sec) - to save the Time setting and access Set Date.
• S (2 sec) - to step back to Set Hour.
• M (2 sec), or 2 minutes of no button action, will revert to Watch Main Time.
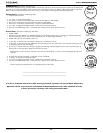
Set Date, information includes (Fig. 16):
Sequence is Set Year, then Set Month, then Set Day, regardless of Date Format set (their location on the screen).
> Graphic YEAR.
> Year digits, flashing upon access.
> Month.Day (or Day.Month).
• A (hold) - to scroll upward through Year Set Points (8/sec) from 2013 to 2056, in increments of 1.
• A (< 2 sec) - to step upward through Year Set Points.
• M (< 2 sec) - to step back through Set Points.
• S (< 2 sec) - to save the Year setting, replace the graphic YEAR with MNTH, and flash the Month digits.
• S (2 sec) - to step back to Set Time of Day.
Fig. 14 - SET HOUR
FORMAT
Fig. 13 - SET DATE
FORMAT
Fig. 15 - SET TIME OF
DAY (hr:min)
Watch Time/Date
can also be set using
the Settings Upload
feature of the PC
Interface software.
Prior to shipment from
the factory, any error
of the Watch Time
is determined and
corrected.
Fig. 12 - SET TIME
LEAD-IN
Fig. 16 - SET DATE
(Year, Month, Day)


