2 C1561M-A (4/05)
How to Use This Software Guide
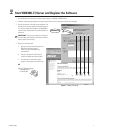
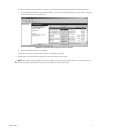
This software guide provides a step-by-step guide to configuring the VMX300(-E) server and operating the VMX300 (-E) client. Follow the steps in
the table to configure the server and operate the client.
Refer to the VMX300(-E) Server Configuration Manual for complete information about configuring the server.
Refer to the VMX300(-E) Client Operation Manual for complete information about using the client software.
Note that you must install the VMX300(-E) workstation and then connect it to your system network before you can begin these configuration
steps. Refer to the VMX300 Installation manual for instructions.
IMPORTANT NOTE. PLEASE READ.
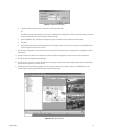
The network implementation in step 10 of this document is shown as a general representation only and is not intended to show a detailed
topology. Your actual network will differ, requiring changes or perhaps additional network equipment to accommodate the systems as
illustrated. Please contact your local Pelco Representative to discuss your specific requirements.
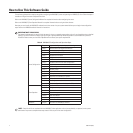
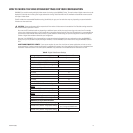
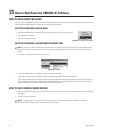
Table A.
VMX300(-E) Configuration and Operation Steps
Server Configuration
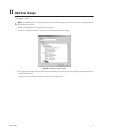
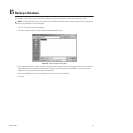
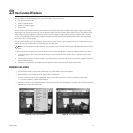
Step 1 Log on and configure operating system settings.
Step 2 Start the server and register the software.
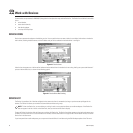
Step 3 Launch the server’s configuration mode.
Step 4 Start VMX300(-E) device drivers.
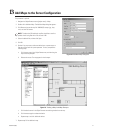
Step 5 Add clients to the server.
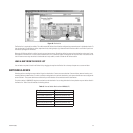
Step 6 Configure custom windows.
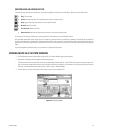
Step 7 Define a canvas for each window.
Step 8 Add device drivers to the server configuration.
Step 9 Add devices.
Step 10 Define analog connections between devices.
Step 11 Add user groups.
Step 12 Add users.
Step 13 Add maps.
Step 14 Customize and automate your system.
Step 15 Backup the server database to external media.
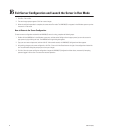
Step 16 Exit configuration mode and launch server in run mode.
Step 17 Test the configuration and evaluate the CPU workload.
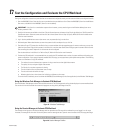
Client Operation
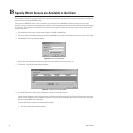
Step 18* Specify which servers are available to the client.
Step 19* Configure a workspace.
Step 20 Start the client.
Step 21 Work with maps.
Step 22 Work with devices.
Step 23 Use custom windows.
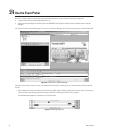
Step 24 Use the Event Picker.
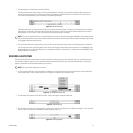
Shutdown Step 25 Shut down the VMX300(-E) software.
*NOTE:
Steps 18 and 19 are completed with the VMX300(-E) cilent application and can be completed by an operator, but the system
administrator may want to complete these steps ahead of time as part of the server configuration.