28 C1561M-A (4/05)
step
19 Configure a Workspace
This procedure is optional for the system administrator. If the system administrator does not configure a workspace, VMX300(-E) provides several
workspace configuration options, as described below.
A workspace controls which windows are displayed in the VMX300(-E) client and their size, position, and content. The system administrator may
want to log into the client in order to configure a default workspace for users. VMX300( E) provides the following workspace options:
• The system administrator can specify a default workspace in the client configuration to load when a user logs in.
• VMX300(-E) can create a default workspace for each user upon login.
• A user with Client Workspace permissions can open a workspace once he is logged in.
DEFAULT WORKSPACE:
To configure a workspace, a user must belong to a user group with Client Workspace permissions. To provide a default workspace for any users
that are restricted from Client Workspace permissions, the system administrator should perform the following procedures:
• Log in to the client application with a user name that has full Client Workspace permissions.
• Create and save a workspace; instructions are provided below.
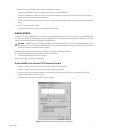
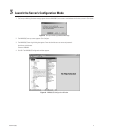
• Log in to the Server and specify the default workspace in the Edit Client Properties dialog box (right-click the client computer name, and
then select Edit from the pop-up menu).
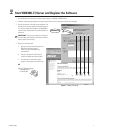
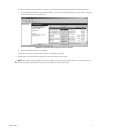
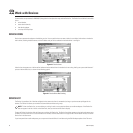
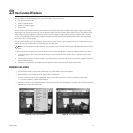
1. Use the mouse to resize and reposition the windows as desired.
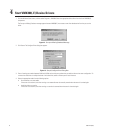
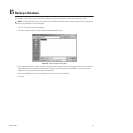
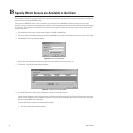
2. Click File > Save Workspace. The Save Workspace dialog box appears.
3. Type a workspace name, and then click OK. The workspace name appears in the main window title bar.
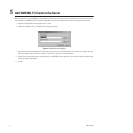
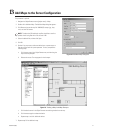
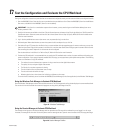
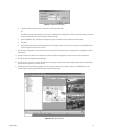
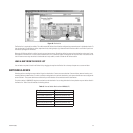
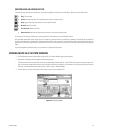
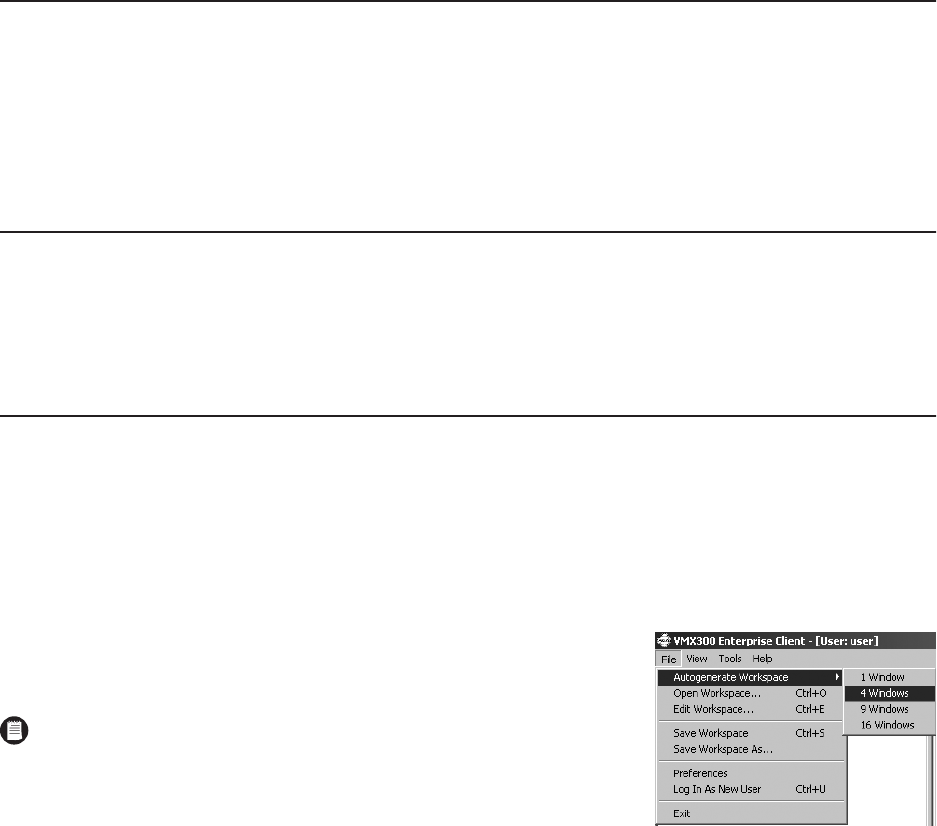
ALTERNATE OPTION 1
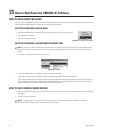
Click File > Autogenerate Workspace, and then select the number of windows you want to
appear in the workspace.
The VMX300(-E) generates a workspace with the specified number of windows.
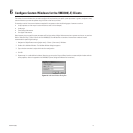
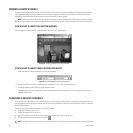
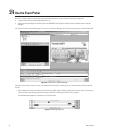
ALTERNATE OPTION 2
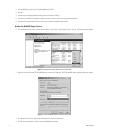
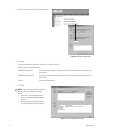
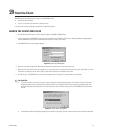
1. Click File > Edit Workspace. The Edit Workspace dialog box appears.
The Appearance, Size, and Position tabs control the appearance of each window. The Content tab controls window content. The Details tab
provides troubleshooting information.
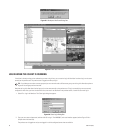
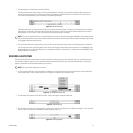
2. Click the name of the window you want to change, and then click the desired settings on the Edit Workspace dialog box tabs. To assign the
same setting(s) to more than one window at a time, use the Shift or Ctrl key with the mouse to select more than one window, and then click
the desired settings.
Refer to the VMX300(-E) Client Operation Manual for information on the setting options available in the Edit Workspace dialog box.
3. Click Close to close the Edit Workspace dialog box.
4. Click File > Save Workspace to save the changes.
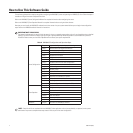
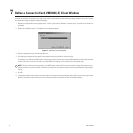
NOTE: The number of windows that the operator can use for viewing video is limited
to the number of windows configured with a canvas. Refer to Step 7, Define a Canvas
for Each VMX300(-E) Client Window. Also note that your specific system parameters
will limit the number of digital video streams that an operator can view at any one
time. Refer to Table B in Step 7, Define a Canvas for Each VMX300(-E) Client Window
for an overview of the maximum number of streams recommended for specific digital
settings.
Figure 33. Creating Workspaces with
the Autogenerate Feature