C1561M-A (4/05) 27
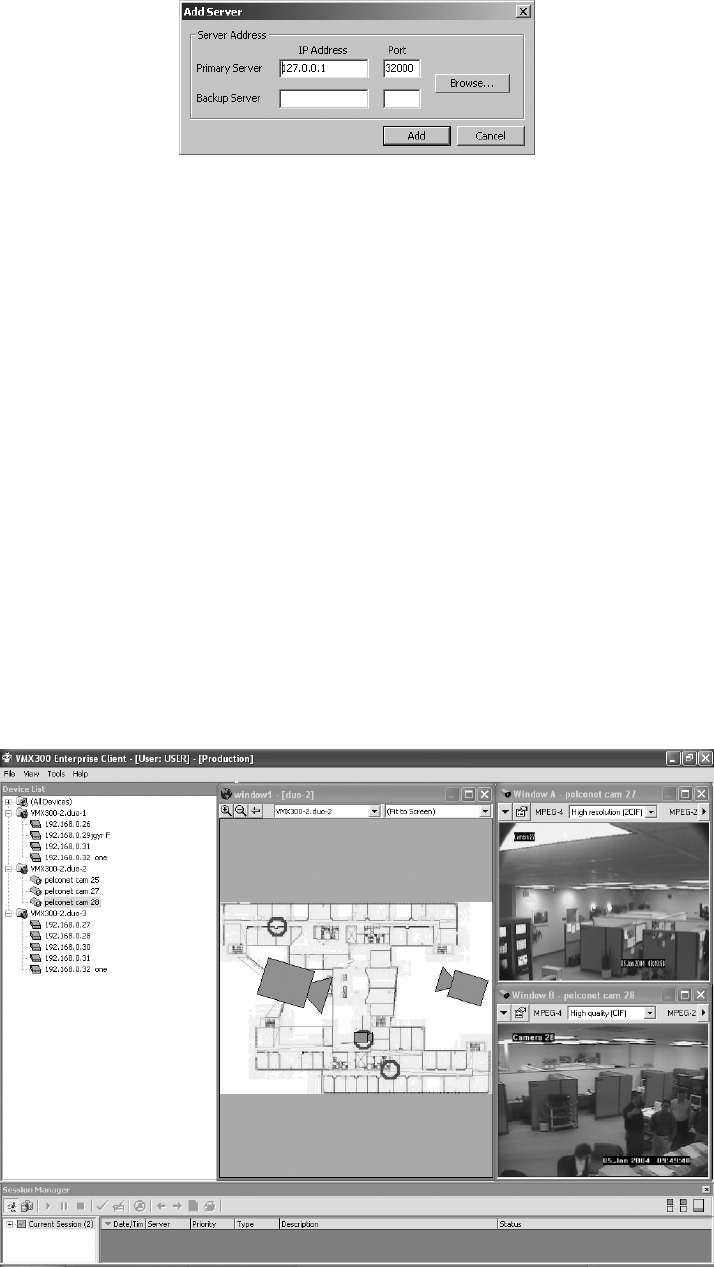
Figure 31. Add Server Dialog Box
b. Type the IP address and port number of the server in the Primary Server fields.
OR
Click Browse to browse the network for a list of servers. The Browse Servers dialog box lists the servers that are running at a network
location available to the client. Select the server, and then click OK.
c. Optional (VMX300-E only): To designate a backup server, type the IP address and port number of the backup server.
d. Click Add.
e. Optional: Repeat these steps to add another server to the Configured Servers list. Each time a user logs in to this VMX300(-E) client,
he will be logged into every server in this list.
7. Click the server designated as a home server for the user, and then click Set as Home Server. The selected server is highlighted in bold in
the server list.
8. Optional: If there are any servers in the server list that the user should not be logged in to, click the server, and then click Remove.
9. Click OK to close the Configured Servers dialog box.
10. Click OK to log in. If the user is a member of more than one user group, the Select User Group dialog box appears. Select the desired user
group from the drop-down box, and then click OK.
11. The Workspace Not Found dialog box appears. Click Yes to have the system create a default workspace. The VMX300(-E) main user
interface appears, displaying the default workspace configured by the system.
Figure 32. Main User Interface
