C1561M-A (4/05) 21
step
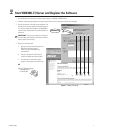
13 Add Maps to the Server Configuration
This procedure is optional.
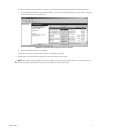
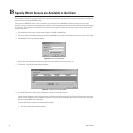
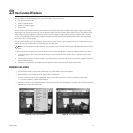
1. Navigate the Object Browser tree to [project name] > Maps.
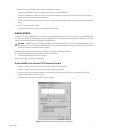
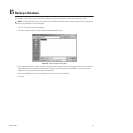
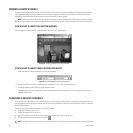
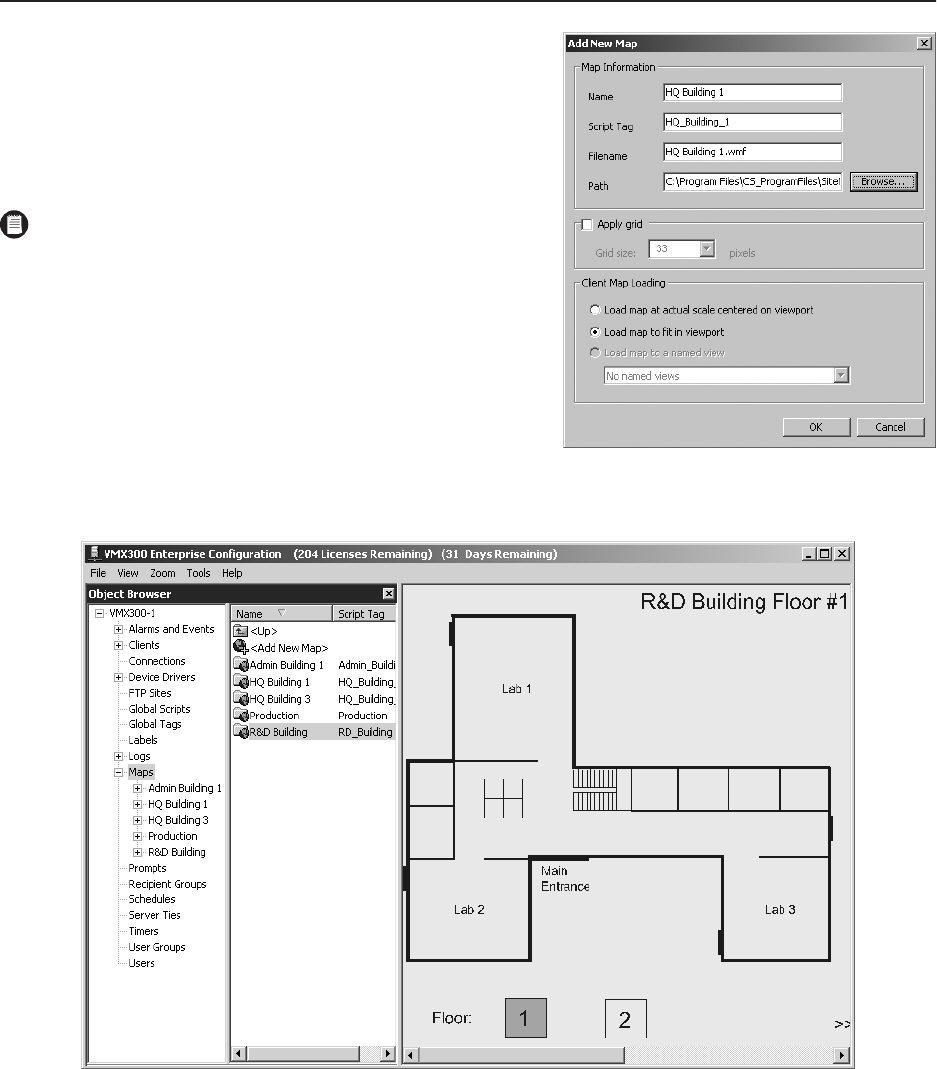
2. Double-click <Add New Map>. The Add New Map dialog box appears.
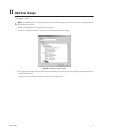
3. Click Browse to locate the map file. VMX300(-E) accepts .jpg, .bmp,
.wmf, and .emf file formats.
4. Select the desired file, and then click Open.
5. Click OK.
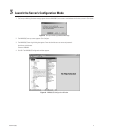
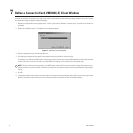
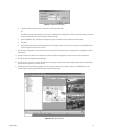
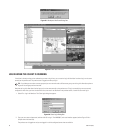
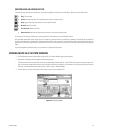
6. Optional: You may want to add some device icons to system maps so
that they will be useful for system operators. To do so, complete the
following steps:
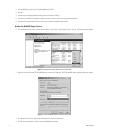
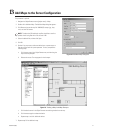
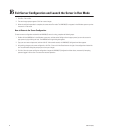
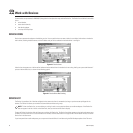
a. Click the map name in the Object Browser tree, and then drag the
map to the map viewport.
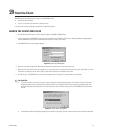
b. Release the mouse. The map appears in the viewport.
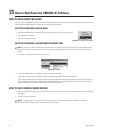
Figure 25. Viewing a Map in the Map Viewport
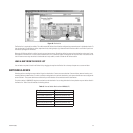
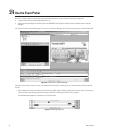
c. Click the device name in the Object Browser tree and drag the device to the map.
d. Click the mouse again to release the device.
e. Repeat steps c and d for additional devices.
7. Repeat steps 2-6 for additional maps.
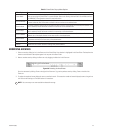
NOTE: To reduce the CPU workload, map files should be as small as
possible. Avoid using files with a file size over 1 MB.
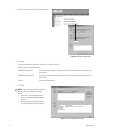
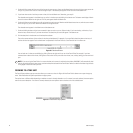
Figure 24. Add New Map Dialog Box