


2-5
Chapter 2: Installation
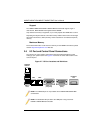
2-4 Installing Memory
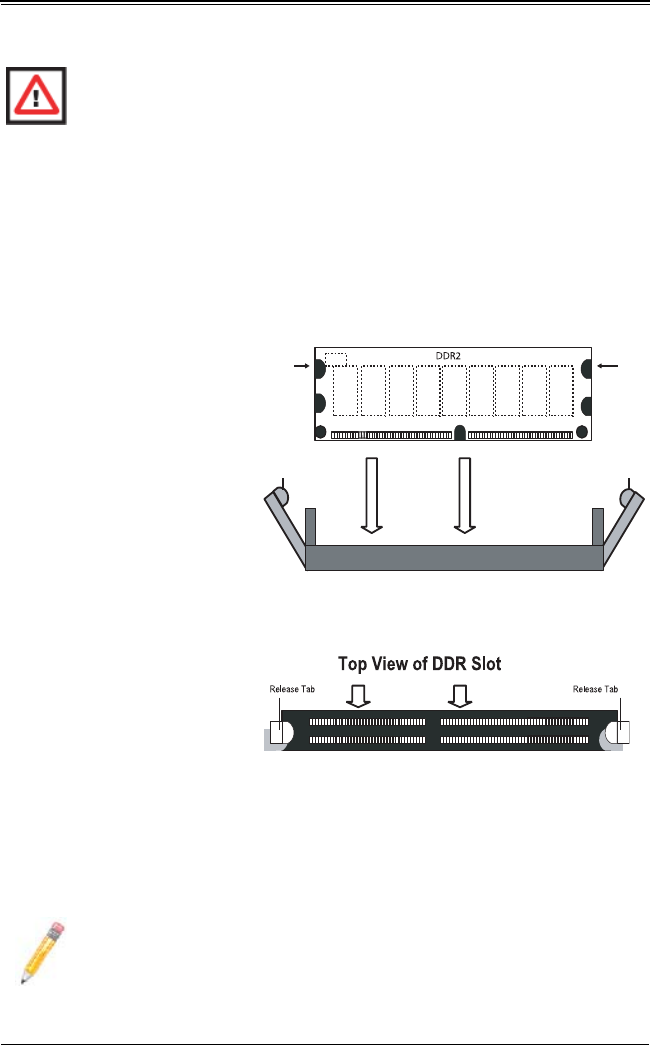
Installing Memory
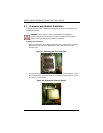
1. Insert each memory module vertically into its slot, paying attention to the notch
along the bottom of the module to prevent inserting the module incorrectly (see
Figure 2-6).
2. Install to slots CPU1/DIMM1B and CPU1/DIMM1A first, then to CPU1/DIMM2B and
CPU1/DIMM2A, etc. Always install in pairs and in the numerical order of the DIMM
slots. See "Support" information below.
3. Gently press down on the memory module until it snaps into place.
4. With two CPUs installed, repeat step 2 to populate the CPU2 DIMM slots.
WARNING: Exercise extreme caution when installing or removing memory
modules to prevent any possible damage.
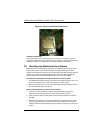
Figure 2-6. Side and Top Views of DDR Installation
NOTE: For the latest memory information on the H8DMT serverboard, please
visit the http://www.supermicro.com web site.
Note: Notch
should align
with its
receptive point
on the slot
Notch
Notch
Release
Tab
Release
Tab
To Install: Insert module
vertically and press down until it
snaps into place. The release
tabs should close – if they do not
you should close them yourself.
Pay attention to the bottom notch.
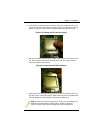
To Remove: Use your thumbs to
gently push each release tab
outward to free the DIMM from
the slot.
Note the notch in the slot and on the bottom of the
DIMM. These prevent the DIMM from being installed
incorrectly.