


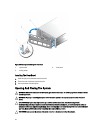
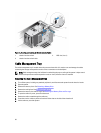
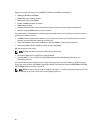
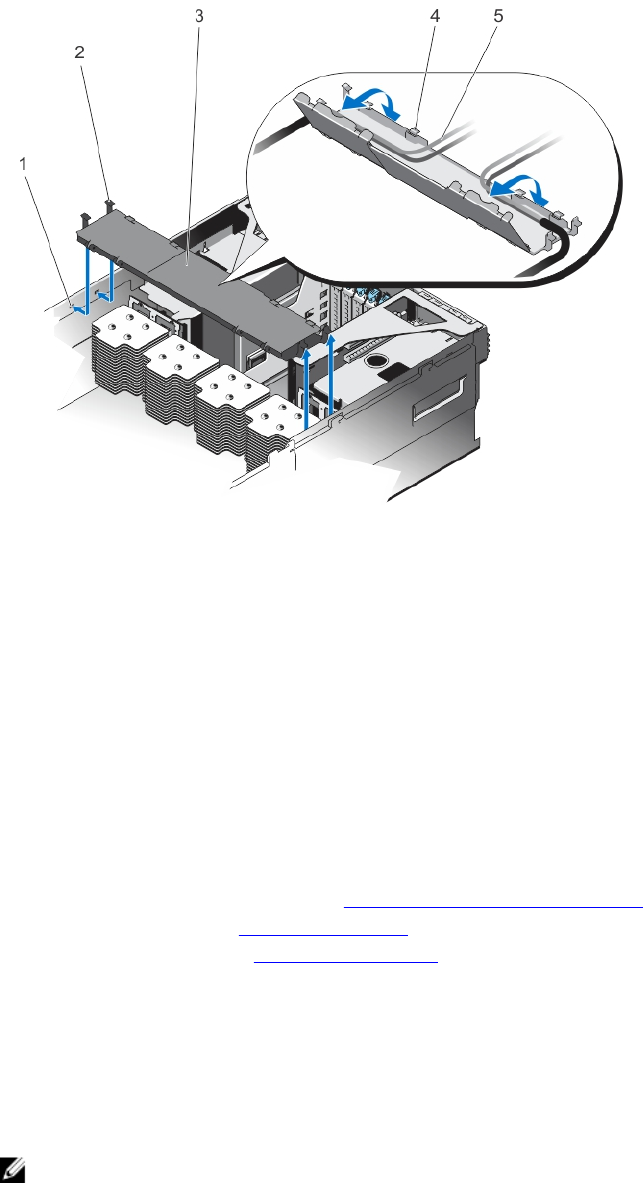
Figure 13. Removing and Installing the Cable Management Tray
1. cable tray slot (4) 2. cable tray hook (4)
3. cable tray cover 4. cable tray cover release tab
5. cables (routed)
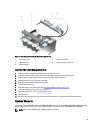
Installing The Cable Management Tray
1. Position the cable management tray above the processor heat sinks.
2. Lower the cable tray and insert the cable tray hooks into the slots on one side of the chassis.
3. Press the hooks so that they snap into the slots on the other side of the chassis.
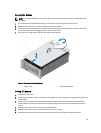
4. Open the cable tray cover, using the release tab.
5. Route the required cables through the cable tray.
6. Close the cable tray cover.
7. Install the memory riser and fan cage. See Installing the Memory Riser and Fan cage.
8. Install the cooling fans. See Installing A Cooling Fan.
9. Install the memory risers. See Installing a Memory Riser.
10. Close the system.
11. Reconnect the system to the electrical outlet and turn the system on, including any attached peripherals.
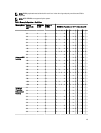
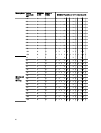
System Memory
Your system supports DDR3 ECC registered DIMMs (RDIMMs) and load reduced DIMMs (LRDIMMs) at DDR3 (1.5V) and
DDR3L (1.35V) voltage specifications. It also supports single, dual, quad and octal rank DIMMs of upto 1600 MHz.
NOTE: MT/s indicates DIMM speed in MegaTransfers per second.
39