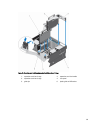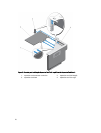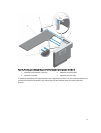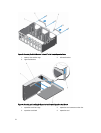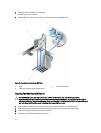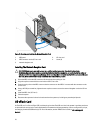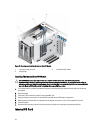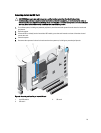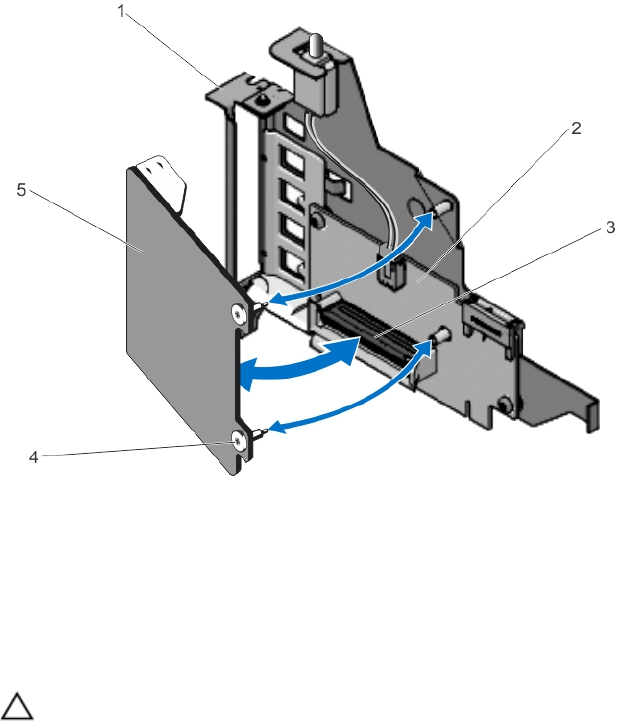
Figure 36. Removing and Installing the Network Daughter Card
1. NDC panel 2. I/O riser card
3. NDC connector on the I/O riser card 4. screw (2)
5. network daughter card
Installing The Network Daughter Card
CAUTION: Many repairs may only be done by a certified service technician. You should only perform
troubleshooting and simple repairs as authorized in your product documentation, or as directed by the online or
telephone service and support team. Damage due to servicing that is not authorized by Dell is not covered by your
warranty. Read and follow the safety instructions that came with the product.
1. Orient the NDC so that the NIC connectors fit through the slot opening on riser.
2. Align the captive screws with the screw holes on the IO riser card.
3. Press the touch point on the NDC to ensure that the connector on the NDC is in contact with the connector on the
IO riser card.
4. Using a #2 Phillips screwdriver, tighten the two captive screws to secure the network daughter card to the IO riser
card.
5. Install the NDC riser (I/O riser 1).
6. Close the system.
7. Reconnect the system to its electrical outlet and turn the system on, including any attached peripherals.
SD vFlash Card
A vFlash SD card is a Secure Digital (SD) card that plugs into the vFlash SD card slot in the system. It provides persistent
on-demand local storage and a custom deployment environment that allows automation of server configuration, scripts,
and imaging. It emulates USB device(s). For more information, see the
iDRAC7 User's Guide
at dell.com/support/
manuals.
76


