


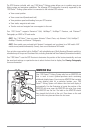

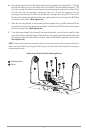

6b. If the cables cannot be routed directly beneath the mounting bracket, mark and drill a 1" (25 mm)
hole that will allow you to run the cables close to the bracket. Pass the cables through the 1" (25
mm) hole, routing the cables through the grommet and pressing the grommet into place. Place
the hole cover over the mounting surface hole, then use it to mark the position of the two
mounting screws. Remove the hole cover, drill the two mounting holes using a 9/64" (3.5 mm) bit,
fill them with marine-grade silicone sealant, then replace the hole cover and insert the #8 Phillips
countersink wood screws. Hand-tighten only.
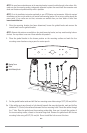
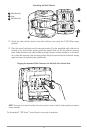
7. Place the mounting bracket on the mounting surface aligned with the drilled holes and fill the
mounting holes with marine grade silicone sealant. Insert the four #10 Slotted-Hex wood screws
into the mounting holes. Hand-tighten only.
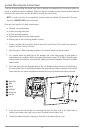
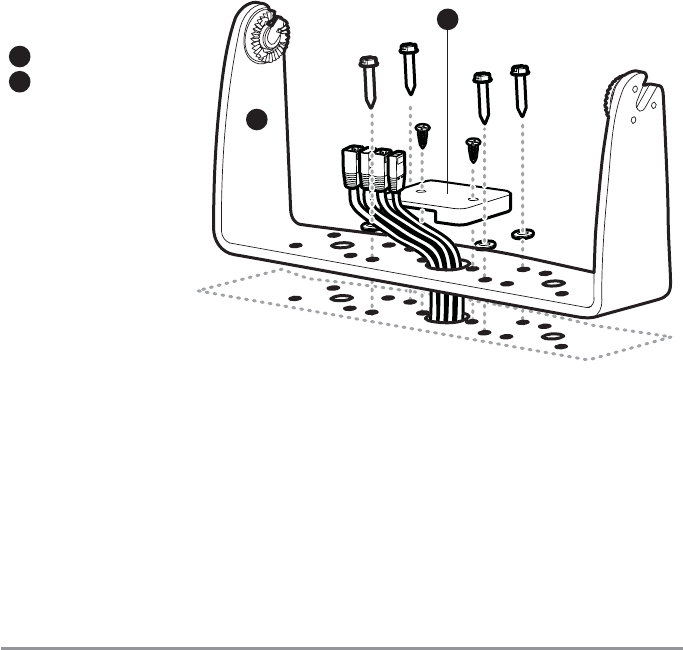
8. If the cable pass through hole is beneath the mounting bracket, you will need to install the hole
cover after you have routed all cables. Place the hole cover over the mounting bracket cable pass
thru hole and align with holes drilled in step 6a. Insert the #8 Phillips countersink wood screws.
Hand tighten only.
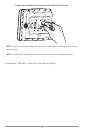
NOTE: Be sure that the cables pass through the slots on the hole cover and that there is enough cable slack to
allow for the control head to pivot through its full tilt range. Extra cable slack will also help when connecting or
disconnecting the cables.
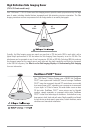
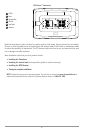
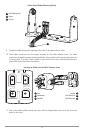
Gimbal Mounting Bracket
1
Hole Cover
2
1
2
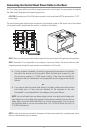
Cables Routed Directly Beneath Mounting Bracket
11