


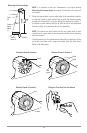

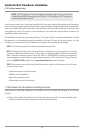

6. Once you have reached a consistently good sonar signal at the desired speeds, you are ready to
lock down the transducer settings. Force the pivot to the Up position to gain access to the
mounting screws, then re-align the mounting bracket against the transom of the boat to match
the traced silhouette. Check the bracket position with the level again to make sure it is still level,
then mark the third mounting hole using a pencil or marker. Unscrew and remove the mounting
screws and the transducer assembly and set aside.
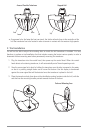
7. Drill the third mounting hole, using a 5/32” drill bit. Use a marine-grade silicone sealant to fill all
three drilled mounting holes, especially if the holes penetrated the transom wall.
NOTE: On fiberglass hulls, it is best to use progressively larger drill bits to reduce the chance of chipping or flaking
the outer coating.
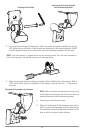
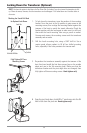
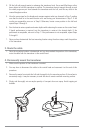
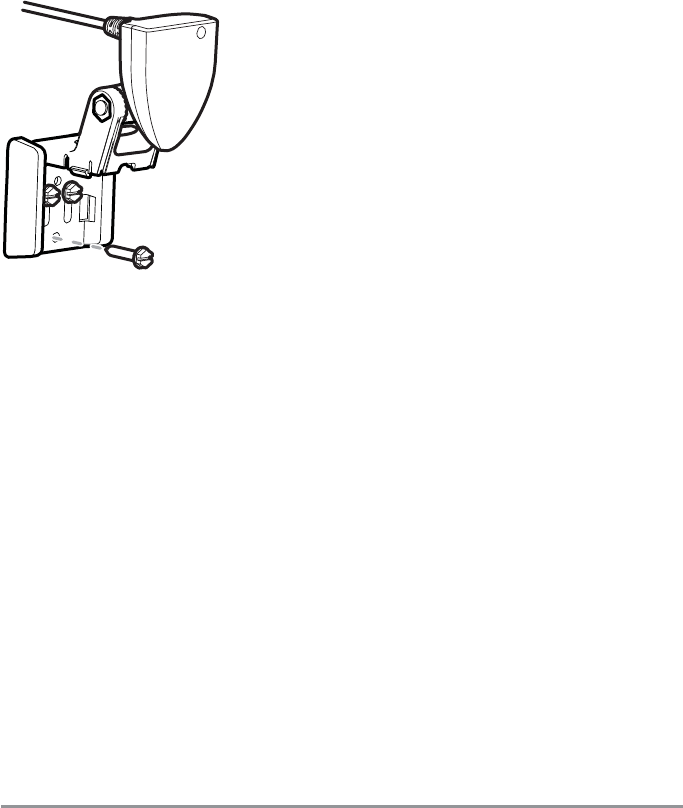
8. Re-position the transducer assembly against the transom of the boat,
then hand-install all three screws. Make sure that the transducer
location and the pivot angle have not changed, then fully tighten all
three mounting screws. Snap the pivot back down. If you have
performed the preceding procedures correctly, the transducer should
be level and at the right height for optimal operation.
Fully Tighten All Three
Mounting Screws
34